Hey there, fellow dessert enthusiast! Ever have one of those days where you just NEED cake, like, *right now*, but the thought of a fussy, complicated recipe makes you want to curl up in a ball and cry? Yeah, me too. We’ve all been there. But what if I told you there’s a cake that’s sunshine yellow, unbelievably moist, packed with chocolatey goodness, and practically bakes itself? Okay, *almost* bakes itself. Welcome to the glorious world of the Yellow Chocolate Cake – your new secret weapon for instant gratification, serious comfort, and impressing literally everyone (or just yourself, no judgment).
Why This Recipe is Awesome
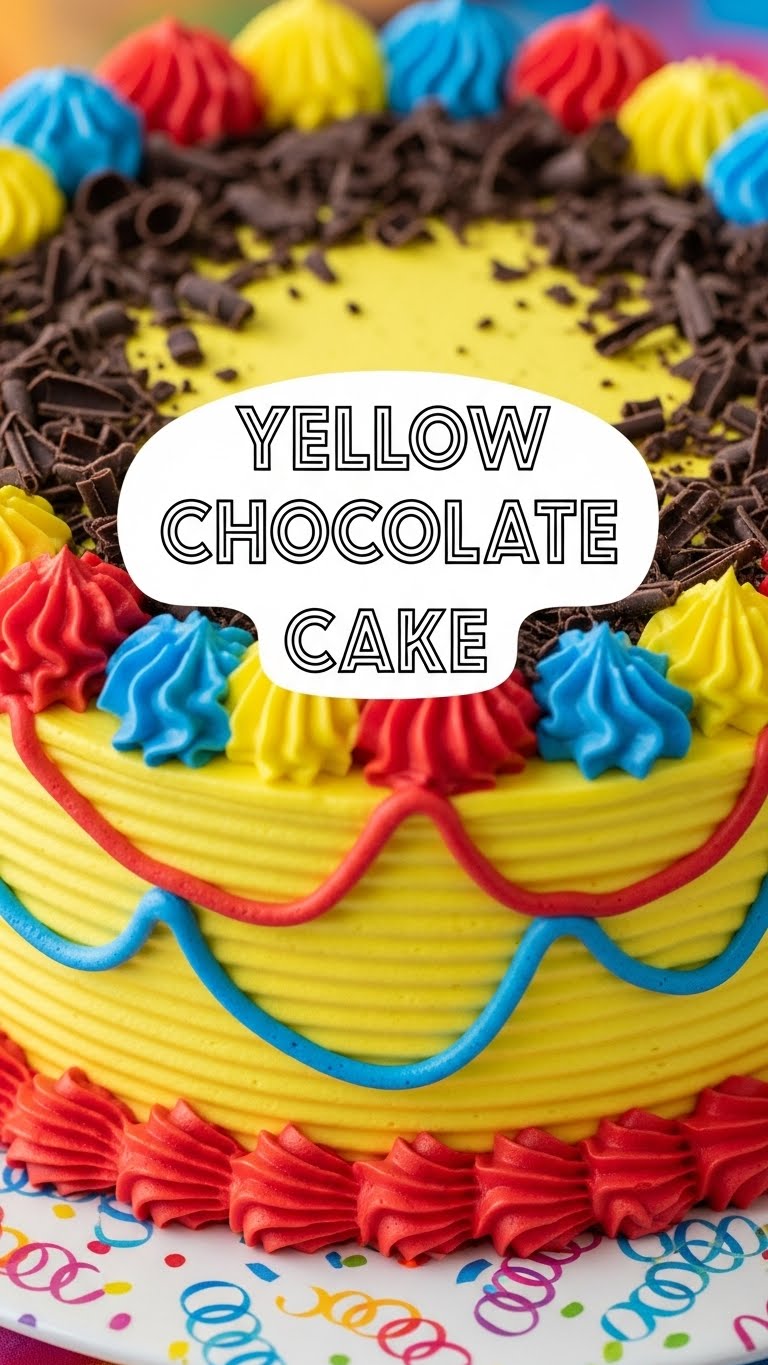
First off, it’s a yellow cake. Yellow! How can you not smile looking at that? It’s basically sunshine in edible form. No boring brown stuff here, people! Second, it’s got chocolate. Because, duh. A rich, dreamy chocolate frosting that complements the yellow cake like a perfectly paired outfit. Third, and this is the big one, it’s **ridiculously easy**. Seriously, if I, a person who once mistook baking soda for baking powder and ended up with a brick (don’t ask), can nail this, you totally can. It’s like a warm hug in cake form, smells absolutely divine while it’s baking, and is perfect for bribing friends, making birthdays extra special, or just staring at proudly on your kitchen counter.
Ingredients You’ll Need
Gather your troops! Remember, happy ingredients make happy cake. Try to get your butter, eggs, and milk to room temperature before you start. It really does make a difference!
- 1 ½ cups (180g) All-Purpose Flour: The unsung hero of our cake. No need for fancy stuff, just your regular ol’ AP flour.
- 1 ½ cups (300g) Granulated Sugar: Sweetness. Lots of it. No regrets.
- 1 tablespoon Baking Powder: Our lift-off engineer! This helps make the cake light and fluffy, not dense.
- ½ teaspoon Salt: Just a pinch, but it makes everything taste more *itself*. Don’t skip it!
- ½ cup (113g) Unsalted Butter: Softened. And no, margarine is not the same. We’ll talk about that later. We want real butter flavor here, folks.
- 2 Large Eggs: Room temperature, please! It helps them emulsify better with the butter and sugar.
- 1 teaspoon Vanilla Extract: The magic potion. Don’t skimp on the good stuff; a quality vanilla makes a huge impact.
- 1 cup (240ml) Whole Milk: Again, room temperature. See a pattern here? It’s all about smooth mixing.
- For the Chocolate Buttercream Frosting:
- ½ cup (113g) Unsalted Butter: Softened. Yes, more butter. It’s a cake, not a health food!
- 2 cups (240g) Powdered Sugar (Confectioners’ Sugar): Sift it if you’re feeling fancy (or hate lumps). Trust me, smooth frosting is key.
- ½ cup (45g) Unsweetened Cocoa Powder: Dutch-processed gives a darker, richer color, but regular is totally fine too!
- 2-4 tablespoons Whole Milk or Cream: To get that perfect, spreadable consistency.
- ½ teaspoon Vanilla Extract: More vanilla, because why not?
- A pinch of salt: Balances out the sweetness.
Step-by-Step Instructions
Alright, apron on, game face ready! Let’s get baking. These steps are super straightforward, so no stress.
- Get Prepped: Preheat your oven to 350°F (175°C). Grease and flour an 8-inch round cake pan (or line with parchment paper for extra insurance). We don’t want any sticking situations!
- Whisk the Dry Squad: In a medium bowl, whisk together the flour, sugar, baking powder, and salt. Just a quick whisk to combine everything evenly.
- Cream the Dream: In a large bowl, using an electric mixer, cream together the softened butter until light and fluffy (about 2-3 minutes).
- Egg-cellent Addition: Add the eggs one at a time, beating well after each addition. Then stir in the vanilla extract. Scrape down the sides of the bowl to make sure everything’s incorporated.
- Alternate & Combine: Now, add the dry ingredients to the wet ingredients in three additions, alternating with the milk in two additions. **Start and end with the dry ingredients.** Mix on low speed just until combined – **do NOT overmix!**
- Into the Pan it Goes: Pour the batter evenly into your prepared cake pan. Give it a gentle tap on the counter to release any air bubbles.
- Bake Away! Bake for 28-32 minutes, or until a wooden skewer or toothpick inserted into the center comes out clean.
- Cool Down: Let the cake cool in the pan for about 10-15 minutes before inverting it onto a wire rack to cool completely. This part is crucial!
- Frosting Time! While the cake cools, whip up your chocolate buttercream. In a medium bowl, cream the softened butter until smooth. Gradually beat in the powdered sugar, cocoa powder, vanilla, and salt. Add milk/cream one tablespoon at a time until you reach your desired creamy, spreadable consistency.
- Decorate & Devour: Once the cake is completely cool (seriously, wait!), spread that glorious chocolate frosting all over it. Slice it up, serve, and bask in the compliments.
Common Mistakes to Avoid
Nobody’s perfect, but we can try to avoid the common pitfalls that turn a fluffy cake into a dense doorstop. Don’t say I didn’t warn you!
- Not Preheating Your Oven: Seriously, it’s like trying to run a marathon without stretching. Just don’t. A cold oven messes with the rising process.
- Overmixing the Batter: This is a biggie! Once the flour is just combined, stop! Overmixing develops the gluten too much, leading to a tough, rubbery cake. Nobody wants a rubbery cake.
- Opening the Oven Door Constantly: Patience, grasshopper. Let it bake. Peeking lets out the heat and can make your cake sink in the middle. Sad face.
- Not Letting the Cake Cool Completely: Frosting a warm cake is a one-way ticket to a melted, drippy, disastrous mess. You’ve been warned! Let it cool, **FYI**, it’s worth it.
Alternatives & Substitutions
Life happens, ingredients run out, or maybe you just want to shake things up! Here are a few easy swaps.
- Butter Swap: Can you use oil instead of butter? Yes, but it changes the texture a bit. Oil gives a denser, moister crumb; butter gives a richer flavor and a slightly more tender crumb. Your call, chef!
- Dairy-Free? Swap whole milk for unsweetened almond milk, soy milk, or oat milk. For the butter in both the cake and frosting, a good quality vegan butter substitute will work wonders.
- Frosting Variations: Not feeling chocolate today? (Blasphemy! Just kidding… mostly). This yellow cake is super versatile, **IMO**. Try a classic vanilla buttercream, a tangy cream cheese frosting, or even a simple lemon glaze for a brighter flavor profile.
- Cupcakes: This recipe easily converts to cupcakes! Just divide the batter into lined muffin tins and bake for approximately 18-22 minutes.
FAQ (Frequently Asked Questions)
Got questions? I’ve got (casual and hopefully helpful) answers!
- My cake looks dense, what went wrong? Ah, sounds like a case of overmixing or maybe your ingredients weren’t at room temperature. Both can lead to a less fluffy result. Next time, mix just until combined and ensure ingredients are warmed up!
- Can I make cupcakes instead of a whole cake? Absolutely! Just divide the batter into lined muffin tins. Reduce the baking time to around 18-22 minutes, testing for doneness with a toothpick. Super cute, right?
- How do I know when the cake is truly done? The trusty toothpick test, my friend! Insert a wooden skewer or toothpick into the center of the cake. If it comes out clean (no wet batter), you’re golden.
- How long does this cake last? Covered at room temperature, this cake is usually good for 3-4 days. In the fridge, it might last a bit longer, but it’s best eaten fresh. Like, within hours. 😉
- Can I use margarine instead of butter? Well, technically yes, you *can*. But why hurt your soul like that? Butter just tastes better, period. It provides a richer flavor and better texture that margarine simply can’t replicate. Treat yo’self!
- Do I really need to sift the powdered sugar for the frosting? Honestly, if you want super smooth, lump-free frosting, then yes, it’s worth the extra minute. If you don’t mind a few little sugar bumps, then live your best unsifted life.
Final Thoughts
See? Told you it was easy! Now you’ve got a dazzling, delicious Yellow Chocolate Cake that screams “I’m a baking genius!” Go ahead, take a bow. Or, more importantly, take a slice (or three). You’ve earned it. This cake is pure joy, ready to brighten any day. Don’t forget to send me a pic of your masterpiece (or just the crumbs, either works!). Now go impress someone – or just yourself – with your new culinary superpowers!


