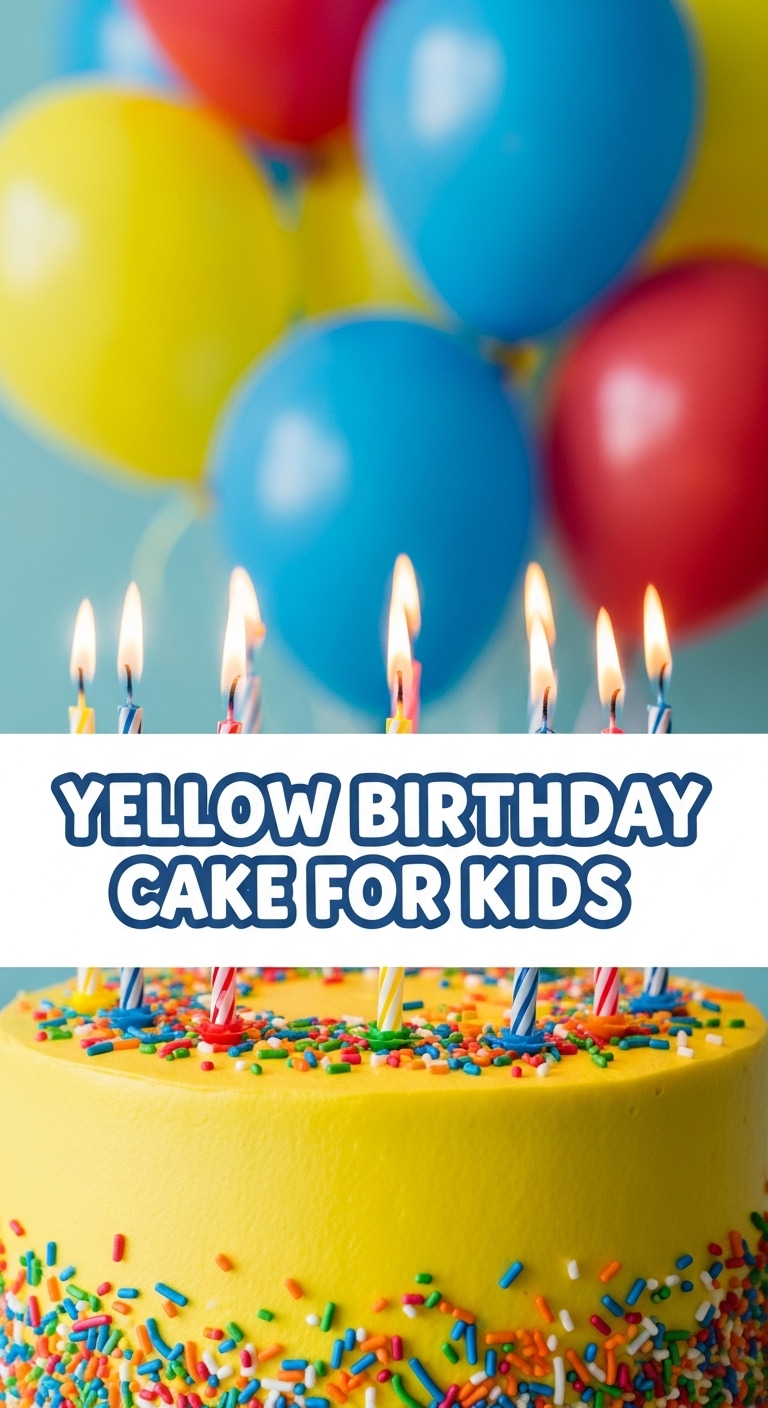
So, you’ve somehow volunteered (or been guilt-tripped) into making a birthday cake for a tiny human, and now you’re staring at Pinterest like it’s a foreign language, right? Same, friend, same. Forget those multi-tiered, fondant-covered masterpieces that belong in a museum, not a kid’s grubby hands. We’re going old-school today: classic, cheerful, ridiculously easy yellow birthday cake that screams “PARTY!” and doesn’t require a culinary degree. Let’s do this!
Why This Recipe is Awesome
Okay, let’s be real. This isn’t just *a* cake; it’s *the* cake. It’s the one that reminds everyone of their childhood, probably made by a grandma who never used a recipe. Why is it awesome? First, it’s basically idiot-proof. Seriously, even if your culinary skills peak at making toast, you’ll nail this. It’s moist, fluffy, and has that perfect vanilla-y sweetness that makes kids (and let’s be honest, adults) go absolutely bonkers. Plus, it’s yellow! The color of sunshine, happiness, and all things birthday. No fancy equipment needed, just basic kitchen stuff. It’s a win-win, IMO!
Ingredients You’ll Need
Time to gather your edible treasures! Nothing too exotic here, just your pantry regulars ready for their moment in the spotlight.
- 2 ½ cups All-Purpose Flour: The backbone of our cake. Don’t worry, it’s not judging your life choices.
- 1 ½ cups Granulated Sugar: Because life is sweet, and so should this cake be.
- 1 tablespoon Baking Powder: Our little lift-off specialist. Gets things airy and fluffy.
- ½ teaspoon Salt: Just a pinch to make all the other flavors sing. Don’t skip it!
- ½ cup (1 stick) Unsalted Butter, softened: Not melted, not rock-hard. Just perfectly squishy. This is key!
- 1 cup Whole Milk: The good stuff. Adds richness and moisture.
- 2 Large Eggs: Our binders, our buddies. They hold it all together.
- 1 teaspoon Vanilla Extract: The soul of the yellow cake. Don’t be shy, go for good quality!
- For the Frosting:
- 1 cup (2 sticks) Unsalted Butter, softened: Again, softened is the secret word here.
- 3-4 cups Powdered Sugar (Confectioners’ Sugar): To taste! We’re making a sweet, fluffy buttercream.
- 1-2 tablespoons Whole Milk or Cream: For consistency.
- 1 teaspoon Vanilla Extract: Double vanilla for double the fun!
- Pinch of Salt: Balances the sweetness.
- Food Coloring (optional, but c’mon, it’s a kid’s cake!): For that extra pop of color. Sprinkles, obviously.
Step-by-Step Instructions
- Preheat & Prep: First things first, turn your oven to 350°F (175°C). Then grab two 8 or 9-inch round cake pans. Grease ’em up, flour ’em, or line ’em with parchment paper. No one wants a cake stuck to the bottom!
- Whisk the Dry Stuff: In a large bowl, whisk together your flour, sugar, baking powder, and salt. Give it a good swirl; we want everything nicely combined.
- Add the Butter: Cut your softened butter into small cubes and add it to the dry ingredients. With a stand mixer (or a hand mixer, if you’re feeling feisty), mix on low speed until the mixture resembles coarse crumbs. We’re creating little pockets of butter-y goodness.
- Wet Ingredients Time: In a separate, smaller bowl, whisk together your milk, eggs, and vanilla extract. Give it a good mix until everything is combined.
- Combine & Conquer: Gradually add the wet mixture to the dry ingredients, mixing on low speed until just combined. Don’t overmix! A few lumps are okay; overmixing leads to tough cake. Stop as soon as you don’t see any streaks of dry flour.
- Divide & Bake: Divide the batter evenly between your two prepared cake pans. Pop them into the preheated oven and bake for 25-30 minutes, or until a toothpick inserted into the center comes out clean.
- Cool Down: Let the cakes cool in their pans for about 10-15 minutes on a wire rack. Then, carefully invert them onto the wire rack to cool completely. Patience, young padawan! Completely cool cakes are essential before frosting.
- Whip Up the Frosting: While the cakes are chilling, beat the softened butter in a large bowl with a mixer until creamy. Gradually add the powdered sugar, a cup at a time, until smooth. Beat in the milk/cream, vanilla, and salt. If it’s too thick, add a tiny bit more milk; too thin, a bit more sugar. Want color? Now’s the time to add your food coloring and mix it in!
- Assemble Your Masterpiece: Once the cakes are completely cool, slather a generous layer of frosting on top of one cake. Place the second cake on top, then frost the top and sides. Go wild with sprinkles, candles, or whatever brings joy!
Common Mistakes to Avoid
Even the simplest recipes have traps for the unwary. Here’s how not to fall into them:
- Not preheating your oven: Rookie mistake! A cold oven means uneven baking and a sad cake.
- Using cold butter/eggs: Your ingredients need to be at room temperature for the best emulsion and texture. Think happy, cohesive batter, not clumpy sadness.
- Overmixing the batter: This is a big one. Overmixing develops the gluten in the flour too much, leading to a tough, dense cake. Mix until *just* combined.
- Opening the oven door too often: Resist the urge to peek! Every time you open the door, you drop the oven temperature, which can make your cake sink.
- Frosting a warm cake: Unless you enjoy a soupy mess and crying into your sprinkles, let those cakes cool completely. I’m talking hours if needed, or pop them in the fridge for a bit.
Alternatives & Substitutions
Feeling adventurous, or just missing an ingredient? I got you!
- Butter: Can you use margarine? Well, technically yes, but why hurt your soul like that? Butter just tastes better. If you must use margarine, go for a good quality one.
- Milk: Any plant-based milk (almond, soy, oat) can usually be swapped in with good results, especially if someone has a dairy allergy. The texture might be slightly different, but still delish.
- Vanilla Extract: If you’re out, almond extract can be a fun (and strong!) substitute, but use half the amount. It gives a slightly different vibe, but still yummy.
- Frosting Flavors: Not feeling classic vanilla buttercream? Add a tablespoon of cocoa powder for chocolate, a little lemon zest for zing, or even a dash of food-grade essential oils like peppermint.
- Cake Pan Sizes: This recipe works well in two 8 or 9-inch rounds, a 9×13 inch rectangular pan (bake for about 30-35 mins), or even cupcakes (bake for 18-22 mins). Adjust baking times accordingly!
FAQ (Frequently Asked Questions)
Got questions? I’ve got answers – probably.
Q: My cake turned out dry! What did I do wrong?
A: Ah, the dreaded dry cake! Usually, this means you either overbaked it (check those toothpicks early!) or overmixed your batter (which develops too much gluten). Make sure your ingredients were room temp too!
Q: Can I make this cake ahead of time?
A: Absolutely! The unfrosted cakes can be wrapped tightly in plastic wrap and stored at room temperature for a day or two, or frozen for up to a month. Frosted, it’s good in the fridge for 3-4 days.
Q: Why does my frosting taste too sweet?
A: That’s the nature of buttercream, my friend! The pinch of salt helps, but if it’s still too much, try adding a tiny bit of lemon juice or a little more vanilla to cut through the sweetness. You can also reduce the sugar slightly next time.
Q: Do I really need to use unsalted butter?
A: For baking, unsalted butter is generally preferred because it gives you control over the salt content. If you only have salted, just omit the ½ teaspoon of salt from the cake recipe and add the salt to the frosting to taste.
Q: My cakes didn’t rise enough. Help!
A: Check your baking powder! It might be expired. Also, ensure your oven is preheated correctly and you didn’t overmix. Cold ingredients can also hinder a good rise.
Final Thoughts
And there you have it! Your very own, totally awesome, yellow birthday cake. This isn’t just a dessert; it’s a memory in the making. So go ahead, dust off your apron (or just wear whatever, who cares?), blast some tunes, and get baking. You’ve earned the right to brag about this one. Now go impress someone—or yourself—with your new culinary skills. You’ve totally got this!


