So, the winter chill is making you want to hibernate under a blanket with something ridiculously good, but you also want to *feel* productive? Welcome to my world! Forget the complicated holiday baking marathons; we’re making some Winter Wonderland Chocolate Chip Christmas Cookies that are so easy, they practically bake themselves. (Okay, maybe not *practically*, but close!)
Why This Recipe is Awesome
Seriously, this isn’t just another cookie recipe. This is *the* cookie recipe you’ll actually make, again and again, without wanting to throw a spatula across the room.
- It’s idiot-proof. And trust me, I’ve put that to the test more times than I care to admit. If I can nail these, so can you.
- Minimal fuss, maximum deliciousness. We’re talking melt-in-your-mouth, perfect chewy-in-the-middle, slightly crispy-on-the-edges magic.
- Instant holiday cheer. One bite, and suddenly you’re caroling (or at least humming) and feeling all warm and fuzzy inside. No actual snow required, just good vibes and chocolate.
Ingredients You’ll Need
- Unsalted Butter (1 cup, softened): The good stuff. Don’t even *think* about rock-hard butter; it needs to be huggable.
- Granulated Sugar (3/4 cup): Because sweetness is key, darling.
- Packed Light Brown Sugar (3/4 cup): For that chewy texture and extra depth of flavor. Don’t skimp, don’t substitute.
- Large Eggs (2): Room temp is best, but if you forget, don’t sweat it too much. We’re not scientists here.
- Vanilla Extract (2 teaspoons): The secret weapon. Go for the good stuff, seriously. It makes a difference.
- All-Purpose Flour (2 1/4 cups): Standard stuff. No need for fancy flour unless you’re feeling extra bougie.
- Baking Soda (1 teaspoon): Helps ’em spread just right.
- Salt (1/2 teaspoon): Crucial for balancing all that sweetness.
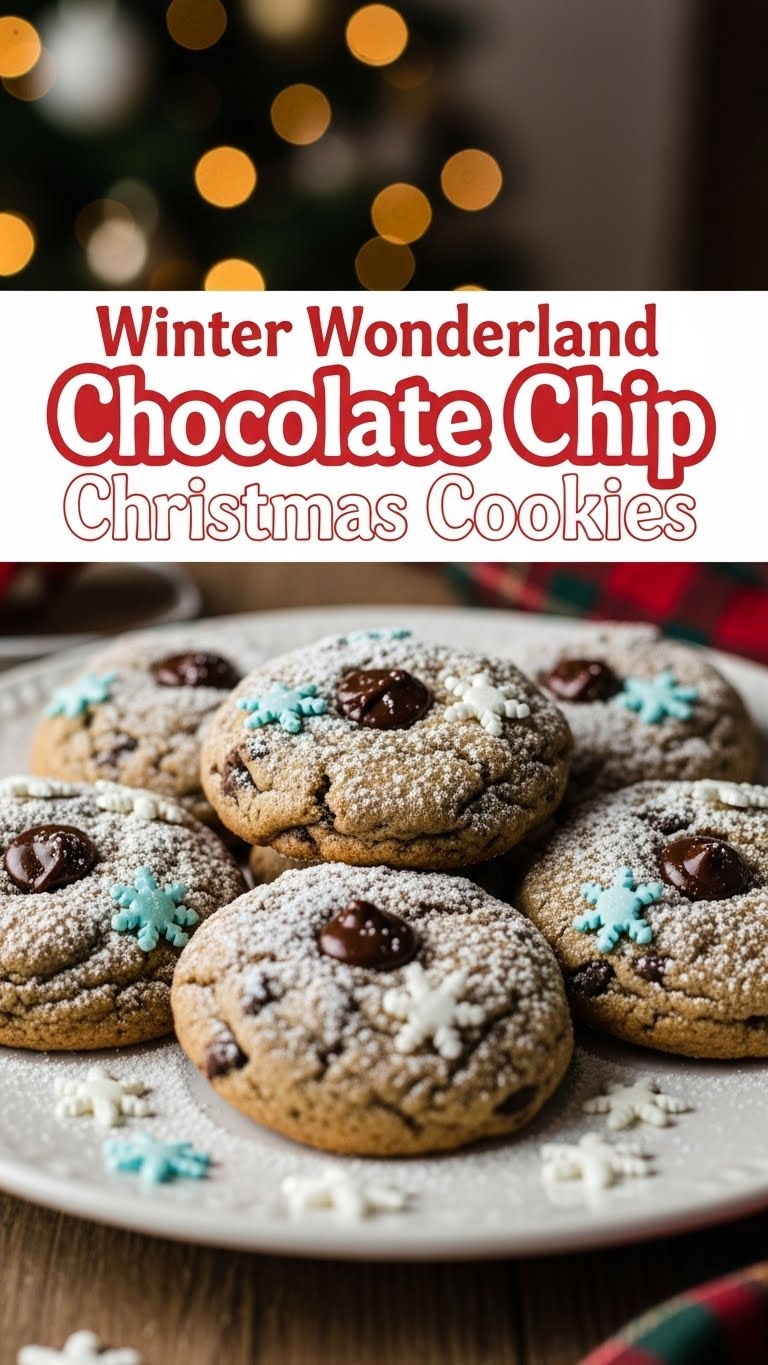
- Chocolate Chips (1 1/2 cups): Mix of semi-sweet and white chocolate chips? A total game-changer for that “Winter Wonderland” vibe. Or just your fave. You do you!
- Optional Fun Stuff: A sprinkle of coarse sea salt (chef’s kiss!), some festive sprinkles, maybe even a dash of peppermint extract if you’re feeling minty.
Step-by-Step Instructions
- Preheat & Prep: First things first, get your oven to 375°F (190°C). Line your baking sheets with parchment paper. Trust me, it makes cleanup a breeze.
- Cream It Up: In a large bowl (or stand mixer if you’re fancy), cream together the softened butter, granulated sugar, and brown sugar until it’s light and fluffy. This usually takes 2-3 minutes. Don’t rush this step; it’s important for texture!
- Egg-cellent Addition: Beat in the eggs one at a time, making sure each is fully incorporated before adding the next. Then, stir in that glorious vanilla extract. It’ll smell heavenly already.
- Dry Mix Fun: In a separate medium bowl, whisk together the flour, baking soda, and salt. Give it a good mix to make sure everything’s evenly distributed.
- Combine Forces: Gradually add the dry ingredients to the wet ingredients, mixing on low speed until *just* combined. Don’t overmix! Overmixing is the enemy of tender cookies.
- Chocolate Time! Fold in your chocolate chips. If you’re using a mix of semi-sweet and white, this is where the magic starts to happen visually for that “winter” look.
- Scoop & Bake: Drop rounded tablespoons of dough onto your prepared baking sheets, leaving about 2 inches between them. These babies like their space!
- Bake It Baby: Pop them in the preheated oven for 9-12 minutes. You want the edges to be lightly golden and the centers to still look a *tiny bit* soft. Undercooking slightly is key for chewiness!
- Cool Down: Let them cool on the baking sheet for a few minutes before transferring them to a wire rack to cool completely. Or, you know, eat one hot. I won’t judge.
Common Mistakes to Avoid
- Not preheating the oven: Rookie move! Your oven needs to be consistently hot for even baking. Don’t skip this.
- Using cold butter: It won’t cream properly with the sugar, leading to a denser, less airy cookie. Room temp, people!
- Overmixing the dough: This develops the gluten too much, making your cookies tough instead of tender. Mix until *just* combined.
- Baking too long: The number one killer of a chewy cookie. Remember, they continue to cook a bit on the hot baking sheet. Pull them out when they still look a *touch* underdone in the middle.
- Not using parchment paper: Hello, sticky mess! Plus, parchment helps with even heat distribution.
Alternatives & Substitutions
- Butter: Can you use margarine? **Technically yes, but why hurt your soul like that?** Stick with butter for the best flavor and texture. If dairy is an issue, a good quality vegan butter substitute works too, but results may vary slightly.
- Chocolate Chips: Feeling adventurous? Swap some for chopped candy canes for a minty kick, or toss in some dried cranberries for extra festive color. Dark chocolate, milk chocolate, peanut butter chips – it’s all good, IMO.
- Flour: Don’t have all-purpose? A 1:1 gluten-free baking blend can often work, but again, be prepared for slight texture differences.
- Vanilla Extract: No vanilla? A tiny dash of almond extract can work in a pinch, but vanilla is truly king here.
FAQ (Frequently Asked Questions)
- Q: My cookies spread too much! What happened?
- A: Probably too much butter, not enough flour, or your oven wasn’t hot enough. Make sure your butter isn’t *too* soft (it should still hold its shape) and measure your flour accurately. Also, chilling the dough for 30 minutes can help prevent over-spreading.
- Q: Can I make the dough ahead of time?
- A: Absolutely! This dough loves a good chill. You can store it in an airtight container in the fridge for up to 3 days. FYI, chilling actually deepens the flavor!
- Q: Can I freeze these cookies?
- A: Yes! You can freeze baked cookies (once cooled) in an airtight container for up to 2-3 months. You can also freeze scoops of raw dough on a baking sheet, then transfer to a freezer bag, and bake from frozen (add a few extra minutes to baking time).
- Q: Why is room temperature eggs important?
- A: Room temp eggs incorporate more easily and evenly into the butter mixture, creating a smoother, more uniform dough. This leads to a better texture in your final cookie. Science, right?
- Q: What’s the deal with “packed” brown sugar?
- A: It means you press the sugar down into the measuring cup so it holds its shape when inverted. This ensures you get the right amount for that specific chewy texture we’re aiming for. Don’t just scoop loosely!
- Q: I don’t have parchment paper. Can I just grease the pan?
- A: You can, but expect more potential sticking and maybe slightly less even baking. Parchment paper is your friend, invest in some!
Final Thoughts
Phew! You made it. See? That wasn’t so scary, was it? You just whipped up a batch of glorious, festive cookies. Now go impress someone – your family, your neighbors, your dog, or honestly, just yourself! You absolutely deserve every single warm, chocolatey bite. Happy baking, my friend, and a very delicious holiday season to you!


