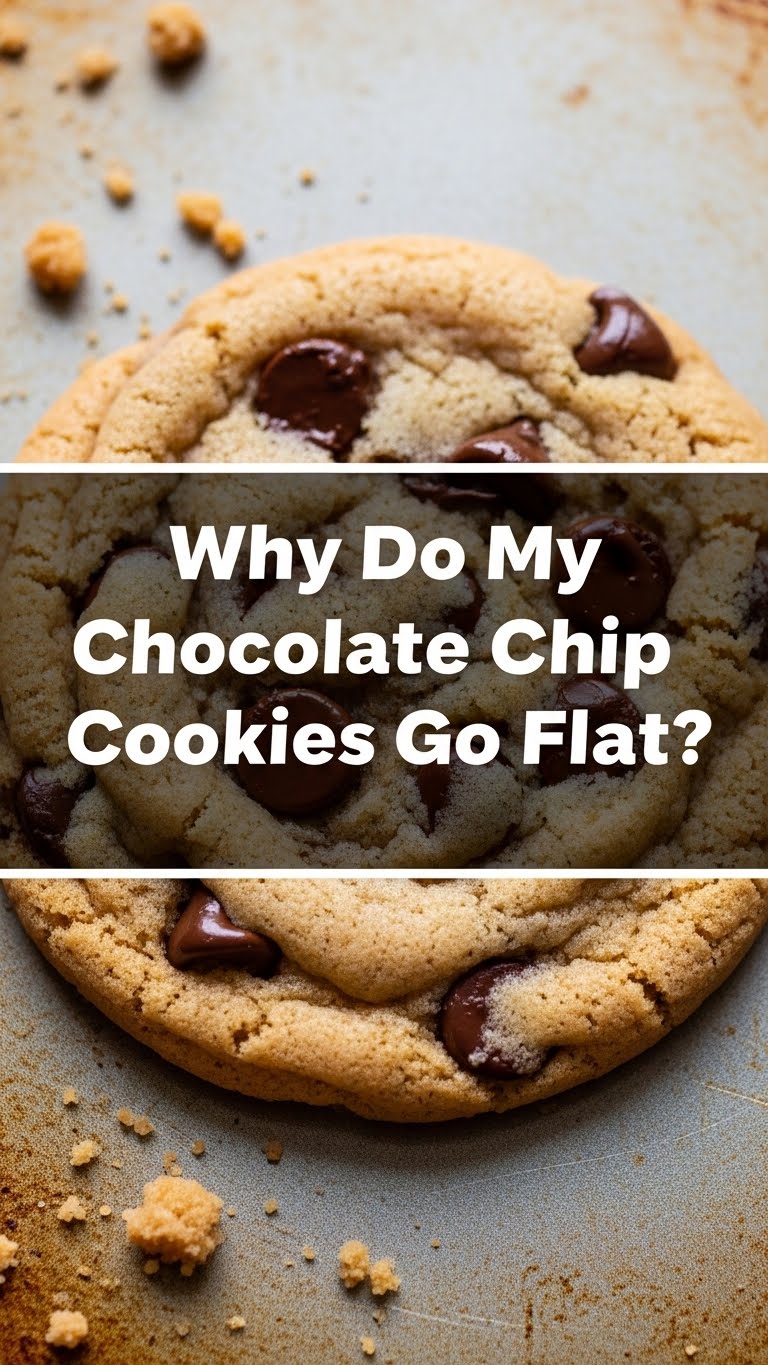
Ever stared into your oven, hopeful, only to pull out cookies flatter than your Monday morning mood? Yeah, me too. We’ve all been there, dreaming of perfectly plump, chewy chocolate chip cookies, but instead, we get crispy, spread-out discs that look like they’ve done a belly flop. What gives?! Don’t worry, you’re not alone, and your oven isn’t plotting against you (probably). Let’s dive into why your chocolate chip cookies are going flat and how to fix it!
Why This Article is Awesome
This isn’t just another recipe; it’s a cookie intervention. We’re not just baking; we’re understanding the *science* (don’t worry, no lab coats required, unless you’re feeling fancy) behind those sad, flat cookies. This article is your secret weapon against pancake-cookies, ensuring you get those beautifully puffy, chewy-centered beauties every single time. It’s so foolproof, even my cat almost got it right (he was mostly interested in the butter, tbh). We’re going to tackle the flat-cookie conundrum head-on, so you can bake with confidence and impress literally everyone.
Ingredients You’ll Need
Okay, gather your troops! These are the usual suspects, but we’re going to treat them with a little extra respect to get those perfect cookies.
- 1 cup (2 sticks) Unsalted Butter: The real deal, softened but still cool to the touch. No melted pools, please!
- ¾ cup Granulated Sugar: For sweetness, obviously.
- ¾ cup Packed Light Brown Sugar: This adds chewiness and moisture, a flat-cookie fighting hero.
- 2 Large Eggs: Room temperature is key here, helps everything emulsify beautifully.
- 2 ¼ cups All-Purpose Flour: The unsung hero. Make sure to level your cups properly!
- 1 teaspoon Baking Soda: Your cookie’s personal trainer for lift. Make sure it’s fresh!
- ½ teaspoon Salt: Balances the sweetness and makes everything pop.
- 1 teaspoon Vanilla Extract: Use the good stuff; it makes a difference!
- 1 ½ cups Chocolate Chips: Your favorite kind! Semisweet, milk, dark – pick your poison.
Step-by-Step Instructions
Let’s get this cookie party started! Follow these steps for maximum poof and chewiness.
- Prep Your Station: First things first, preheat your oven to 375°F (190°C). Seriously, don’t skip this. Line two baking sheets with parchment paper or silicone mats. This is not the time for sticky situations.
- Cream the Butter & Sugars: In a large bowl, using an electric mixer, beat the softened (but not melty!) butter with both sugars until light and fluffy. This should take about 2-3 minutes. This step incorporates air, which means fluffy cookies later.
- Add Eggs & Vanilla: Beat in the eggs one at a time, mixing well after each addition. Then, stir in the vanilla extract. Scrape down the sides of the bowl to ensure everything is evenly combined.
- Combine Dry Ingredients: In a separate medium bowl, whisk together the flour, baking soda, and salt. Whisking ensures they’re evenly distributed, so no weird pockets of leavening.
- Slowly Incorporate Dry into Wet: Gradually add the dry ingredients to the wet ingredients, mixing on low speed until *just* combined. Stop as soon as you don’t see any dry streaks of flour. Overmixing is a flat cookie’s best friend, and your enemy!
- Fold in Chocolate Chips: Gently fold in your chocolate chips with a spatula. Don’t overdo it.
- Chill Out (Optional, But Highly Recommended!): This is a big one for fighting flatness. Cover the dough and chill in the fridge for at least 30 minutes, or even a few hours. This allows the butter to firm up and the flavors to meld, preventing excessive spread.
- Scoop & Bake: Drop rounded tablespoons of dough onto your prepared baking sheets, leaving about 2 inches between them. Bake for 9-11 minutes, or until the edges are golden brown and the centers are still slightly soft. Don’t overbake!
- Cool Down: Let the cookies cool on the baking sheets for 5 minutes before transferring them to a wire rack to cool completely. Patience, young padawan, patience!
Common Mistakes to Avoid
Alright, let’s talk about the usual culprits behind those cookie belly flops. Learn from these, grasshopper!
- Warm/Melted Butter: This is the #1 flat-cookie offender! If your butter is too warm or, *gasp*, melted, it throws off the fat-to-flour ratio, making your cookies spread like a rumor. Softened, but still cool to the touch, is your sweet spot.
- Too Much Sugar: Sugar melts and spreads. Simple as that. If you’ve gone heavy-handed with the sweet stuff, your cookies will become a sugary puddle. Stick to the recipe!
- Old or Incorrect Leavening: Using old baking soda or baking powder (they lose their oomph over time) or the wrong amounts can lead to sad, flat cookies. Too much, and they rise too quickly then collapse; too little, and they don’t rise at all.
- Overmixing the Dough: This is a biggie! Once you add the flour, mix *just* until combined. Overmixing develops gluten, which can make cookies tough and contribute to spreading. Think gentle caress, not aggressive beatdown.
- Oven Temperature Issues: An oven that’s not hot enough, or one that’s constantly opened (stop peeking!), means your cookies don’t set quickly. They need that initial blast of heat to puff up before they can settle. Always preheat thoroughly!
- Not Chilling the Dough: Skipping the chill time means your butter is warmer and will melt faster in the oven, leading to spread. A quick chill firms up the butter, giving your cookies a better structure.
Alternatives & Substitutions
Feeling adventurous? Or just missing an ingredient? Here are some simple swaps:
- Chocolate Chips: Swap out half for white chocolate, milk chocolate, or even peanut butter chips! Or go wild and add some chopped nuts (pecans, walnuts) or toffee bits. FYI, adding extra mix-ins can sometimes make cookies spread more, so don’t go too crazy.
- Butter: Can you use margarine? Well, technically yes, but why hurt your soul like that? Butter is king for flavor and texture. If you must use margarine, pick one that’s high in fat and remember the texture might be slightly different.
- Flour: Want to make them a bit chewier? You can swap out a quarter cup of all-purpose flour for bread flour. Don’t go overboard though, or you’ll have dense cookies.
- Vanilla: No vanilla extract? A little almond extract can be a fun (and strong!) substitute, but use half the amount.
FAQ (Frequently Asked Questions)
Got more questions? I’ve got (casual) answers!
- “My cookies are *still* flat! What did I do wrong?” Did you check your butter temperature? Did you chill the dough? Was your baking soda fresh? Go back to the “Common Mistakes” section, you might have missed something subtle! It’s usually a butter or chilling issue, IMO.
- “Do I *really* need to chill the dough?” Yes! For plump, chewy cookies that don’t spread into oblivion, chilling is your secret weapon. It allows the butter to firm up and the flour to fully hydrate, giving you a thicker, chewier cookie. Trust me on this.
- “Can I make these gluten-free?” Absolutely! Swap out the all-purpose flour for a good quality 1:1 gluten-free baking flour blend. You might notice a slight difference in texture, but they’ll still be delicious!
- “What if I don’t have parchment paper?” You can lightly grease your baking sheets, but parchment paper or silicone mats prevent sticking and promote even baking. If you skip it, just be extra careful when removing the cookies!
- “Why do some recipes call for melted butter and others softened?” Melted butter yields chewier, flatter cookies (think thin and crispy). Softened butter, creamed with sugar, incorporates air, leading to puffier, cakier, or chewier-but-thicker cookies. We’re going for the latter here!
- “Can I freeze the cookie dough?” Heck yes! Scoop your dough balls onto a baking sheet, freeze until solid, then transfer to a freezer-safe bag. Bake from frozen, adding a couple of extra minutes to the baking time. Future you will thank present you!
Final Thoughts
So there you have it, folks! The mystery of the flat chocolate chip cookie, demystified. With a little attention to detail—especially that butter temp and chilling—you’ll be churning out bakery-worthy cookies in no time. No more cookie regret, only pure, unadulterated chewy, chocolatey bliss. Now go impress someone—or yourself—with your new culinary skills. You’ve earned it!


