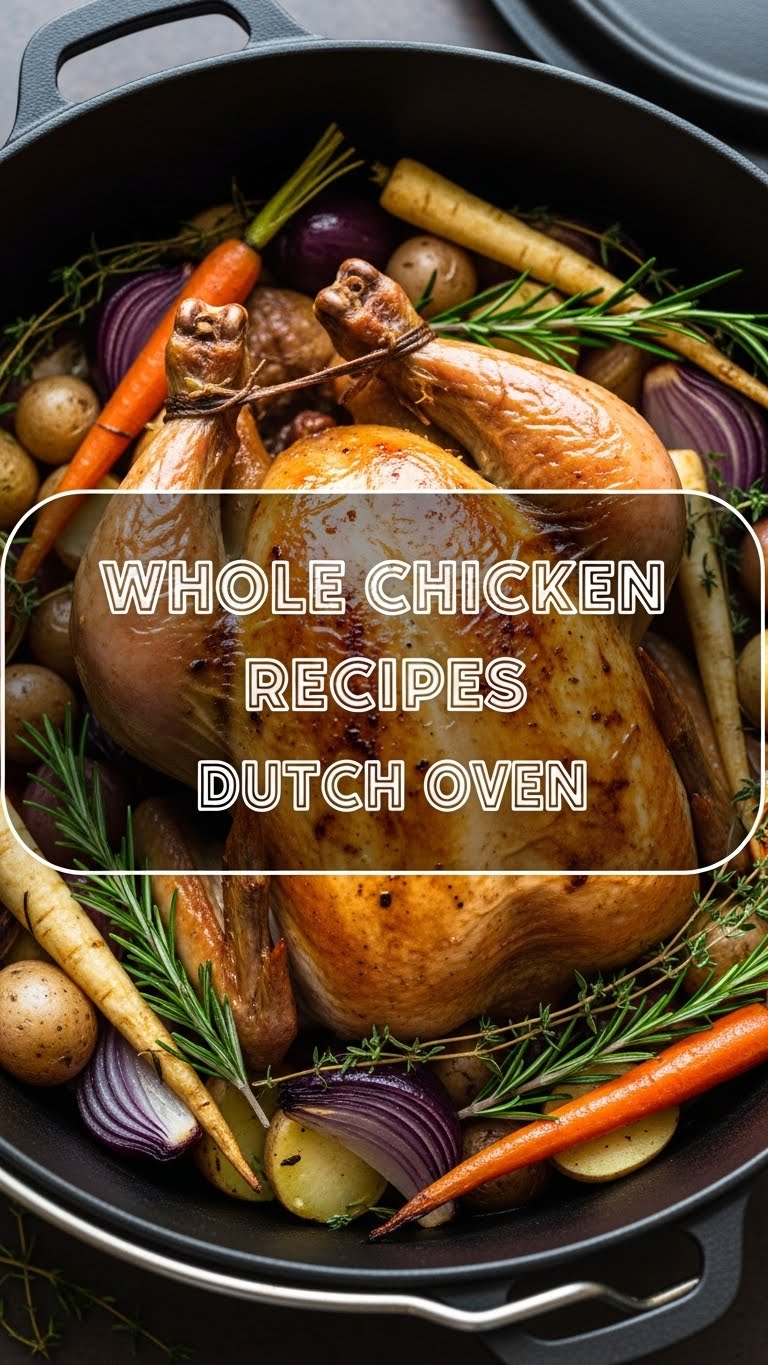
So you’re craving something tasty, comforting, and kinda impressive, but also want to be able to binge-watch your favorite show while it cooks? My friend, you’ve come to the right place. We’re talking whole chicken in a Dutch oven – the ultimate “set it and forget it (mostly)” meal that tastes like you actually tried. No stress, maximum flavor, and minimal cleanup. Sounds like a dream, right?
Why This Recipe is Awesome
Let’s be real, cooking a whole chicken can *sound* intimidating. But with a Dutch oven? Pfft. It’s practically foolproof. This isn’t just a meal; it’s an experience. Here’s why this bad boy is about to become your new weeknight (or weekend, no judgment) go-to:
- It’s a one-pot wonder: Less mess, less stress. Your dishwasher (or your hands) will thank you.
- Juicy, tender perfection: The Dutch oven works its magic, trapping all that glorious moisture, so your chicken comes out fall-off-the-bone tender. No dry birds allowed!
- Crispy skin goals: We’ll get that golden, crackly skin you dream about. Trust me.
- Seriously easy: I swear, if you can rub a chicken with butter and press a button on your oven, you can make this. It’s so simple, even I didn’t mess it up on my first try.
- Full meal potential: Throw in some veggies, and you’ve got dinner, sides, and leftovers all in one go. Boom!
Ingredients You’ll Need
Gather ’round, future culinary superstar! Here’s what you’ll need to conjure up this masterpiece. Don’t overthink it; flexibility is key here.
- 1 Whole Chicken: About 3-4 lbs. The star of our show, obviously. Make sure it’s thawed!
- 2 tbsp Olive Oil or Melted Butter: For that beautiful golden glow and to help the seasonings stick.
- 1 Lemon: Halved. For stuffing and zesty flavor. Don’t underestimate its power!
- 1 Head of Garlic: Halved horizontally, or about 6-8 cloves, peeled and smashed. Because, garlic.
- A Bunch of Fresh Herbs: Think rosemary, thyme, sage. Whatever makes your kitchen smell like a fancy restaurant. About 4-5 sprigs of each.
- 1 Large Onion: Roughly chopped.
- 2-3 Carrots: Chopped into chunky pieces.
- 2-3 Celery Stalks: Chopped. These three (onion, carrot, celery) are the holy trinity of aromatics. Don’t skip them unless you hate flavor.
- 1-1.5 lbs Small Potatoes: Quartered. Red or Yukon Gold work great. Optional, but why wouldn’t you want delicious roasted potatoes?
- 1 cup Chicken Broth or Water: Just a little liquid love for the bottom of the pot.
- Salt & Freshly Ground Black Pepper: To taste. Don’t be shy; season generously!
Step-by-Step Instructions
- Prep the Bird: First things first, get that chicken ready. Take it out of its packaging, remove any giblets from the cavity (don’t toss ’em if you like gravy!), and pat it *super* dry with paper towels. This is crucial for crispy skin!
- Seasoning Time: Place your chicken in a large bowl or on a baking sheet. Rub it all over with olive oil or melted butter. Now, get generous with the salt and pepper, making sure to hit every nook and cranny. Stuff the chicken cavity with your lemon halves, garlic, and a few sprigs of fresh herbs. You can even tuck a few sprigs under the skin if you’re feeling fancy.
- Veggie Bed: In your Dutch oven, toss the chopped onion, carrots, celery, and potatoes with a drizzle of olive oil, a pinch of salt, and pepper. Arrange them in an even layer at the bottom. This creates a flavorful, elevated bed for your chicken.
- Nestle & Pour: Carefully place your seasoned chicken on top of the veggies in the Dutch oven. Pour the chicken broth or water around the chicken, into the bottom of the pot (not over the chicken itself).
- Roast Away (Covered): Pop the lid on your Dutch oven. Place it in a preheated oven at 400°F (200°C). Roast for about 1 hour and 15 minutes.
- Crispy Skin Reveal: After the initial roasting, carefully remove the lid from the Dutch oven. Increase the oven temperature to 425°F (220°C). Continue to roast for another 20-30 minutes, or until the skin is beautifully golden brown and crispy.
- Check for Doneness: The internal temperature of the thickest part of the thigh (without touching the bone) should be 165°F (74°C). The juices should also run clear when you pierce the thigh.
- The Most Important Part (Rest!): Take the Dutch oven out of the oven. Carefully transfer the chicken to a cutting board, tent it loosely with foil, and let it rest for 15-20 minutes. Do not skip this step! It allows the juices to redistribute, ensuring a super moist and flavorful bird.
- Serve It Up: Carve your glorious chicken and serve it with those incredible roasted veggies from the Dutch oven. You’ve earned it!
Common Mistakes to Avoid
We’ve all been there, staring at a slightly-less-than-perfect meal. But with these tips, you’ll avoid some rookie errors and achieve culinary greatness!
- Not drying the chicken: Seriously, this is like, the #1 rule for crispy skin. If it’s wet, it steams, it doesn’t crisp. Rookie mistake!
- Skipping the rest: I know, you’re hungry. But if you cut into that chicken straight out of the oven, all those glorious juices will flood your cutting board instead of staying in the meat where they belong. Patience, grasshopper.
- Forgetting to season liberally: A whole chicken needs a lot of love. Don’t be afraid of the salt and pepper. Bland chicken is a sad chicken.
- Overcrowding the pot with veggies: Give your veggies some space to breathe and brown. If they’re too squished, they’ll steam instead of roast, and nobody wants soggy spuds.
- Not preheating the oven: Thinking you can just shove it in and let the oven catch up? Nah. A properly preheated oven ensures even cooking and that initial blast of heat for crispy skin.
Alternatives & Substitutions
Feeling adventurous? Or just working with what you’ve got? No worries! This recipe is super flexible.
- Herb Swap: Don’t have fresh rosemary and thyme? Dried herbs work too! Just use about 1/3 the amount of fresh. Or try dried oregano, marjoram, or even a poultry seasoning blend. Your kitchen, your rules!
- Veggie Mix-Up: Instead of potatoes, try sweet potatoes, parsnips, or even bell peppers. Brussels sprouts tossed in with the other veggies are also amazing. Mix it up, live a little!
- Citrus Flair: Out of lemons? An orange or even a lime can offer a lovely, subtle citrus note to the chicken.
- Spice it Up: Want a little kick? Add a pinch of paprika, smoked paprika, or a tiny dash of cayenne pepper to your seasoning rub.
- Broth Boost: Instead of plain chicken broth, use a dry white wine (like Pinot Grigio) or even a dark beer for a deeper flavor profile. Delicious!
FAQ (Frequently Asked Questions)
Got questions? I’ve got (casual) answers!
Can I use a smaller or larger chicken? Absolutely! Just adjust the cooking time. A smaller chicken (2-2.5 lbs) might need 15-20 minutes less, while a larger one (5-6 lbs) could take an extra 30-45 minutes. Always trust your meat thermometer!
Do I *really* need a Dutch oven? While a Dutch oven is ideal for its heat retention and even cooking, a heavy-bottomed pot with a tight-fitting lid will work in a pinch. Just ensure it’s oven-safe and can handle the heat. FYI, the Dutch oven really does make a difference, though!
My skin isn’t getting crispy, what gives? Did you pat it dry? Seriously, that’s key. Also, make sure your oven is hot enough for that final uncovered roasting phase. You can even blast it under the broiler for a couple of minutes at the very end (watch it like a hawk!) for extra crispiness.
Can I prep this ahead of time? Yes, you can! Season your chicken and place it in the Dutch oven with the veggies the night before. Cover it tightly and refrigerate. Just pull it out about 30-60 minutes before roasting to let it come closer to room temperature.
What about gravy? Oh, you fancy! After you remove the chicken, you can strain the pan drippings, separate the fat, and make a quick gravy on the stovetop. Just thicken with a little flour or cornstarch slurry. IMO, it’s totally worth it.
Can I put stuffing in the chicken? While you *can*, it’s generally not recommended for food safety unless you’re very careful. Stuffing inside the bird takes longer to reach a safe temperature, often resulting in overcooked chicken. Better to cook stuffing separately!
My veggies are a bit too soft/mushy. How do I fix that? Try cutting your root vegetables (like potatoes and carrots) into larger, more uniform pieces. Also, make sure you’re not adding too much liquid to the bottom of the pot, as this can steam them rather than roast them. And remember, don’t overcrowd!
Final Thoughts
See? You just made a ridiculously delicious, impressive, and surprisingly easy meal. Your house probably smells like a five-star restaurant, and you barely broke a sweat. That’s the power of the Dutch oven, my friend! Go forth and conquer, my culinary comrade! You’re basically a kitchen wizard now. Don’t forget to pat yourself on the back, you totally deserve it. Now go impress someone – or yourself – with your new culinary skills. You’ve earned it!


