So, you’re looking at that whole chicken in the fridge and thinking, “This is either going to be an epic feast or a total dry disaster.” Been there! But guess what? Your Dutch oven is about to become your new best friend, and that chicken? It’s about to get its glow-up in a way that’s so simple, you’ll wonder why you ever bothered with anything else. Get ready for juicy, tender, fall-off-the-bone goodness with minimal fuss. Your taste buds (and your inner lazy chef) will thank you!
Why This Recipe is Awesome
Because it’s practically magic. Seriously. You toss a few things in, stick it in the oven, and BAM! You’ve got a delicious, juicy, roasted whole chicken that tastes like you slaved all day. It’s **foolproof**, even for those of us who sometimes burn water (no judgment, we’ve all been there!). Plus, it’s a **one-pot wonder**, which means significantly less dish duty. Hallelujah!
This method locks in all the moisture, guarantees crispy skin (if you play your cards right), and practically makes itself. It’s the ultimate comfort food that feels fancy but requires zero culinary acrobatics. Perfect for a weeknight dinner, impressive enough for guests, and versatile enough to pair with just about anything. What’s not to love?
Ingredients You’ll Need
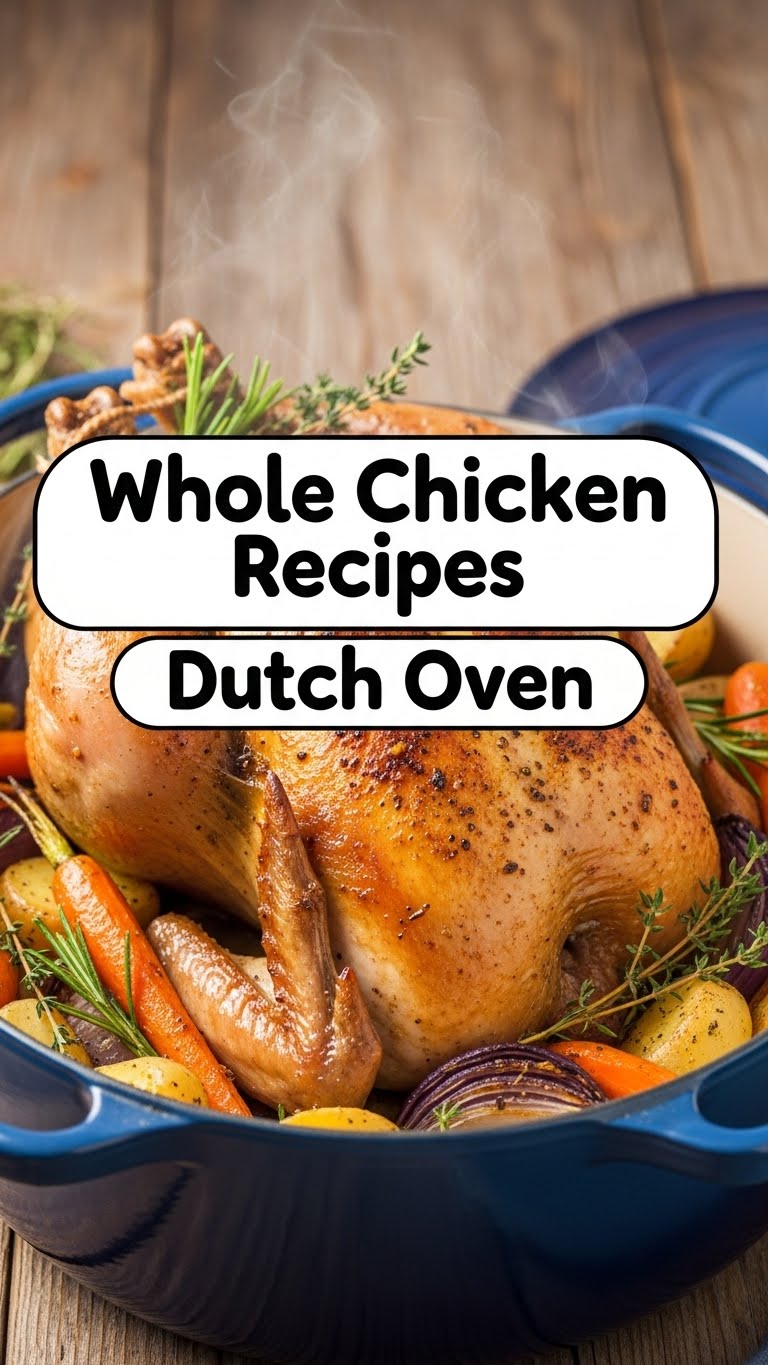
- **Whole Chicken:** A beautiful 3-5 lb bird. Make sure it’s thawed, unless you’re aiming for a very long cooking session (don’t recommend!).
- **Olive Oil:** A generous glug or two, for flavor and crispiness.
- **Salt & Freshly Ground Black Pepper:** To taste. Don’t be shy! This is where the flavor party starts.
- **Fresh Herbs:** A few sprigs of rosemary, thyme, or sage. Or all three! Fresh is best, but dried will work in a pinch (about 1 tsp dried per sprig of fresh).
- **Garlic:** 4-6 cloves, smashed or minced. Or a whole head, because garlic is life, right?
- **Lemon:** 1, cut into wedges. Adds a bright, citrusy zing that cuts through the richness.
- **Butter (optional):** 1-2 tablespoons, melted. For brushing on the skin for extra glorious crisp.
- **Veggies (optional but highly recommended for a full meal):** 2-3 carrots, 2-3 potatoes, 1 onion, 2 celery stalks. Chopped into chunky, bite-sized pieces. They soak up all those yummy chicken juices and become irresistible!
Step-by-Step Instructions
- **Pre-Game Prep:** Take your chicken out of the fridge about 30 minutes before you plan to cook it. This helps it cook more evenly. Now, here’s a crucial step for crispy skin: **pat it super, super dry** with paper towels, inside and out. This is **key for golden, crispy perfection**!
- **Seasoning Time:** Drizzle the chicken all over with olive oil, then get in there with your hands and rub it evenly. Be generous with salt, pepper, and your chosen fresh herbs (chopped, if using dried). Don’t forget the cavity! Shove half the lemon wedges and a few garlic cloves inside.
- **Veggie Bed (If Using):** Toss your chopped carrots, potatoes, onion, and celery (or whatever root veggies you’ve got!) into the Dutch oven. Drizzle with a little olive oil, salt, and pepper. They’re going to make a cozy, flavorful bed for our chicken and roast up beautifully.
- **Chicken Placement:** Carefully plop that seasoned chicken right on top of your veggie bed in the Dutch oven. If you’re using melted butter, brush it over the chicken skin now for an extra layer of crispiness and flavor.
- **Roast & Crisp:** Preheat your oven to a blazing **425°F (220°C)**. Once hot, pop the **uncovered** Dutch oven into the oven. Roast for about **20-30 minutes**. This initial high heat blast is what gets that skin gloriously golden and crispy.
- **Lower & Slow:** Reduce the oven temperature to **375°F (190°C)**. Now, cover the Dutch oven with its lid and continue roasting for another **45-60 minutes**. The lid helps trap the moisture, ensuring a super juicy bird. The chicken is done when a meat thermometer inserted into the thickest part of the thigh (without touching bone) reads **165°F (74°C)**.
- **Rest, You Deserve It (And So Does the Chicken!):** Once cooked, take the chicken out of the oven. Transfer it to a cutting board, tent it loosely with foil, and let it **rest for 10-15 minutes**. This is super important for juicy chicken – all those juices redistribute, making every bite succulent. Don’t skip it! Carve and serve with those delicious roasted veggies and pan juices.
Common Mistakes to Avoid
- **Not Patting Dry:** Seriously, we can’t stress this enough. If you want soggy, sad skin, then skip the paper towels. Otherwise, pat, pat, pat!
- **Not Resting the Chicken:** Impatient much? Cutting into the chicken too soon means all those delicious juices will run out onto your cutting board, leaving you with dry meat. **Patience, young grasshopper!** Good things come to those who wait (10 minutes).
- **Overcrowding the Pot:** If you add too many veggies, they’ll steam instead of roast and won’t get that lovely caramelization. Give everything some breathing room. If you have too many, roast them on a separate tray.
- **Eyeballing Temperature:** Don’t risk raw chicken or dry, overcooked meat. Invest in a reliable meat thermometer. **IMO, it’s one of the best kitchen tools you can own.**
- **Forgetting to season the cavity:** The inside needs love and flavor too! It contributes to the overall deliciousness.
Alternatives & Substitutions
- **Herbs:** No rosemary? Try dried Italian seasoning, smoked paprika, or even just onion powder and chili flakes. It’s your kitchen, feel free to experiment with your favorite flavor profiles!
- **Veggies:** Sweet potatoes, parsnips, turnips, Brussels sprouts, or even hearty mushrooms – anything goes! Just ensure they’re chopped into similar-sized pieces for even cooking.
- **Citrus:** No lemon? An orange works wonderfully and adds a lovely subtle sweetness. Limes are a bit too tart for a whole chicken, but hey, you do you.
- **Spices:** Feeling adventurous? Add a dash of cumin, coriander, or even a tiny pinch of cayenne for a subtle kick.
- **Fat:** Instead of olive oil, you could use avocado oil or even schmaltz (rendered chicken fat) for extra chicken-y flavor.
FAQ (Frequently Asked Questions)
- **My chicken isn’t getting crispy! What gives?** Did you pat it super dry? Did you start at a higher temperature without the lid? Make sure your oven is adequately preheated and the skin is dry. You can also give it a few minutes under the broiler at the very end (uncovered), **but watch it like a hawk** – it can go from golden to burnt in seconds!
- **Can I add liquid to the Dutch oven?** You *can*, like a splash of white wine, chicken broth, or even beer. However, the chicken usually releases plenty of its own delicious juices. If you want more pan drippings for gravy, a cup of liquid added before covering can boost the volume. Just don’t drown it!
- **How big of a chicken can I use?** A 5-6 lb chicken usually fits perfectly in a standard 5.5-quart Dutch oven. Much bigger, and you might need a larger pot, or consider spatchcocking (butterflying) the chicken to make it fit better and cook faster.
- **Do I *have* to use a Dutch oven?** While a Dutch oven is ideal for even heat distribution and moisture retention, you can use any heavy-bottomed, oven-safe pot with a tight-fitting lid. Just ensure it’s rated for the oven temperatures!
- **Can I prep this ahead of time?** Absolutely! You can season the chicken up to 24 hours in advance and store it, uncovered, in the fridge. Just remember to take it out to come to room temperature (about 30 mins) before roasting. This helps with even cooking and crispy skin.
- **What about leftovers?** What leftovers?! Kidding. Leftover chicken is fantastic for sandwiches, salads, quesadillas, or even a quick chicken noodle soup. It keeps well in an airtight container in the fridge for 3-4 days.
Final Thoughts
See? I told you this was easy peasy lemon squeezy. You just pulled off a whole roasted chicken like a total pro. Give yourself a pat on the back, because you deserve it! Now go impress someone—or yourself—with your new culinary skills. You’ve earned those bragging rights, and probably a well-deserved nap. Enjoy every glorious bite of that juicy, flavorful chicken!


