So, you’re craving something warm, comforting, and utterly delicious, but the thought of spending hours slaving away in the kitchen makes your eyes glaze over, huh? Same, friend, same. We’ve all been there – staring into the fridge, wondering if a cheese stick counts as dinner (it totally does sometimes, no judgment). But today, we’re aiming a little higher, specifically for that creamy, dreamy goodness known as white gravy. And guess what? It’s so ridiculously easy, you’ll wonder why you ever bought that questionable packet stuff.
Why This Recipe Is Awesome
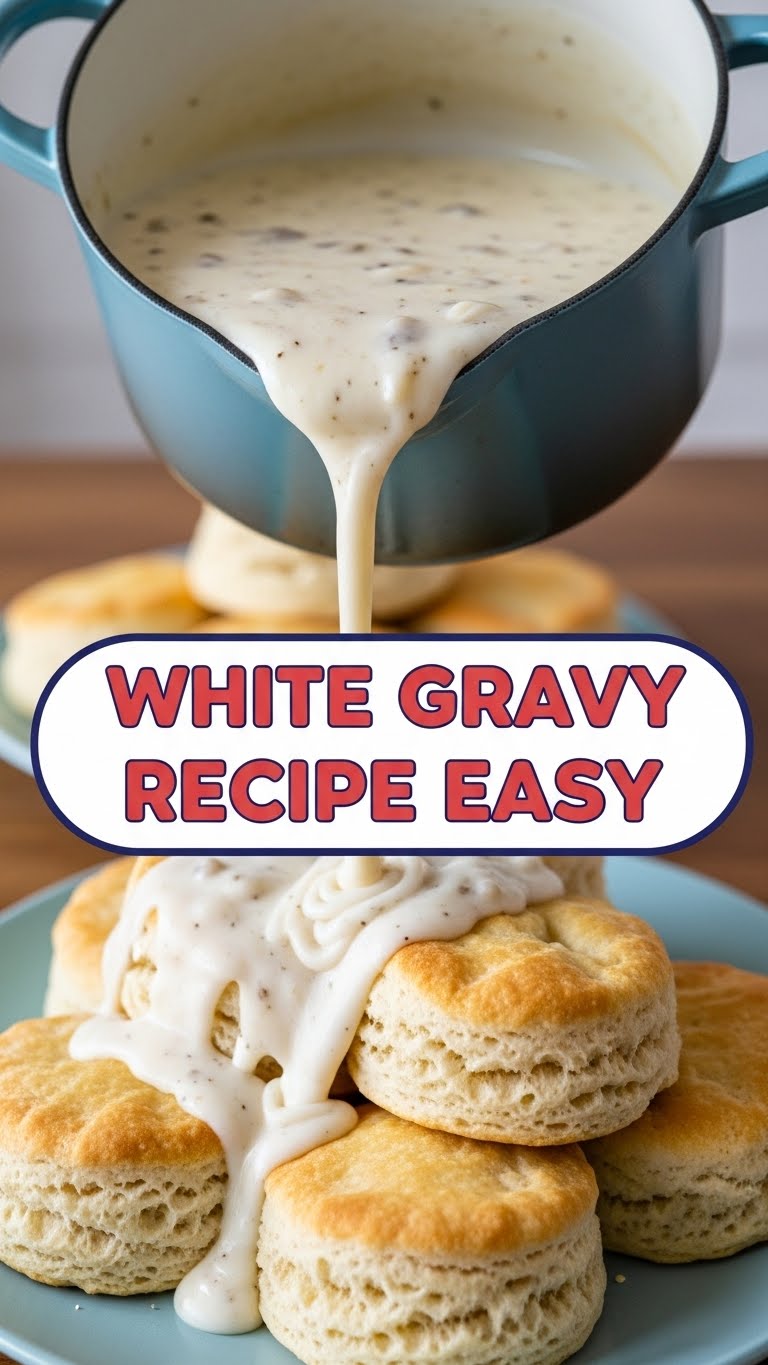
Okay, let’s get real. This isn’t just a recipe; it’s a superpower. Why? Because it’s **idiot-proof**. Seriously, even if your culinary skills usually peak at making toast without burning it (a respectable skill, BTW), you can nail this. It takes like, ten minutes, tops. TEN. MINUTES. That’s less time than it takes to decide what to watch on Netflix. You’ll go from “hmm, I’m hungry” to “OMG, I’m a chef!” in a flash. Plus, it’s ridiculously versatile, pairing perfectly with everything from biscuits to chicken fried steak, or even just a spoon if you’re feeling extra.
Ingredients You’ll Need
No fancy, unpronounceable ingredients here. Just the good stuff, probably already chilling in your pantry.
- **Butter:** 1/4 cup (that’s half a stick, for those of us who measure in “sticks”). Go for real butter, not that impostor stuff. Your taste buds will thank you.
- **All-Purpose Flour:** 1/4 cup. The unsung hero, ready to thicken things up.
- **Milk:** 2 cups. Whole milk makes it extra creamy, but 2% or even skim will work if that’s all you’ve got. We’re not snobs here, just gravy lovers.
- **Salt:** 1/2 teaspoon, or to taste. This is where you get to be the boss.
- **Black Pepper:** 1/4 teaspoon, or to taste. Freshly cracked if you’re feeling fancy, but the pre-ground stuff is totally fine.
Step-by-Step Instructions
- **Melt the Butter:** Grab a medium-sized saucepan and pop it over medium heat. Toss in your butter. Let it melt completely, shimmering and looking all buttery and inviting.
- **Whisk in the Flour (Hello, Roux!):** Once the butter is melted, sprinkle in the flour. Grab a whisk and get to business! Whisk constantly for about 1-2 minutes until it forms a smooth paste. This magical paste is called a roux, and it’s the foundation of all gravy greatness. It should look light golden, not brown, unless you’re going for a different vibe.
- **Gradually Add Milk:** Now, the fun part! Slowly, I mean *slowly*, pour in about half a cup of milk while continuously whisking. It’ll look clumpy and thick at first, don’t panic! Keep whisking until it’s smooth.
- **Keep Whisking & Pouring:** Continue adding the remaining milk, about half a cup at a time, whisking after each addition until smooth. This gradual addition prevents lumps. It’s like a gravy dance!
- **Simmer to Perfection:** Once all the milk is in, bring the mixture to a gentle simmer, still whisking occasionally. Let it cook for 3-5 minutes, or until it reaches your desired thickness. It’ll thicken more as it cools, FYI.
- **Season and Serve:** Remove from heat. Stir in your salt and black pepper. Give it a taste. Need more? Add more! **Don’t skip the tasting!** Serve immediately over whatever deliciousness you’ve got cooking.
Common Mistakes to Avoid
- **The Clump Monster:** Not whisking enough, especially when adding the flour and milk. Whisk like your life depends on it (or at least your gravy’s texture does).
- **Burning the Roux:** Cooking the flour and butter too long or over too high heat. Keep it light golden. A burnt roux means a burnt-tasting gravy, and nobody wants that.
- **Dumping All the Milk At Once:** Rookie mistake! This is how you get a lumpy mess. Remember the slow, steady stream? That’s your best friend.
- **Forgetting to Season:** Gravy without salt and pepper is like a joke without a punchline. Taste and adjust. It makes all the difference!
Alternatives & Substitutions
Feeling adventurous? Or just working with what you’ve got? No problem!
- **Butter Swap:** While butter is king IMO, you can totally use bacon grease for a super savory, smoky flavor. Just substitute it 1:1 for the butter. Seriously, try it. You’re welcome.
- **Milk Options:** For an even richer gravy, swap out some of the milk for heavy cream or half-and-half. Need a dairy-free option? Unsweetened plain almond milk or oat milk can work in a pinch, though the flavor and thickness might be slightly different.
- **Spice It Up:** A pinch of garlic powder, onion powder, or a dash of cayenne pepper can add an extra layer of flavor. Just don’t go overboard, we’re making white gravy, not a spice rub!
FAQ (Frequently Asked Questions)
Got questions? I’ve got answers (and maybe a little sass).
- **”Can I use margarine instead of butter?”** Well, technically yes, but why hurt your soul like that? Butter just tastes better. Your gravy deserves the best!
- **”My gravy is too thick! Help!”** Don’t panic! Whisk in a tablespoon or two of extra milk or even a bit of water until it reaches your desired consistency. Easy peasy.
- **”My gravy is too thin! What did I do wrong?”** No worries! In a small separate bowl, whisk together a teaspoon of flour with a tablespoon of cold milk (this is called a “slurry”). Whisk this into your simmering gravy and let it cook for another minute or two until thickened.
- **”Can I make this ahead of time?”** You totally can! It thickens a lot as it cools, so you’ll probably need to whisk in a bit more milk or water when reheating it on the stovetop over low heat.
- **”What do I serve this magical concoction with?”** Oh, my friend, the possibilities are endless! Biscuits, mashed potatoes, fried chicken, chicken fried steak, sausage, hash browns… basically anything that needs a hug.
- **”Is this healthy?”** Let’s not ask questions we don’t want the answers to, shall we? It’s comfort food. It’s good for the soul. That’s healthy enough for me!
Final Thoughts
And there you have it! Your very own, incredibly delicious, ridiculously easy white gravy. You’ve conquered the roux, tamed the clumps, and probably impressed yourself (and anyone lucky enough to be eating with you). So go ahead, pat yourself on the back. You’ve officially leveled up your cooking game. Now go impress someone—or yourself—with your new culinary skills. You’ve earned it!


