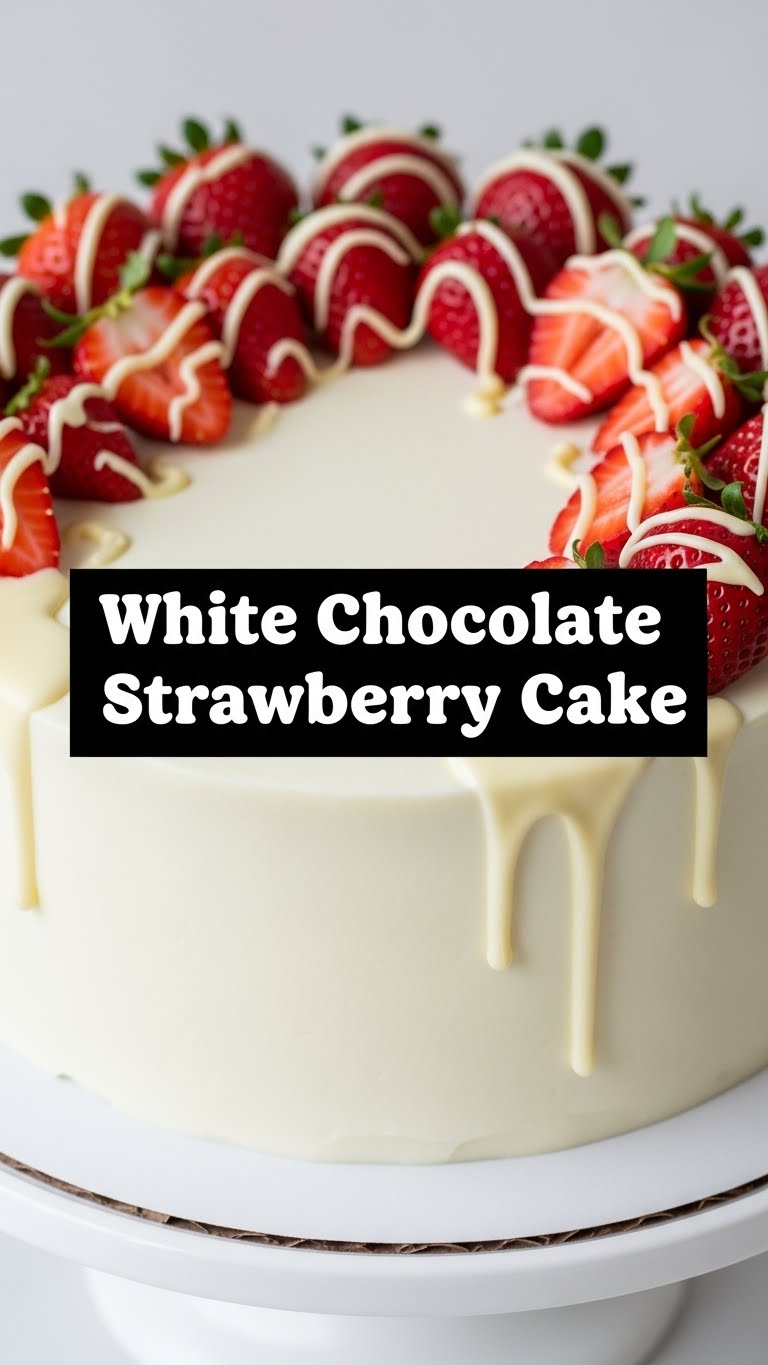
Okay, so you’ve scrolled past enough sourdough starters and intricate croquembouche towers, and now you’re thinking, “I need cake, but also, like, a nap.” Relatable. Good news, my friend, because I’ve got a recipe that screams “fancy baker” but actually requires the effort of a well-intentioned toddler. Enter the White Chocolate Strawberry Cake! It’s ridiculously delicious and surprisingly chill to make.
Why This Recipe is Awesome
Seriously, this isn’t one of those recipes where you need a culinary degree and three different whisks. This cake is beginner-friendly, meaning if I didn’t burn it, you won’t either. It’s got that perfect combo of sweet white chocolate and fresh, tangy strawberries, making it taste like summer in cake form. Plus, it looks super impressive, so you can totally humble-brag to your friends without actually breaking a sweat. It’s also surprisingly quick for a cake that tastes this good. No all-day affairs here, promise!
Ingredients You’ll Need
Grab your apron (or just wear whatever, who cares?):
- For the Cake:
- 1 ½ cups (3 sticks) unsalted butter, softened: Yes, butter. Don’t even think about margarine unless you want to disappoint everyone, including yourself.
- 2 cups granulated sugar: The sweet stuff. Don’t skimp, this isn’t a diet cake, buddy.
- 4 large eggs: Room temperature, please. They mix better, trust me on this.
- 1 teaspoon vanilla extract: The OG flavor enhancer. Good quality, if you can swing it.
- 3 cups all-purpose flour: The structure! Sift it if you’re feeling fancy, otherwise, just make sure there are no lumps.
- 1 tablespoon baking powder: To make it rise like your hopes and dreams.
- ½ teaspoon salt: Balances everything out. Don’t skip it!
- 1 cup milk: Again, room temperature is your friend here. Whole milk for maximum deliciousness.
- 6 oz (about 1 cup) white chocolate, melted and slightly cooled: The star! Use good quality white chocolate chips or bars, not those waxy candy melts. We’re better than that.
- For the Strawberry Filling & Frosting:
- 2 cups fresh strawberries, hulled and sliced/diced: About a pound. The fresher, the better. Save a few for garnish!
- ½ cup granulated sugar (for macerating strawberries): To get those juices flowing.
- 8 oz (1 block) cream cheese, softened: Full-fat, because we live once, right?
- 1 cup (2 sticks) unsalted butter, softened: More butter! We’re making cake, not friends with our diet.
- 4-5 cups powdered sugar (confectioners’ sugar): Sift it to avoid lumps, or just aggressively whisk it.
- 1 teaspoon vanilla extract: More of the good stuff.
- A splash of milk or cream (if needed): To get that perfect frosting consistency.
Step-by-Step Instructions
- Prep Time! Preheat your oven to 350°F (175°C). Grease and flour two 8-inch round cake pans. Don’t be shy with the grease!
- Berry Bliss: In a small bowl, gently toss the sliced strawberries with ½ cup sugar. Let them sit and do their thing while you make the cake. This is called macerating, fancy, huh?
- Cream It Up: In a large bowl, cream together the softened butter and granulated sugar until it’s light and fluffy. This usually takes about 3-5 minutes with an electric mixer. Don’t rush this step, it’s important for the cake’s texture.
- Egg-cellent Addition: Beat in the eggs one at a time, mixing well after each addition. Then stir in the vanilla extract.
- Dry Mix: In a separate medium bowl, whisk together the flour, baking powder, and salt. Make sure it’s all evenly combined.
- Alternate & Combine: Gradually add the dry ingredients to the wet ingredients, alternating with the milk. Start and end with the dry ingredients. Mix until just combined – don’t overmix, or your cake will be tough!
- White Chocolate Swirl: Gently fold in the melted and slightly cooled white chocolate. Just enough to combine, you don’t want to deflate all that lovely air.
- Bake Away! Divide the batter evenly between your prepared cake pans. Bake for 25-30 minutes, or until a wooden skewer inserted into the center comes out clean.
- Cool Down: Let the cakes cool in the pans for about 10-15 minutes before inverting them onto a wire rack to cool completely. Patience, young padawan! Don’t try to frost a warm cake unless you want a melted mess.
- Frosting Fun: While the cakes cool, drain any excess liquid from your macerated strawberries. Now, for the frosting: beat softened cream cheese and butter together until smooth. Gradually add the powdered sugar, one cup at a time, mixing well after each addition. Stir in vanilla extract. If it’s too thick, add a splash of milk or cream.
- Assemble! Once the cakes are completely cool, place one layer on your serving plate. Spread a generous layer of frosting, then top with a good amount of your macerated strawberries. Place the second cake layer on top. Frost the top and sides of the entire cake. Garnish with remaining strawberries.
- Devour! Slice it up and bask in the glory of your creation. You earned it!
Common Mistakes to Avoid
- Not preheating your oven: Seriously, this isn’t optional. Your cake needs a hot environment to rise properly. It’s like jumping into a cold pool – just wrong.
- Overmixing the batter: Once you add the flour, mix just until combined. Overmixing develops the gluten too much, resulting in a dense, tough cake. Nobody wants a hockey puck.
- Frosting a warm cake: This is a classic rookie error. Resist the urge! A warm cake will melt your beautiful frosting into a sad, sticky puddle. Let it cool COMPLETELY.
- Using cold ingredients: Especially the butter, eggs, and milk. Room temperature ingredients emulsify better, leading to a smoother, more even batter and a better cake texture. This isn’t just baking snobbery, it’s science!
- Not measuring properly: Baking is a science, not an art like cooking. Use proper measuring cups and spoons, especially for flour (spoon and level, don’t scoop directly from the bag).
Alternatives & Substitutions
- Berries, berries, berries: Not a strawberry fan? Or maybe they’re out of season? You could totally swap in raspberries, blueberries, or a mixed berry blend. Just adjust the sugar slightly depending on their tartness. IMO, strawberries are perfection here, but you do you!
- Chocolate swap: If you’re feeling wild, you could use milk chocolate instead of white. It’ll be a different vibe, but still delicious. Or even dark chocolate for a more sophisticated, less sweet profile.
- Cream cheese frosting alternative: Not everyone loves cream cheese frosting (gasp!). You could definitely do a classic vanilla buttercream or even a white chocolate buttercream instead. Just know the tang of the cream cheese really cuts through the sweetness of the white chocolate, which is why I love it!
- Gluten-free? You can try a 1:1 gluten-free all-purpose flour blend. I haven’t tested it myself, but many readers have had success with these blends in similar recipes.
FAQ (Frequently Asked Questions)
- Can I use frozen strawberries? You can, but make sure they’re completely thawed and drained really well before macerating. Fresh is always best for flavor and texture, though.
- My cake sunk in the middle, what gives? Did you open the oven door too early? Or maybe overmix the batter? Could also be an old baking powder. Don’t beat yourself up; it happens to the best of us!
- How long does this cake last? Covered tightly in the fridge, it’s good for 3-4 days. But let’s be real, it probably won’t last that long.
- Can I make it ahead? Absolutely! You can bake the cake layers a day in advance, wrap them tightly in plastic wrap, and store them at room temp. Frost the day you plan to serve. You can even make the frosting a day ahead and store it in the fridge, just re-whip it a bit before using.
- Do I have to use room temperature ingredients? Yes! I mean, you can use cold ingredients, but your batter won’t emulsify properly, and your cake might be dense or crumbly. FYI, it’s worth the extra wait!
- This sounds too easy. Am I missing something? Nope! That’s the beauty of it. It’s designed to be impressive without being a full-on kitchen nightmare. You’re welcome.
Final Thoughts
And there you have it, my friend! A White Chocolate Strawberry Cake that’s as delightful to eat as it is surprisingly simple to make. Go ahead, whip this up, and prepare for compliments (and maybe a little self-congratulatory dance). You’ve earned those bragging rights. Now go impress someone—or yourself—with your new culinary skills. Happy baking!


