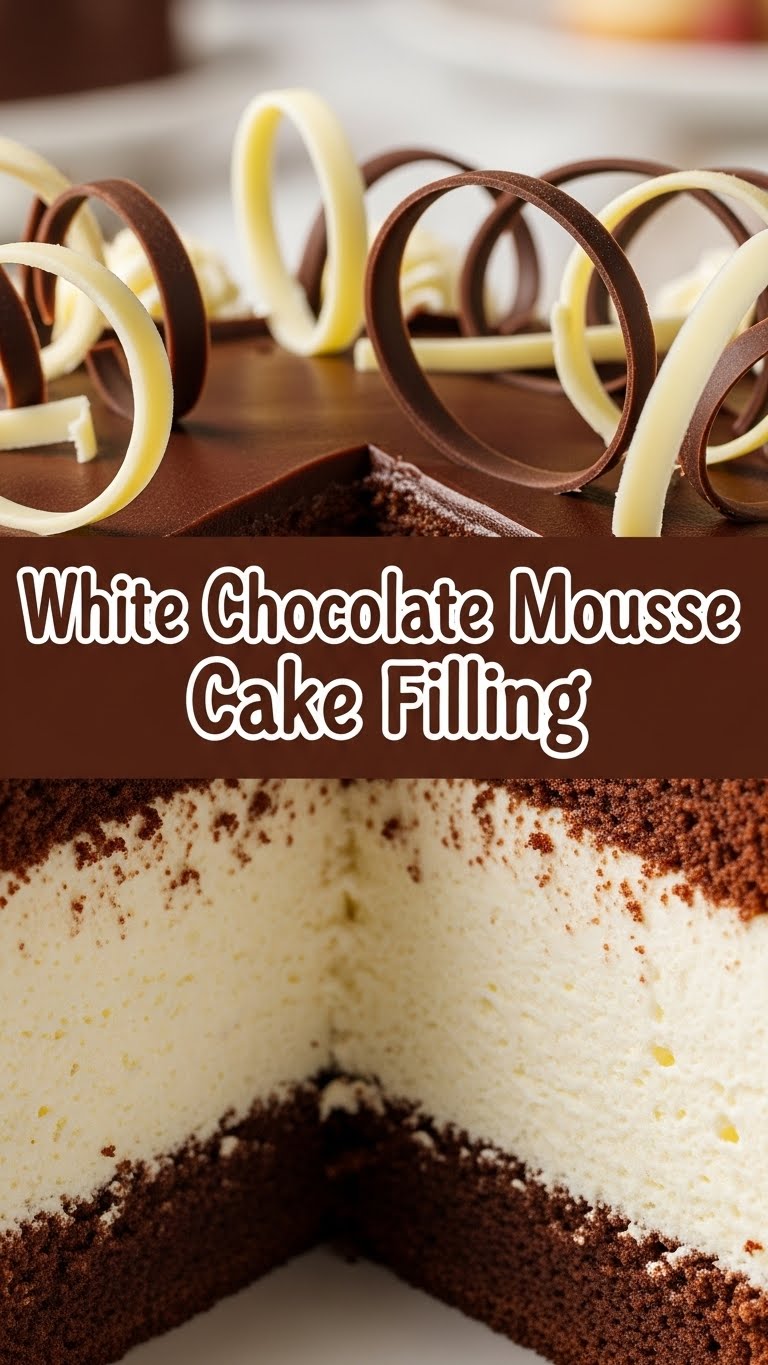
So, you’re eyeing that fancy cake on Pinterest, thinking, “I could totally make that,” but then your inner procrastinator whispers, “Too much effort, friend.” Sound familiar? Same! That’s why we’re diving into a little secret weapon today: a White Chocolate Mousse Cake Filling that’s so good, so easy, it should probably be illegal. Or at least come with a warning label for excessive deliciousness.
Why This Recipe is Awesome
Because, darling, it’s white chocolate mousse. Duh! But beyond the obvious, this recipe is a godsend for anyone who loves baking but hates fuss. It’s got that airy, dreamy texture that screams “I spent hours on this!” but actually only requires a few simple steps and a bit of chill time. We’re talking **impressive results with minimal drama**. It’s basically the cool, laid-back friend of all cake fillings. Plus, it transforms even the most basic vanilla cake into a culinary masterpiece. Your friends will think you secretly went to pastry school, and honestly, we won’t tell if you don’t.
Ingredients You’ll Need
Gather your magic potion components! No dragon scales or unicorn tears required, just these kitchen staples:
- **8 oz (about 1 ½ cups) Good Quality White Chocolate:** This is not the time for mystery candy melts, folks. Go for a nice bar or callets. Your taste buds will thank you.
- **2 cups Heavy Cream (cold):** This is where the magic happens, turning liquid into cloud-like fluff. Don’t skimp, don’t substitute.
- **2-3 tbsp Powdered Sugar (Confectioners’ Sugar):** Just a touch, because white chocolate is already a sweet-talker. Adjust to your preference!
- **1 tsp Vanilla Extract:** A little hug for your flavors. Pure vanilla, please!
- **Pinch of Salt:** Yes, even in sweet things! It actually makes everything taste *more* chocolatey and less flat. Trust me on this one.
Step-by-Step Instructions
- **Melt the Chocolate Like a Boss:** Chop your white chocolate into small, uniform pieces. Pop them in a heatproof bowl. You can melt it over a double boiler (fancy!), or in the microwave in 20-30 second bursts, stirring well after each burst, until smooth and totally melted. **Don’t overheat it**, or it’ll get clumpy and sad. Let it cool slightly, but keep it liquid.
- **Whip the Cream to Cloud Perfection:** In a large, *chilled* bowl (seriously, a cold bowl helps!), pour in your cold heavy cream, powdered sugar, and vanilla extract. Beat it with an electric mixer (or a whisk, if you want a workout) on medium-high speed until **soft peaks form**. You want it fluffy, not stiff like butter. Stop just when it holds its shape.
- **Fold in the Flavor:** Gently pour your slightly cooled (but still liquid!) melted white chocolate into the whipped cream. Using a spatula, **fold it in carefully** until just combined. Don’t go crazy stirring, or you’ll deflate all that lovely air. We’re aiming for light and airy, not dense.
- **Chill Out, Literally:** Cover your bowl with plastic wrap and pop it in the fridge for at least 2-4 hours. This is crucial for it to firm up into that perfect mousse consistency. Honestly, **overnight is even better** if you can resist sneaking spoonfuls.
- **Fill ‘Er Up!** Once chilled and firm, give it a quick, gentle stir to loosen it up a bit if needed. Now, spread that glorious white chocolate mousse between your cake layers. Or just eat it with a spoon. Your call, no judgment here.
Common Mistakes to Avoid
- **Over-whipping the Cream:** Seriously, this is a mousse, not butter. Stop when it’s soft and holds its shape. If you go too far, it’ll separate and look grainy. Nobody wants grainy mousse.
- **Adding Hot Chocolate to Cold Cream:** Recipe for disaster, my friend. Your chocolate will seize up, and you’ll have tiny chocolate bits instead of a smooth, dreamy mousse. Let that melted chocolate cool down a bit!
- **Impatience is Not a Virtue Here:** Skipping the chill time is a rookie move. Your mousse won’t be firm enough, and you’ll end up with a sliding mess instead of a beautifully stable cake filling. **Patience, grasshopper!**
Alternatives & Substitutions
Feeling adventurous? This recipe is super flexible!
- **Chocolate Swap:** Not a white chocolate fan? You can totally use **milk chocolate or dark chocolate** instead. Just be aware that darker chocolate can make the mousse a bit firmer, and milk chocolate will be sweeter. Adjust powdered sugar accordingly!
- **Flavor Boosters:** Stir in a tablespoon of your favorite liqueur (like Chambord for a raspberry kick, or Grand Marnier for orange notes) with the vanilla extract. Or add a little **lemon or orange zest** for a bright twist.
- **Extra Texture:** Fold in some finely crushed freeze-dried raspberries or a sprinkle of mini chocolate chips right before chilling for a little extra oomph.
FAQ (Frequently Asked Questions)
Got questions? I’ve got answers (and opinions!):
Can I use chocolate chips instead of a bar? Well, technically yes, but often chocolate chips have stabilizers that make them melt a bit differently and can result in a less smooth texture. For the best mousse, **invest in a good quality baking bar or callets**. You deserve it!
Does this mousse need gelatin to set? Nope! For this specific recipe, the high fat content of the heavy cream and the cooling of the chocolate are enough to give it a lovely, stable, yet light texture. If you want a *super* firm, commercial-style mousse, then yes, gelatin would be your friend, but this is the chill version.
How far in advance can I make this? You can totally make this mousse up to **2-3 days ahead** and keep it covered in the fridge. It might firm up a bit more, so give it a gentle whisk or stir before using if needed.
My mousse is runny! What happened? Ah, a common woe! This usually means your chocolate was too hot when added, you over-mixed it and deflated the cream, or it just hasn’t had enough chill time. Pop it back in the fridge and pray to the dessert gods for more setting time!
Can I use a sugar substitute? You can try, but powdered sugar also helps with the texture and prevents graininess. If you do, use one that measures like sugar, but **be mindful of the texture and sweetness level**.
Is this only for cake filling? Are you kidding?! This is amazing as a dessert on its own, piped into little cups, layered with berries, or even as a decadent topping for brownies. The world is your oyster, or, in this case, your white chocolate mousse!
Final Thoughts
Alright, you culinary genius! You’re officially equipped to whip up a White Chocolate Mousse Cake Filling that will make eyes roll back in sheer delight. Seriously, it’s that good. Now go forth, conquer those cake layers, and maybe, just maybe, save a little extra spoonful for yourself. You’ve earned it, **IMO**. And remember, baking should be fun, so don’t take it too seriously. Enjoy the process (and the delicious results)!


