Ever get that craving for something utterly decadent, but the thought of spending hours in the kitchen makes you want to nap instead? Yeah, me too. But guess what? We’re about to make a cake that looks like you tried really, really hard, but actually didn’t. Shhh, it’s our little secret.
Why This Recipe is Awesome
Why bother, you ask? Because it’s practically magic, that’s why! This isn’t one of those ‘requires a culinary degree and a unicorn horn’ kind of recipes. Nope. It’s truly idiot-proof; even I didn’t mess it up. Seriously, if you can stir, you can bake this beauty. Plus, it’s got chocolate AND vanilla, so you don’t have to pick favorites. It’s the ultimate “I can have it all” dessert, and frankly, you deserve it. The best part? **It’s ready faster than your current Netflix binge.**
Ingredients You’ll Need
- **All-Purpose Flour:** 1 ¾ cups (210g). The unsung hero, keeping it all together. Don’t worry, we’re not asking for artisanal, hand-ground stuff.
- **Granulated Sugar:** 1 ½ cups (300g). Because adulting is hard, and sometimes you just need a sweet hug.
- **Baking Powder:** 1 tablespoon. Your cake’s personal cheerleading squad, telling it to rise up!
- **Salt:** ½ teaspoon. Just a pinch to make all those sweet flavors sing.
- **Unsalted Butter:** ½ cup (113g), softened. Unsalted, because we’re adding our own salt. Plus, butter makes everything better, **FACT**.
- **Large Eggs:** 2, at room temperature. Happy eggs make happy cakes.
- **Whole Milk:** 1 cup (240ml), at room temperature. Gives it that perfect moistness.
- **Vanilla Extract:** 2 teaspoons. The soul of every good cake. Don’t skimp!
- **Unsweetened Cocoa Powder:** ¼ cup (20g). The dark knight to our white cake. Make it good quality; your taste buds will thank you.
- **Hot Water or Coffee:** ¼ cup (60ml). This supercharges the cocoa flavor. Trust me on this one.
- **Chocolate Chips:** ½ cup (about 85g), semi-sweet. Because why have just one type of chocolate when you can have two? Or three? Live a little!
Step-by-Step Instructions
- **Oven Warm-Up & Pan Prep:** First things first, get that oven nice and toasty to **350°F (175°C)**. Lube up two 8-inch round cake pans – butter and a light dusting of flour works wonders. No one likes a sticky situation.
- **Dry Mix Magic:** In a large bowl, whisk together your flour, sugar, baking powder, and salt. Give it a good whisk to make sure everything’s buddies.
- **Wet Mix Wonders:** In a separate medium bowl, whisk your softened butter until it’s light and fluffy. Crack in the eggs one at a time, mixing well after each. Stir in the milk and vanilla extract. It might look a little curdled, but don’t panic! It’ll all come together.
- **The Grand Union:** Gradually add the wet ingredients to the dry ingredients, mixing on low speed until just combined. **Don’t overmix!** We’re aiming for light and fluffy, not a hockey puck.
- **The Great Divide:** Now, here’s where the magic starts. Divide your batter roughly in half into two separate bowls. No need for a lab scale, just eyeball it; you’re a pro now.
- **Chocolate Transformation:** In one of the batter bowls, whisk together the cocoa powder and hot water/coffee until smooth. Then, gently fold this chocolate mixture into that half of the batter. Stir in your chocolate chips here too. This is your dark side, embrace it.
- **Marbling Mayhem:** Dollop spoonfuls of white batter and chocolate batter alternately into your prepared pans. Grab a butter knife or a skewer and swirl through the batters a few times. Don’t overdo it, or you’ll lose the cool marble effect. Think ‘artistic mess,’ not ‘muddy puddle.’
- **Bake Time!** Pop those beauties into your preheated oven and bake for **30-35 minutes**, or until a toothpick inserted into the center comes out clean.
- **Cool Down:** Let the cakes cool in their pans for about 10 minutes before carefully flipping them out onto a wire rack to cool completely. Trying to frost a warm cake is like trying to comb a cat – messy and ultimately disappointing.
Common Mistakes to Avoid
- **Overmixing the Batter:** This isn’t a race, people! Overmixing develops gluten, which makes your cake tough. We want light and fluffy, not a chewy workout for your jaw. Mix until just combined, then back off!
- **Not Preheating the Oven:** Thinking you don’t need to preheat? Rookie mistake! Your oven needs to be ready for action when the batter goes in, otherwise it won’t rise properly. Patience, young Padawan.
- **Opening the Oven Door Constantly:** Stop peeking! Every time you open that door, you let out precious heat, which can make your cake sink. Trust the process, and the timer.
- **Ignoring the Cooling Time:** We covered this, but it bears repeating: trying to frost a warm cake is a one-way ticket to frosting meltdown city. Let it cool completely. Seriously.
- **Substituting WIlly-Nilly:** While I encourage experimentation, sometimes specific ingredients are there for a reason. Don’t swap baking powder for baking soda unless you know what you’re doing (and have an acid to activate it!).
Alternatives & Substitutions
Feeling a little rebellious? Here are some ways to tweak this recipe:
- **Milk Swap:** No whole milk? You can use 2% or even buttermilk for a slightly tangier cake. For a dairy-free version, a good quality unsweetened almond or oat milk works great.
- **Butter Alternatives:** If you’re out of butter, a neutral oil (like vegetable or canola) can work, but the cake won’t have quite the same rich flavor. **IMO, butter is non-negotiable for max deliciousness.**
- **Chocolate Extravaganza:** Not a fan of semi-sweet chips? Swap them for dark chocolate chips, milk chocolate, or even white chocolate chips for a different flavor profile. You could also swirl in a different flavored extract with the white batter, like almond or orange, for a fun twist!
- **No Cocoa Powder?** You can totally make this an all-white cake with chocolate chips, or just omit the chocolate altogether for a simple vanilla cake. Your kitchen, your rules!
FAQ (Frequently Asked Questions)
Got questions? I’ve got (casual and hopefully helpful) answers!
- **Can I use margarine instead of butter?** Well, technically yes, but why hurt your soul like that? Butter is king for a reason – flavor, texture, the sheer joy of it. If you absolutely must, use a good quality stick margarine, but don’t say I didn’t warn you.
- **My cake sank in the middle, what happened?** Probably opened the oven door too soon, or maybe your baking powder is old. Check that expiration date, friend! Or your oven temperature might be off; consider an oven thermometer.
- **How long does this cake last?** If you’re strong-willed, wrapped tightly at room temp for 3-4 days. In my house? About 3-4 *hours*. Just kidding (mostly).
- **Can I make cupcakes with this recipe?** Absolutely! Line a cupcake tin and fill liners about two-thirds full. Adjust baking time; usually around 18-22 minutes. Keep an eye on them with the toothpick test.
- **Can I make this dairy-free?** You bet! Use a good plant-based milk (like almond or oat) and a high-quality vegan butter substitute. Easy peasy lemon squeezy.
- **Can I add sprinkles?** Is that even a question? Of course, you can! Sprinkles make everything a party. Add them to the batter or on top of the frosting.
Final Thoughts
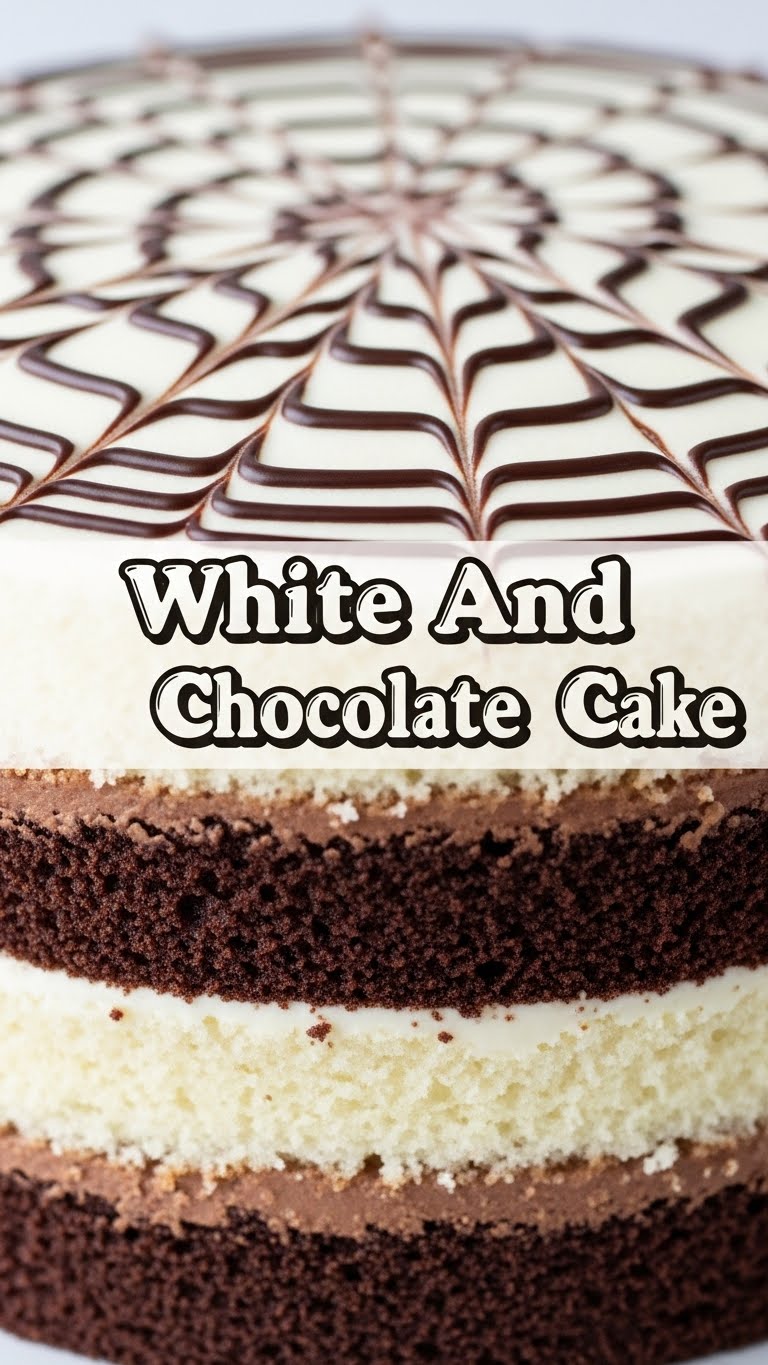
And there you have it, folks! Your very own masterpiece, ready to impress friends, family, or just your hungry self. You’ve conquered the mighty White and Chocolate Cake, and honestly, you deserve a medal. Or at least another slice (or three). Now go impress someone—or yourself—with your new culinary skills. You’ve earned it! Don’t forget to share your creations (and maybe a slice or two) with your favorite recipe guru (that’s me!). Happy baking, you rockstar!


