So, you’re scrolling through TikTok, feeling a little peckish, and suddenly BAM! Cinnamon roll craving hits. But you also kinda want to chill and not spend a lifetime kneading dough. Girlfriend, I hear you. This recipe? It’s your new best friend for those days you want something ridiculously tasty but don’t want to turn into a kitchen wizard.
Why This Recipe is Awesome
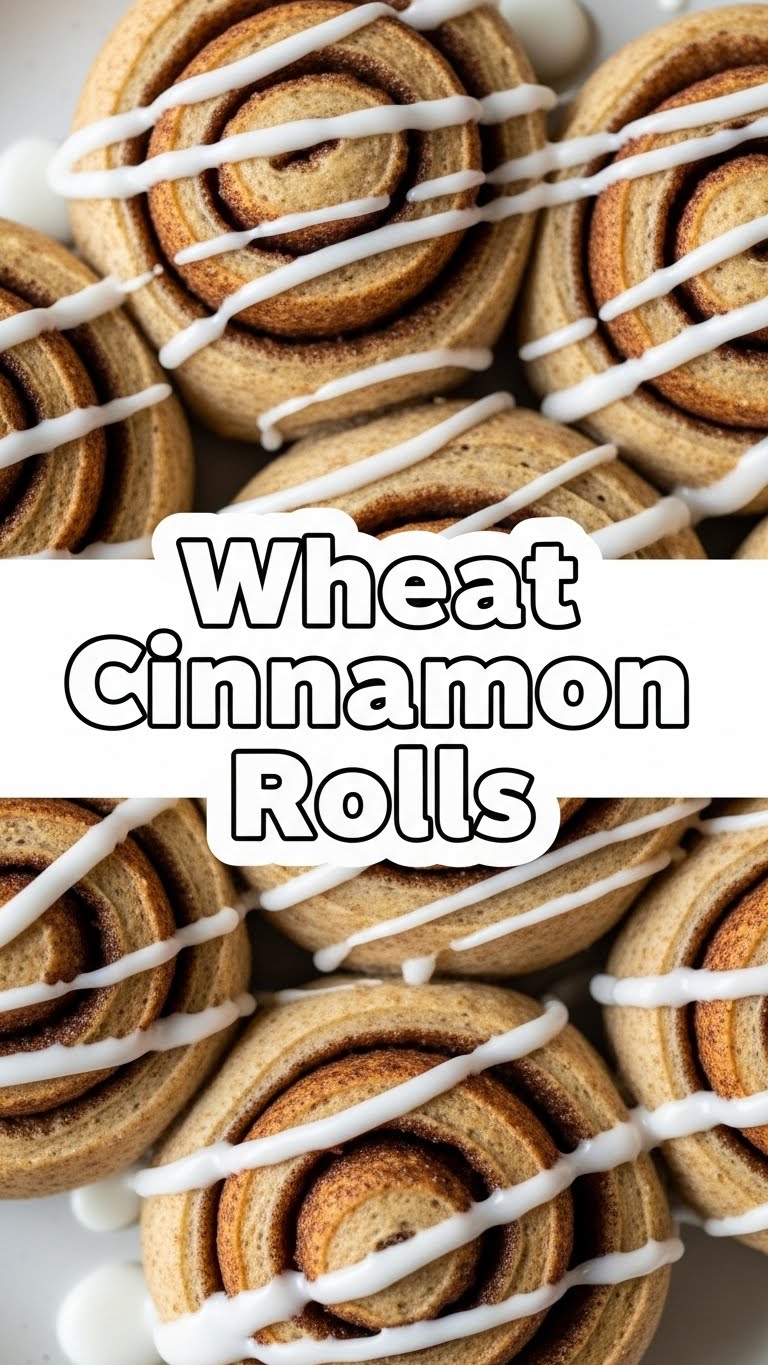
Okay, listen up. This isn’t just *any* cinnamon roll recipe. This is the Wheat Cinnamon Roll recipe. Meaning, it’s got a little whole wheat goodness, so you can pretend it’s practically a health food. Shhh, don’t tell anyone it still tastes amazing. Plus, it’s so idiot-proof, even my cat could probably bake them (if he had opposable thumbs, obvs). It’s warm, it’s gooey, and it screams “cozy vibes” without screaming “all-day project.” Get ready for some serious carb-induced happiness!
Ingredients You’ll Need
For the Dough:
- 1 cup warm milk: Think bathwater temperature, not scalding hot.
- 2 ¼ teaspoons active dry yeast: One packet, the magic fairy dust that makes things poof!
- ¼ cup granulated sugar: A little sweetness for the yeast (and for you).
- 1 ½ cups whole wheat flour: Our “healthy” secret ingredient. Don’t tell anyone it still tastes amazing.
- 1 ½ cups all-purpose flour: Because we’re not *too* healthy, and we want fluffy rolls.
- ½ teaspoon salt: Just a pinch, to make everything pop.
- ¼ cup unsalted butter: Melted, then cooled. Think liquid gold.
- 1 large egg: One happy egg, room temp if you’re feeling fancy.
For the Cinnamon Filling:
- ½ cup unsalted butter: Softened, ready for spreading.
- ¾ cup packed light brown sugar: For that deep, caramelly goodness.
- 2 tablespoons ground cinnamon: The star of the show! Don’t be shy.
For the Cream Cheese Frosting:
- 4 ounces cream cheese: Softened. The good stuff.
- ¼ cup unsalted butter: Softened, again. We like butter around here.
- 1 ½ cups powdered sugar: Sifted, unless you like lumpy frosting (you don’t).
- 1 teaspoon vanilla extract: A splash of happiness.
- 1-2 tablespoons milk (or cream): Just a tiny bit, to make it dreamy and spreadable.
Step-by-Step Instructions
- Awaken the Yeast: In a small bowl, mix the warm milk, 1 teaspoon of the granulated sugar, and yeast. Let it chill for 5-10 minutes until it gets foamy. That’s how you know it’s alive and ready to party!
- Combine Dry Goodies: In a large bowl, whisk together the whole wheat flour, all-purpose flour, the remaining granulated sugar, and salt. Make a little well in the center.
- Mix the Wet Stuff: Pour the foamy yeast mixture, melted butter, and egg into the well. Stir with a wooden spoon until a shaggy dough forms.
- Knead It Out: Turn the dough onto a lightly floured surface. Knead for 5-7 minutes until it’s smooth and elastic. If you have a stand mixer with a dough hook, let it do the work!
- Rise and Shine: Lightly grease a clean bowl, place the dough in it, and turn once to coat. Cover with plastic wrap and let it rise in a warm spot for 1-1.5 hours, or until doubled in size. This is where the magic happens, don’t rush it!
- Prep the Filling: While your dough is rising, mix softened butter, brown sugar, and cinnamon in a small bowl until well combined. Set aside.
- Roll It Out: Once risen, punch down the dough gently (it’s satisfying, trust me). On a lightly floured surface, roll it into a large rectangle, about 12×18 inches. Think pizza box size, give or take.
- Spread the Love: Evenly spread the cinnamon-sugar mixture over the dough, leaving a small border on one long edge.
- Roll ‘Em Up: Starting from the opposite long edge, tightly roll the dough into a log. Pinch the seam closed to seal.
- Slice and Dice: Using a sharp knife or dental floss, cut the log into 12 equal rolls. About 1.5 inches each.
- Second Rise: Arrange the rolls in a lightly greased 9×13 inch baking dish. Cover loosely with plastic wrap and let them rise again for another 30-45 minutes, or until puffy.
- Bake Time! While they’re puffing up, preheat your oven to 375°F (190°C). Bake the rolls for 20-25 minutes, or until golden brown and cooked through. Keep an eye on them—ovens vary!
- Whip the Frosting: While the rolls cool a *tiny* bit, beat softened cream cheese and butter until smooth. Add powdered sugar, vanilla, and a splash of milk. Beat until fluffy and spreadable.
- Frost and Devour: Spread that glorious frosting over the warm (but not hot!) cinnamon rolls. Serve immediately and watch them disappear!
Common Mistakes to Avoid
Alright, so you’ve got this. But just in case, here are a few classic oopsies to dodge:
- Impatient Yeast Syndrome: Trying to use yeast that didn’t get all bubbly. Seriously, wait for the foam! Otherwise, your rolls will be dense little bricks. No fun.
- Under-Rising Dough: Skimping on proofing time. Your dough needs to double in size, both times. If it’s still looking sad and small, give it more time. Patience is a virtue, especially in baking.
- Over-Baking Blues: Leaving them in the oven too long turns soft rolls into hard hockey pucks. They should be golden brown, not dark brown. Pull ’em out when they’re just right!
- Melting Frosting Disaster: Slathering frosting on piping hot rolls. Unless you want cinnamon roll soup, let them cool down for at least 10-15 minutes. Warm is good, lava-hot is not.
Alternatives & Substitutions
Want to get a little wild? Or maybe you’re just out of an ingredient. No stress!
- Flour Power: You can totally do 100% all-purpose flour if whole wheat isn’t your jam, or if you just want a super-light roll. Or go 50/50 whole wheat/AP for a nice balance. Your kitchen, your rules!
- Glaze It Up: Not a cream cheese frosting fanatic? Whisk powdered sugar with a splash of milk and a tiny bit of vanilla for a simple, sweet glaze. Still delicious, just less… fluffy.
- Spice It Up: Add a pinch of nutmeg or cardamom to your cinnamon filling for extra warmth and complexity. Or throw in some chopped pecans or walnuts for a nutty crunch! IMO, pecans are a game changer.
- Dairy-Free Dream: Use plant-based milk and butter for a dairy-free version. Just make sure your yeast activates with the plant milk!
FAQ (Frequently Asked Questions)
- “Can I make these ahead of time? Because morning baking is a no-go for me.” Absolutely! You can assemble the rolls in the baking dish, cover tightly, and refrigerate overnight. In the morning, pull them out an hour before baking to let them come to room temp and proof a bit more, then bake as usual. FYI, this is my go-to move!
- “My dough isn’t rising! Is it dead?” Oh no! Most likely, your milk was too hot (killed the yeast) or too cold (put it to sleep), or your yeast is old. Check the expiration date on your yeast. If it’s not foamy in step 1, start over with fresh yeast and properly warm milk.
- “Can I use margarine instead of butter? My grandma used to…” Well, technically yes, but why hurt your soul like that? Butter just tastes better, both in the dough and the filling. Trust me on this one.
- “How do I store leftover cinnamon rolls? If there are any, that is.” Good question! Store them in an airtight container at room temperature for a day or two, or in the fridge for up to 5 days. Reheat briefly in the microwave for that fresh-baked feel.
- “Can I freeze these?” Yep! You can freeze unbaked rolls (after the second rise) or baked, unfrosted rolls. For unbaked, freeze individually, then transfer to a freezer bag. Thaw overnight in the fridge, then let rise and bake. For baked, freeze individually, then thaw and warm before frosting.
- “What if I only have bread flour?” Bread flour has a higher protein content, so it might make your rolls a bit chewier. You can use it, but you might need a tiny bit more liquid, and the texture will be slightly different than with all-purpose.
Final Thoughts
So there you have it, my friend! Your ticket to a kitchen filled with the most glorious aroma and a plate full of warm, gooey, slightly-healthier-than-usual cinnamon rolls. You just made something awesome. Now go impress someone—or just yourself—with your new culinary skills. You’ve totally earned that cozy moment. Happy baking!


