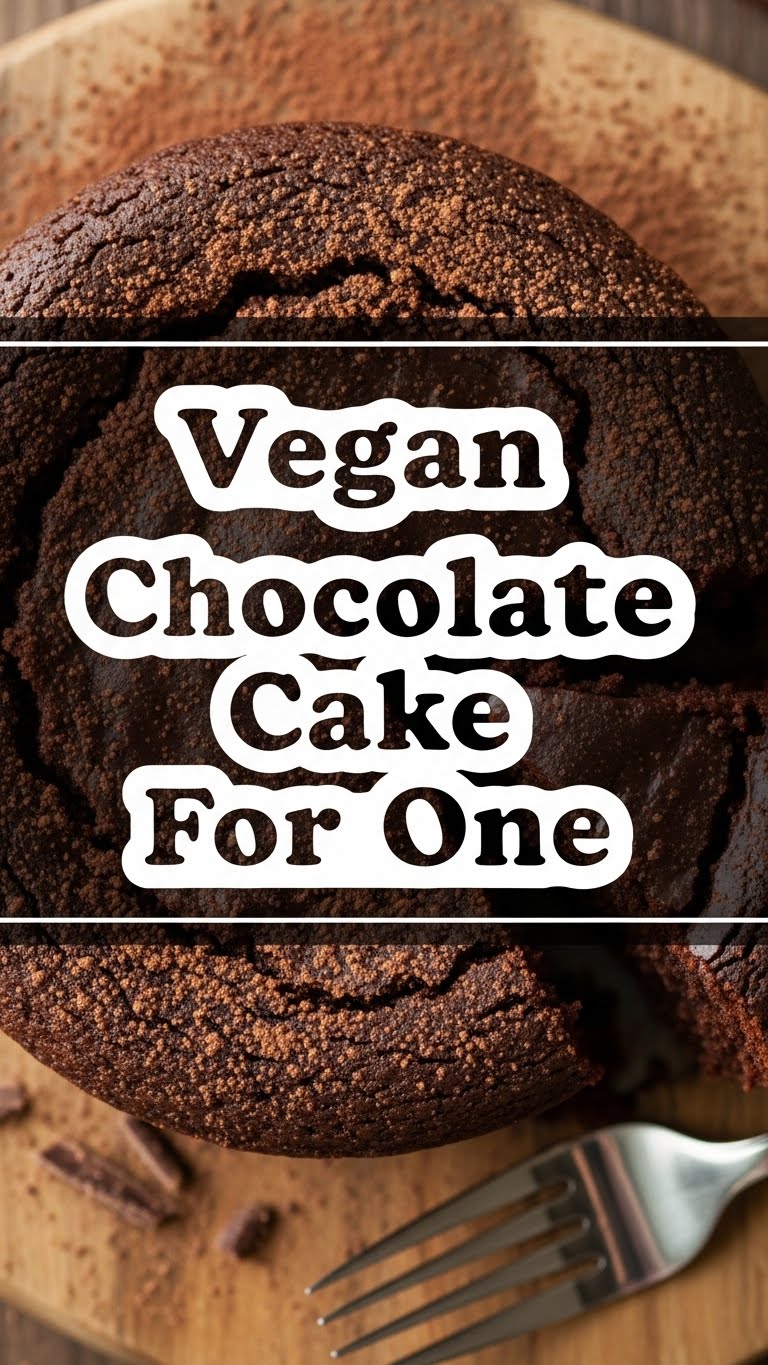
So you’re scrolling through TikTok at 11 PM, a sudden chocolate craving hits, but the idea of baking a whole cake for *just little old you* feels like overkill? Been there, done that, bought the oversized t-shirt. This isn’t just a recipe; it’s a silent nod of understanding from me to you. Get ready for a solo dessert adventure that’s ridiculously easy, super satisfying, and totally vegan!
Why This Recipe is Awesome
Okay, first things first: **this cake is designed for maximum pleasure with minimum effort.** No fancy equipment, no endless clean-up, and absolutely zero judgment if you eat it straight out of the ramekin (which, let’s be real, you totally will). It’s vegan, so all your plant-based pals (or just your dairy-averse tummy) can rejoice.
Plus, it’s literally for one, meaning no awkward leftovers trying to guilt-trip you from the fridge. It’s basically the culinary equivalent of a warm hug for your soul, and dare I say, almost idiot-proof. Seriously, even I didn’t mess it up!
Ingredients You’ll Need
Gather your troops! Here’s what you’ll need for your one-person chocolate party:
- All-purpose flour: Just a few tablespoons. Don’t worry, we’re not building a gluten empire here.
- Granulated sugar: Because life’s too short for unsweetened sadness.
- Unsweetened cocoa powder: The darker, the better, **IMO**. Get the good stuff!
- Baking soda: Our little magic fluffy-maker.
- Salt: Just a tiny pinch, to make all those other flavors sing.
- Unsweetened plant milk: Almond, soy, oat – whatever you’ve got chilling in the fridge.
- Vegetable oil: Or any neutral oil. This is our moisture secret weapon.
- Vanilla extract: A tiny splash for that *oomph*.
- Chocolate chips (optional): Because when is more chocolate ever a bad idea? (Spoiler: Never.)
Step-by-Step Instructions
Ready? Let’s bake this bad boy!
- **Preheat & Prep:** First things first, get that oven to **350°F (175°C)**. Grab a small oven-safe ramekin (around 6-8 oz capacity) and give it a quick grease and flour dust, or line it with a cupcake liner if you’re feeling fancy.
- **Dry Mix Fun:** In a small bowl, whisk together your flour, sugar, cocoa powder, baking soda, and salt. Make sure there are no lumpy surprises!
- **Wet Mix Whisk:** Now, pour in the plant milk, vegetable oil, and vanilla extract. Stir until *just* combined. **Don’t overmix!** A few small lumps are totally fine. If you’re using chocolate chips, fold them in now.
- **Into the Ramekin:** Pour your glorious batter into your prepared ramekin. It might look small, but trust the process.
- **Bake Away!** Pop that little ramekin into your preheated oven and bake for **15-20 minutes**. The cake is done when a toothpick inserted into the center comes out with moist crumbs, not wet batter.
- **Cool Down (Maybe):** Let it cool for a few minutes before diving in. Or, you know, just grab a spoon and go for it. No judgment here.
Common Mistakes to Avoid
Look, we all make mistakes. Here are a few to steer clear of:
- **Thinking you don’t need to preheat the oven:** Rookie move! A cold oven means uneven baking and a sad, dense cake. Don’t do it.
- **Overmixing the batter:** This is how you get tough cake. We want tender, not chewy! Mix until *just* combined.
- **Baking for too long:** A dry cake is a tragedy. Keep an eye on it after 15 minutes. **A slightly underbaked, gooey center is infinitely better than an overbaked brick.**
- **Not greasing your ramekin:** Unless you want to play a game of “how much cake can I scrape off the sides,” grease it, honey.
Alternatives & Substitutions
Feeling adventurous? Here are some tweaks you can make:
- **Flour Power:** All-purpose works best, but you can try **gluten-free all-purpose flour blend** (with xanthan gum) for a GF version. Just make sure it’s a 1:1 replacement.
- **Sugar Swap:** Granulated sugar is standard, but you could use **brown sugar** for a slightly fudgier, more caramel-y note. Agave or maple syrup *might* work, but might also change the texture a bit too much for a beginner. Stick to dry sugars for this one.
- **Oil-Free?** You *could* try substituting applesauce for the oil, but your cake might be a bit denser. The oil helps with that glorious moistness, so I’d recommend sticking with it if you can.
- **Flavor Boosts:** A tiny pinch of **espresso powder** really enhances the chocolate flavor without making it taste like coffee. Or a dash of **peppermint extract** for a mint chocolate vibe!
FAQ (Frequently Asked Questions)
- **”Can I make this in the microwave?”** Technically, yes, but why rush perfection? Microwaved cakes often have a different, chewier texture. For best results, oven is king!
- **”My cake came out dry! What happened?”** Most likely, you overbaked it! Or perhaps your measuring was off. **Use proper measuring cups and spoons, FYI!**
- **”Can I add nuts or dried fruit?”** Absolutely! Go wild. Just remember they add a little extra bulk, so don’t go overboard.
- **”Is this truly for one person? Because I might eat two.”** Well, *technically* it’s for one serving size. What you do in the privacy of your own kitchen is none of my business. 😉
- **”Can I make a bigger batch?”** You certainly can! Just multiply the ingredients accordingly and adjust baking time. But then it wouldn’t be “for one,” would it?
- **”Can I skip the cocoa powder?”** Then it wouldn’t be a *chocolate* cake, would it? You could try a vanilla version, but that’s a whole different recipe, my friend!
Final Thoughts
See? I told you this was easy peasy! You just whipped up a decadent, single-serving vegan chocolate cake like it was no big deal. Go ahead, pat yourself on the back. You deserve this moment of pure, unadulterated chocolate bliss.
Now go impress someone – or yourself, which is arguably more important – with your new culinary superpowers. You’ve earned it!


