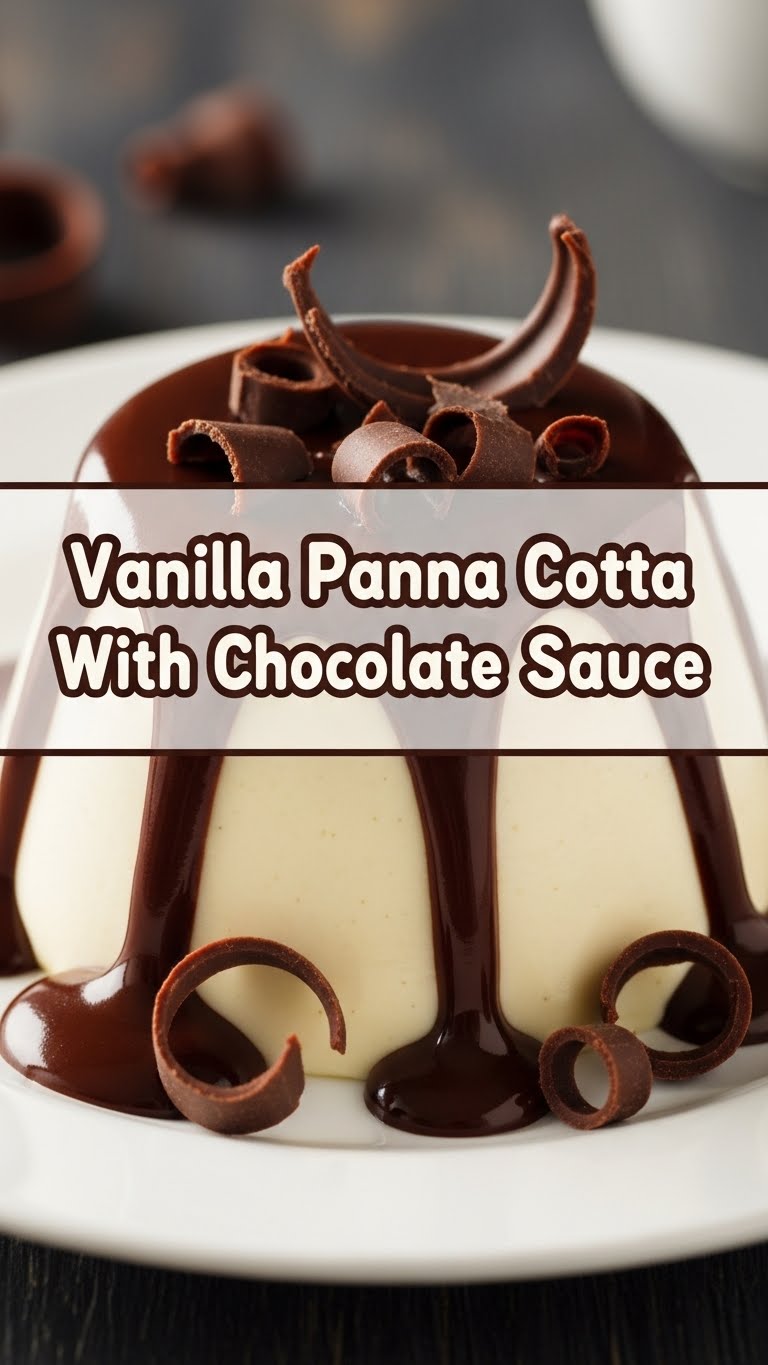
So, you’re craving something that screams “I’m a sophisticated adult with excellent taste” but your energy levels are currently whispering “Netflix and chill… and maybe a nap,” huh? Yeah, same. Good news: we’re about to make a dessert that looks like it took hours of painstaking effort, but is secretly so easy, your cat could probably supervise. We’re talking **Vanilla Panna Cotta with Chocolate Sauce** – because why settle for basic when you can have creamy, dreamy, and deceptively simple?
Why This Recipe is Awesome
Okay, first things first: this recipe is basically **idiot-proof**. And trust me, if I, a person who once set off the fire alarm microwaving popcorn, can make this perfectly, so can you. There’s no oven involved (score!), no fancy equipment you need to buy (double score!), and the steps are so straightforward, you might wonder if you missed something. You didn’t. It’s just that good.
It’s the kind of dessert that tastes like a fancy restaurant experience but requires about as much effort as making toast. Seriously, you’ll be chilling on the couch in no time, while your panna cotta chills in the fridge, getting all wobbly and perfect. It’s also a fantastic make-ahead champion, meaning less stress when guests are coming over. Hello, stress-free entertaining!
Ingredients You’ll Need
Gather your posse of deliciousness!
- **For the Panna Cotta:**
- **2 cups Heavy Cream:** No, really, “heavy.” This is not the time for diet decisions. This is where the magic happens!
- **1/2 cup Granulated Sugar:** Just enough sweetness to make your taste buds sing, not scream.
- **1 tablespoon Vanilla Extract:** The MVP. Don’t skimp. Real vanilla makes all the difference.
- **2 teaspoons Unflavored Gelatin Powder:** Our secret agent, the unsung hero that makes it all jiggle in the right way.
- **3 tablespoons Cold Water:** To wake up our gelatin.
- **For the Chocolate Sauce:**
- **4 oz Semi-Sweet or Dark Chocolate:** Chopped. Use good quality stuff; your taste buds will thank you.
- **2 tablespoons Unsalted Butter:** For that silky smooth finish.
- **1/4 cup Milk (any kind):** To loosen things up and make it pourable perfection.
Step-by-Step Instructions
Let’s get this party started! Follow these steps, and you’ll be a panna cotta pro in no time.
- **Gelatin Wake-Up Call:** Grab a small bowl and sprinkle the gelatin powder over the cold water. Give it a gentle stir and let it sit for about 5 minutes. It’ll get all bloomy and gel-like. This is important, don’t skip it!
- **Creamy Dreamy Base:** In a medium saucepan, combine the heavy cream and sugar. Heat it over medium heat, stirring occasionally, until the sugar completely dissolves and the cream is hot, but **not boiling**. See tiny bubbles around the edges? Perfect.
- **Melt & Mix:** Take the hot cream mixture off the heat. Add your bloomed gelatin to the hot cream and stir, stir, stir until it’s completely dissolved. No lumps allowed! Then, stir in the vanilla extract. Oh, the aroma!
- **Pour & Chill:** Carefully pour the mixture into individual ramekins, small glasses, or fancy silicone molds. (I usually go for 4-6 servings, depending on size.) Let them cool on the counter for a bit, then transfer them to the fridge for at least 4 hours, or even better, overnight. **Patience is a virtue here!**
- **Sauce Boss:** When your panna cotta is perfectly set, it’s time for the chocolate sauce! In a microwave-safe bowl, combine the chopped chocolate, butter, and milk. Microwave on high for 30-second intervals, stirring well after each, until smooth and glossy. Alternatively, you can do this in a double boiler.
- **Unmold & Drizzle (Optional but fun!):** If you want to unmold your panna cotta, briefly dip the bottom of each ramekin in hot water for about 10-15 seconds. Run a thin knife around the edge, then invert onto a plate. Drizzle generously with your warm chocolate sauce. If you’re feeling lazy, just serve it straight from the ramekin and spoon the sauce on top. No judgment here!
Common Mistakes to Avoid
Nobody’s perfect, but we can avoid these rookie errors together!
- **The Gelatin Gauntlet:** Not blooming your gelatin in cold water first. If you dump it straight into hot cream, you’ll get clumpy, undissolved bits. Gross.
- **Boiling Point Blunder:** Boiling your cream. You want it hot, not scalded. Boiling can give it a weird texture and a less-than-pleasant taste. Gentle heat, folks!
- **Impatience is Not a Virtue:** Not chilling long enough. I know it’s tempting to peek, but give it its full time. A soupy panna cotta is a sad panna cotta. **Overnight chilling is always the best option for firm, beautiful results.**
- **The Low-Fat Lie:** Using low-fat cream. I’m sorry, but this is panna cotta. It’s meant to be rich and creamy. Don’t sabotage yourself; use the heavy stuff.
Alternatives & Substitutions
Feeling adventurous? Or just missing an ingredient? I got you!
- **Vegan Panna Cotta:** Swap out the heavy cream for full-fat coconut milk (make sure it’s full-fat!) and replace the gelatin with agar-agar powder (follow package instructions for equivalent setting power).
- **Flavor Frenzy:** Not feeling vanilla? Try almond extract, espresso powder, or even a hint of lavender. For the chocolate sauce, you could do a luscious berry compote, a salted caramel drizzle, or a tangy lemon curd.
- **Chocolate Swap:** If you’re out of chocolate, a quick and easy berry compote made from fresh or frozen berries simmered with a touch of sugar is divine.
- **Mold Mastery:** No fancy ramekins? No problem! Use coffee cups, small wine glasses, or even small silicone muffin molds. Just make sure whatever you use can handle chilling.
FAQ (Frequently Asked Questions)
Got questions? I’ve got (casual) answers!
- **Can I make it vegan?**
You betcha! As mentioned above, full-fat coconut milk and agar-agar are your best friends here. It’ll have a slight coconut flavor, but that’s a win in my book!
- **How long does panna cotta last in the fridge?**
Usually about 3-4 days, covered. It actually tastes even better the next day when the flavors have had time to chill out (pun intended) and meld.
- **Why is my panna cotta grainy?**
A few culprits! Either your gelatin wasn’t fully dissolved (stir, stir, stir!), or your cream got too hot and started to scald. Keep that heat gentle!
- **Can I use skim milk instead of heavy cream?**
Oh honey, no. Just no. While technically you *could* attempt it, it won’t set properly, and the texture will be a sad, watery mess. Embrace the creaminess!
- **How do I get it out of the mold easily?**
The hot water trick is your best friend! A quick dip for 10-15 seconds (don’t let water get in!) loosens it up perfectly. A thin knife around the edge helps too.
- **Can I make this ahead of time for a party?**
Absolutely, 100%, yes! It’s practically designed for make-ahead convenience. Whip them up the day before, chill, and then just make the sauce right before serving. You’ll look like a culinary superstar with minimal last-minute fuss.
Final Thoughts
See? Told ya it was easy-peasy lemon-squeezy (minus the lemon, unless you want to add some zest!). You’ve just whipped up a dessert that’s elegant, delicious, and will totally impress anyone who tries it. Now go on, give yourself a massive high-five, you brilliant baker (or non-baker, in this case!). You’ve earned that second serving. 😉 Enjoy your masterpiece!


