So, you’re craving something warm, sweet, and ridiculously easy to make, but your brain is already picturing a mountain of dirty dishes? Same, friend, same. We’ve all been there, staring into the abyss of an empty snack cupboard, wondering if summoning a magical muffin is a viable life skill. Good news! It totally is, with this recipe. No sorcery required, just a few basic ingredients and a smidge of enthusiasm (or caffeine, whichever comes first).
Why This Recipe is Awesome
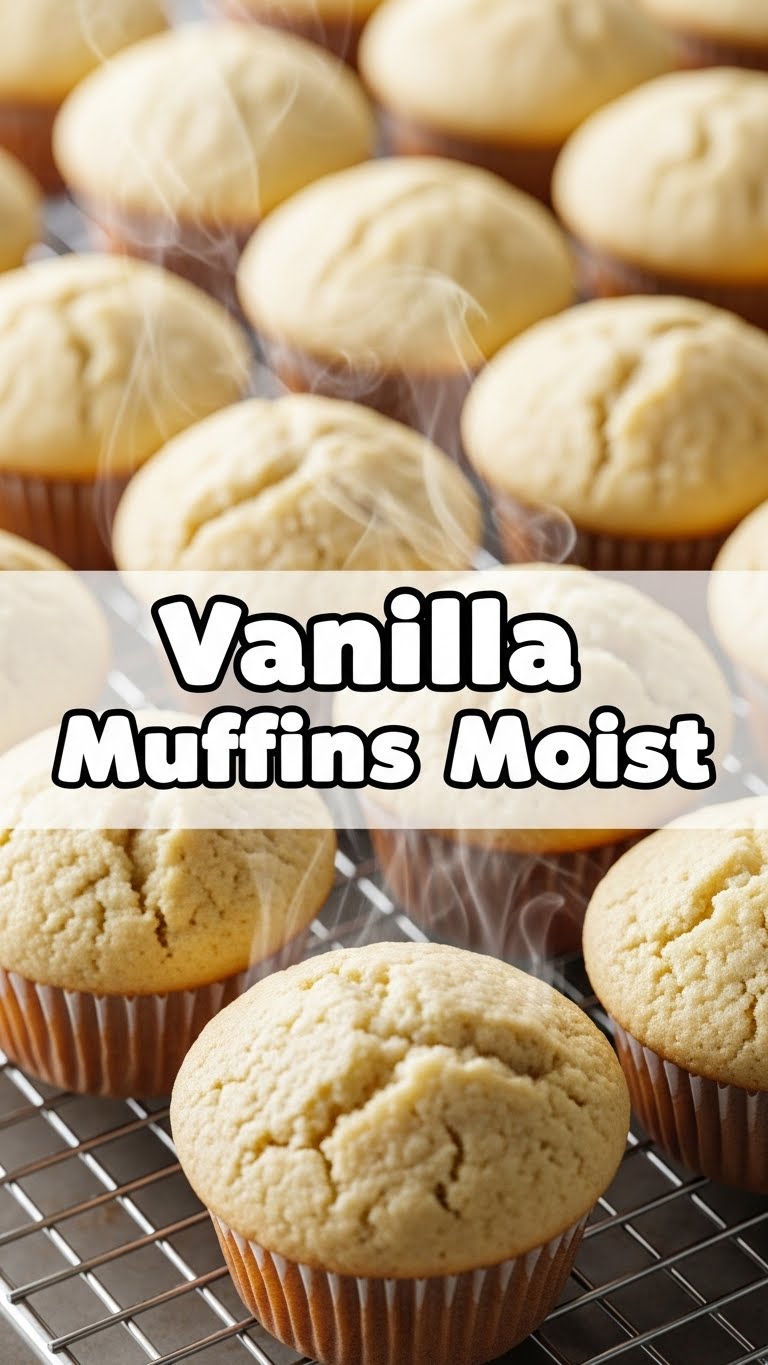
Okay, let’s get real. You know those recipes that promise “easy” but then have you folding in egg whites at a specific angle while singing opera? Yeah, this isn’t one of those. This vanilla muffin recipe is so straightforward, it practically bakes itself. It’s truly **idiot-proof** – and trust me, I’ve put that to the test more than once. You get perfectly moist, fluffy, golden muffins that smell like heaven and taste like a hug. Plus, it’s a killer base recipe for when you eventually decide to get fancy (but let’s not get ahead of ourselves, baby steps!).
Ingredients You’ll Need
Gather your troops! Here’s what you need to conquer those muffin cravings:
- 1 ½ cups All-Purpose Flour: The backbone of our fluffy dreams. Don’t skip it, obviously.
- ¾ cup Granulated Sugar: For that sweet, sweet goodness. Feel free to eyeball it if you’re feeling rebellious, but don’t go *too* wild.
- 2 teaspoons Baking Powder: Our little lift-off agent. Makes them rise like your hopes on a Friday night.
- ¼ teaspoon Salt: Just a pinch to make everything else taste even better. It’s the secret MVP, IMO.
- ½ cup Milk: Any kind will do. Whole milk makes them extra rich, but skim works if you’re trying to fool yourself into thinking they’re “healthy.”
- ¼ cup Unsalted Butter, melted: The key to moisture town! Make sure it’s melted, not still in a brick.
- 1 Large Egg: The binder that holds it all together. Room temperature is ideal, but honestly, who plans that far ahead?
- 1 ½ teaspoons Vanilla Extract: The star of the show! Go for good quality vanilla, it makes a huge difference.
Step-by-Step Instructions
Time to get your bake on! Follow these simple steps for muffin glory:
- First things first, **preheat that oven to 400°F (200°C)**. And line a 12-cup muffin tin with paper liners. Don’t skip the liners unless you enjoy scraping baked goods off metal.
- In a large bowl, whisk together the flour, sugar, baking powder, and salt. Give it a good whisk until there are no clumps. This is your dry team.
- In a separate, medium-sized bowl, whisk together the milk, melted butter, egg, and vanilla extract until well combined. This is your wet team.
- Pour the wet ingredients into the dry ingredients. Now, here’s the crucial part: **mix gently until just combined.** Lumps are your friend here! Overmixing is the enemy of moist muffins, so stop as soon as you see no more dry flour streaks.
- Divide the batter evenly among the 12 muffin cups. Fill them about two-thirds full.
- Bake for 18-20 minutes, or until a toothpick inserted into the center of a muffin comes out clean. They should be golden brown and smell absolutely irresistible.
- Let them cool in the muffin tin for about 5 minutes, then transfer them to a wire rack to cool completely. Or don’t, if you’re impatient like me. Warm muffins are life.
Common Mistakes to Avoid
We’ve all been there, staring at our baking “creations” wondering where it all went wrong. Here’s how not to mess up:
- Forgetting to Preheat the Oven: Rookie mistake! A hot oven helps them rise quickly and get that beautiful dome. Don’t put cold batter into a cold oven.
- Overmixing the Batter: This is a biggie. Mixing too much develops the gluten in the flour, resulting in tough, dry muffins. Remember: **lumpy batter is happy batter.**
- Filling Muffin Cups Too Full: You want nice domes, not mushroom clouds of muffin batter spilling everywhere. Stick to two-thirds full, give or take.
- Opening the Oven Door Too Early: Resist the urge to peek! Opening the oven door lets out heat, which can cause your muffins to deflate. Give them at least 15 minutes before you even think about looking.
Alternatives & Substitutions
Feeling a little adventurous? Here are some easy ways to switch things up:
- Milk: No cow’s milk? Almond, soy, or oat milk work perfectly fine. The texture might be *slightly* different, but they’ll still be delicious.
- Butter: You can technically use vegetable oil instead of butter, but honestly, butter just tastes better. For a dairy-free option, use a good quality plant-based butter.
- Add-ins: Once you’ve mastered the basic vanilla, try adding **½ cup of chocolate chips, blueberries, or even sprinkles** to the batter. Just fold them in gently at the very end. FYI, sprinkles make everything a party.
- Sugar: Brown sugar can be used for a slightly chewier, more caramel-y flavor. Just swap it 1:1.
FAQ (Frequently Asked Questions)
Got questions? I’ve got (casual) answers!
- Can I use margarine instead of butter? Well, technically yes, but why hurt your soul like that? Butter just provides a richer flavor and better texture. If you must, use a high-quality stick margarine.
- My muffins didn’t rise, what gives? Chances are your baking powder is old or you overmixed the batter. Check the expiry date on your baking powder – it loses its potency over time!
- How do I store these beauties? Keep them in an airtight container at room temperature for up to 3 days. If you’re planning on keeping them longer, pop them in the freezer for up to 3 months.
- Can I make mini muffins? Absolutely! Just adjust the baking time down to about 10-12 minutes. Keep an eye on them!
- Can I make this dairy-free? Yep! Use a plant-based milk (almond, oat) and a good vegan butter alternative. Easy peasy.
Final Thoughts
See? That wasn’t so scary, was it? You just whipped up a batch of delicious, moist vanilla muffins like a pro. Go on, pat yourself on the back, you magnificent baker, you! Now go impress someone – or yourself – with your new culinary skills. You’ve earned it, and probably a warm muffin (or three). Enjoy every single bite!

