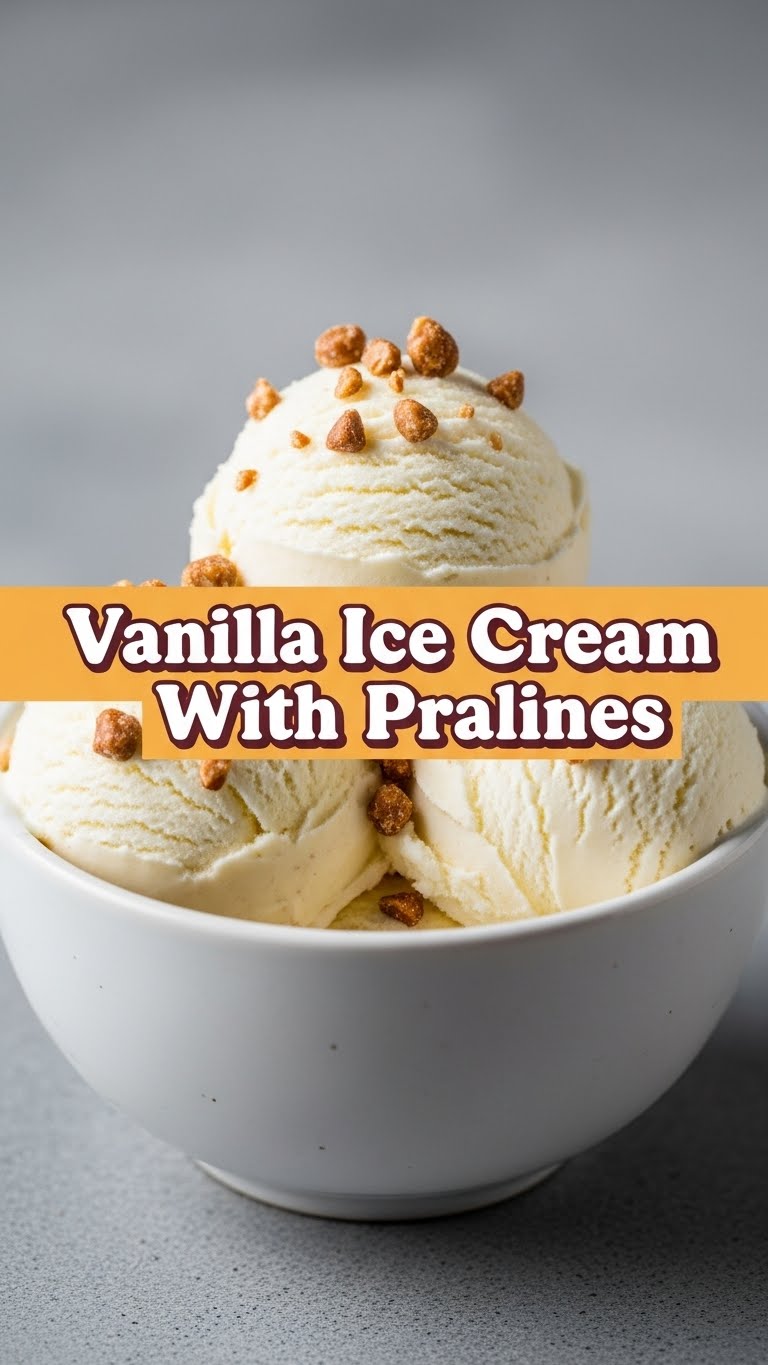
So, you’ve scrolled through enough aesthetically pleasing food pics on Instagram, and suddenly, a wild craving for something outrageously delicious yet secretly simple has appeared? Yeah, me too. And let me tell you, when that craving hits for something creamy, crunchy, sweet, and just a tiny bit fancy, there’s only one answer: **Vanilla Ice Cream with Pralines.** This isn’t just dessert; it’s a hug in a bowl, a high-five for your taste buds, and proof that you, my friend, are a culinary genius (even if you just followed my ridiculously easy steps).
Why This Recipe is Awesome
Because let’s be real, life is too short for bland desserts and complicated instructions. This recipe is awesome because it’s a total showstopper without actually requiring you to *stop* your whole life to make it. Think perfectly creamy, dreamy vanilla ice cream that tastes like a cloud (a really delicious cloud, obviously), studded with glorious, crunchy, buttery praline bits. It’s a texture party! Plus, it’s pretty much **idiot-proof** – and if I didn’t mess it up, you definitely won’t. Seriously, the hardest part is waiting for it to freeze.
Ingredients You’ll Need
Gather ’round, brave chef! Here’s your shopping list for dessert domination:
For the Vanilla Ice Cream:
- 2 cups Heavy Cream: The good stuff. Don’t skimp here; this is where the magic happens.
- 1 cup Whole Milk: Teamed up with the cream for ultimate lusciousness.
- ¾ cup Granulated Sugar: Sweetness that just hits right.
- Pinch of Salt: Balances everything out. Trust me on this.
- 1-2 teaspoons Pure Vanilla Extract: The star of the show. Go for good quality; it makes a HUGE difference. None of that artificial stuff, please!
For the Pralines:
- ½ cup Granulated Sugar: For that irresistible caramelization.
- ¼ cup Water: Helps the sugar along its sticky journey.
- 1 cup Pecans (or your favorite nuts), roughly chopped: Pecans are classic, but walnuts or almonds work too. Toast them beforehand for extra oomph!
- 1 tablespoon Unsalted Butter: Just a little bit to add richness and prevent sticking.
- Pinch of Salt: Again, for balance. Sweet and salty is always a winner.
Step-by-Step Instructions
First, let’s get that glorious Vanilla Ice Cream base ready:
- Whip it good: In a medium bowl, whisk together the heavy cream, whole milk, sugar, and pinch of salt until the sugar is fully dissolved. You can do this by hand or with an electric mixer on low.
- Vanilla time: Stir in the pure vanilla extract. Give it a little taste test; adjust vanilla if you want more oomph.
- Chill out: Cover the bowl and pop it in the fridge for at least 2 hours, or even better, overnight. **A super cold base churns better!** This is a non-negotiable step, FYI.
- Churn, baby, churn: Once super chilled, pour the mixture into your ice cream maker and churn according to the manufacturer’s instructions. This usually takes about 20-30 minutes until it’s the consistency of soft-serve.
- Freeze it up: Transfer the soft ice cream to a freezer-safe container. While it’s firming up, let’s tackle those pralines!
Now for the crunchy, caramelly Pralines:
- Prep your station: Line a baking sheet with parchment paper or a silicone mat and have it ready. Seriously, do this first because things move fast!
- Sweet beginnings: In a small, heavy-bottomed saucepan, combine the sugar and water over medium heat. Stir until the sugar dissolves, then stop stirring!
- Watch the magic: Let the mixture simmer without stirring until it turns a beautiful amber color. This can take 5-10 minutes. Keep a close eye on it – sugar goes from perfect to burnt in a nanosecond.
- Nutty goodness: Once it’s amber, quickly stir in the chopped pecans, butter, and pinch of salt. Mix well to coat all the nuts.
- Spread it out: Immediately pour the hot praline mixture onto your prepared baking sheet. Spread it thin with a spatula.
- Cool down: Let it cool completely until it’s hard and brittle (about 20-30 minutes).
- Smash time: Once cooled, break the praline into pieces. You can use your hands or put it in a bag and gently smash it with a rolling pin or the back of a spoon to create small, crunchy bits.
Bringing it all together:
- Mix it in: Once your ice cream has churned and is in its freezer-safe container, gently fold in most of the crushed praline pieces. Save a few for sprinkling on top later!
- Final freeze: Cover the container and freeze for another 2-4 hours (or until firm enough to scoop) for that perfect, scoopable texture.
- Serve and devour: Scoop generously, sprinkle with those reserved praline bits, and prepare for immediate praise.
Common Mistakes to Avoid
- Not chilling your ice cream base enough: Rookie mistake! A warm base will churn into icy sadness. **Super cold equals super creamy.**
- Over-churning your ice cream: Your ice cream maker isn’t a blender. Churn until it’s soft-serve consistency, then let the freezer do the rest. Over-churning can lead to a grainy texture.
- Burning the sugar for the praline: We’ve all been there. It happens fast. Stay vigilant! If it smells burnt, start over. Your taste buds will thank you.
- Stirring the sugar syrup for praline after it boils: This can cause crystallization. Just let it do its thing until it changes color.
- Adding praline to warm ice cream: If your ice cream is too soft, the warm praline will just melt into it. Wait until it’s at least soft-serve consistency.
Alternatives & Substitutions
Feeling adventurous? Or just working with what you’ve got? No judgment here!
- Nutty Swaps: Not a pecan fan? Try almonds, walnuts, or even cashews for your praline. Just make sure they’re roughly chopped. Toasting them first really amps up the flavor, IMO.
- Flavor Boost: Want to switch up the vanilla? Add a tablespoon of bourbon to the ice cream base for a grown-up twist (the alcohol mostly freezes out, leaving a delicious flavor). Or, a tiny pinch of cinnamon can be lovely in the praline.
- No Ice Cream Maker? No Problem (mostly): You can still make ice cream! Combine your chilled base with a can of sweetened condensed milk, then fold in 2 cups of whipped heavy cream. Freeze in a loaf pan, stirring every 30-45 minutes for the first few hours to break up ice crystals, until firm. It’s not *quite* the same texture, but it’s delicious!
- Store-Bought Shortcut (Gasp!): If you’re really pressed for time, you can buy vanilla ice cream and just make the praline. But honestly, making your own vanilla base is a game-changer.
FAQ (Frequently Asked Questions)
- “My praline stuck to the pan, what gives?” Did you line your baking sheet with parchment paper or a silicone mat? That’s your golden ticket! If not, good luck with the scraping!
- “Can I make the ice cream base ahead of time?” Absolutely! In fact, it’s encouraged. The longer it chills, the better it churns. You can make it 1-2 days in advance.
- “How long does this glorious ice cream last in the freezer?” If stored properly (airtight container), it should be good for about 2-3 weeks. But let’s be real, it won’t last that long.
- “What if I don’t have an ice cream maker?” As mentioned in “Alternatives,” you can use the no-churn method (sweetened condensed milk + whipped cream). It’s a lifesaver for ice cream cravings without the gadget.
- “Can I use less sugar?” You can try, but sugar isn’t just for sweetness in ice cream; it also helps prevent it from freezing too hard. Reducing it too much might give you an icy block instead of creamy goodness. For the praline, sugar is kinda non-negotiable for the caramelization.
Final Thoughts
And there you have it, folks! Your very own, homemade Vanilla Ice Cream with Pralines. You’ve officially leveled up your dessert game, and trust me, everyone who tries this will think you’re some kind of culinary wizard. So, go on, pat yourself on the back, scoop out a generous portion (or two!), and enjoy the fruits of your not-so-hard labor. You’ve earned this sweet, crunchy, creamy perfection. Now go impress someone – or just yourself – with your new culinary skills. You rock!


