So, you’re looking for a dessert that screams ‘fancy’ but whispers ‘zero effort’? My friend, you’ve come to the right place. We’re talking creamy, dreamy vanilla ice cream, no churner required, with a little sprig of mint that basically says, ‘Yeah, I’m sophisticated, what about it?’ Let’s dive in before your sweet tooth stages a full-blown rebellion.
Why This Recipe is Awesome
Okay, let’s be real. In a world full of complicated recipes that require obscure ingredients and appliances you’ve never even heard of, this one is a breath of fresh, vanilla-scented air. It’s **idiot-proof**, I swear. Even I didn’t mess it up, and my kitchen skills sometimes peak at microwaving popcorn. It needs no fancy ice cream machine (hallelujah!), comes together super fast, and the mint garnish makes it look like you actually tried. Plus, it tastes like a cloud of pure joy. What’s not to love?
Ingredients You’ll Need
Gather ’round, pantry warriors! Here’s your simple shopping list. Don’t skimp, okay? Your future taste buds will thank you.
- 2 cups (1 pint) heavy cream: This is the star. Don’t even *think* about light cream unless you want sad, watery ice cream. We’re going for rich and glorious here.
- 1 can (14 oz) sweetened condensed milk: Your shortcut to sweetness. This magical can does double duty for flavor and texture. No need for extra sugar!
- 2 teaspoons pure vanilla extract: Get the good stuff. Please. Imitation vanilla is like a bad cover band – it tries, but it just doesn’t hit the same notes.
- A tiny pinch of salt: Sounds weird, I know, but it brightens all the flavors. Trust the process.
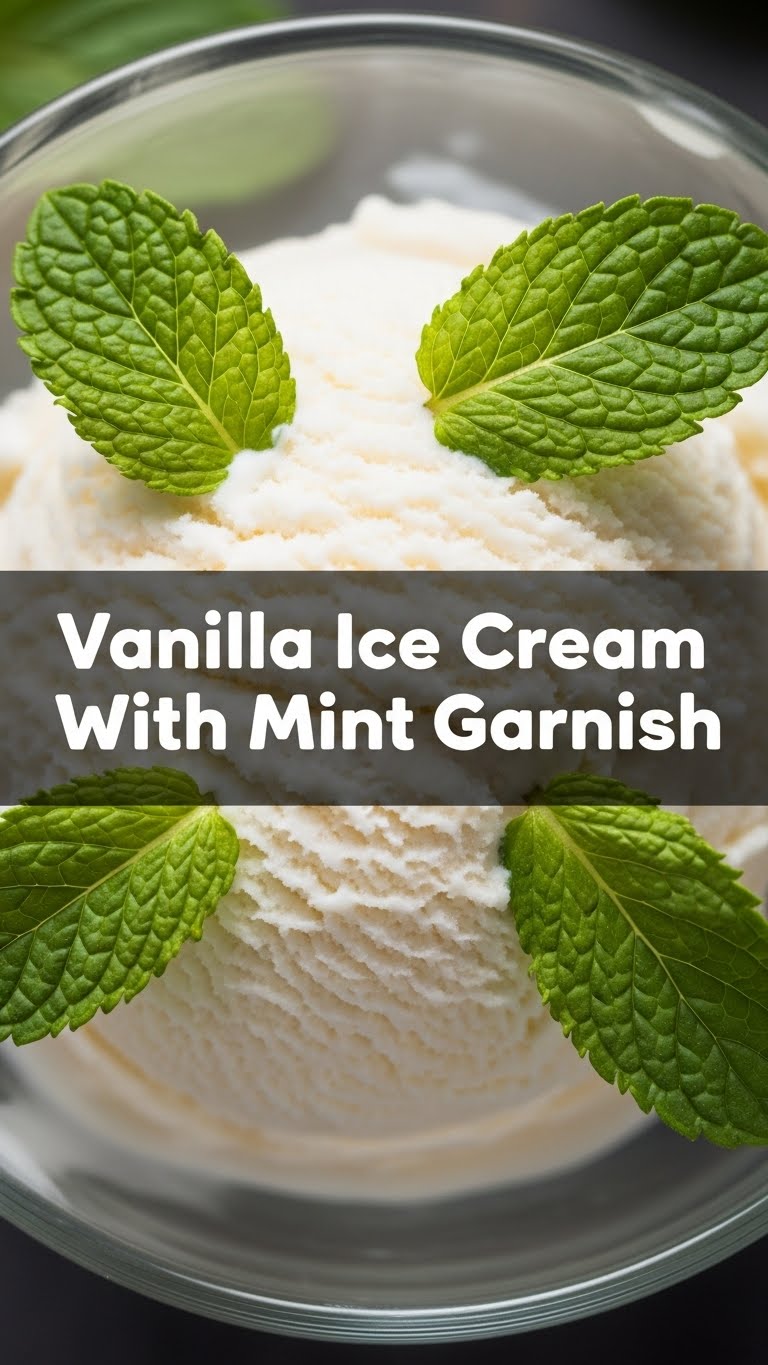
- Fresh mint leaves: For that “I’m a culinary genius” garnish. Or just because it smells amazing.
Step-by-Step Instructions
Get ready to whip up some magic. Seriously, it’s that easy!
- First things first: pop your mixing bowl (a metal one is ideal!) and your whisk attachments into the freezer for about 10-15 minutes. **Cold equipment helps the cream whip faster and fluffier!** This is a non-negotiable step, my friend.
- Once everything is chilly, pour your heavy cream into the super-cold bowl. Whip it on medium-high speed until you get beautiful, stiff peaks. This means when you lift the whisk, the cream stands up straight and proud, not limp and droopy. Keep an eye on it – you don’t want to over-whip and accidentally make butter.
- In a separate, smaller bowl, whisk together the sweetened condensed milk, vanilla extract, and that tiny pinch of salt. Give it a good stir until everything is well combined and smelling absolutely divine.
- Now for the gentle part: pour the condensed milk mixture into your whipped cream. Using a spatula, **gently fold** it in. You want to keep all that glorious air you just whipped into the cream, so be tender! Fold until just combined, no streaks.
- Pour your dreamy mixture into a freezer-safe container. An airtight lid is a bonus, but foil works too. Smooth out the top like you’re tucking it into bed.
- Pop it into the freezer for at least 6 hours, or ideally, overnight. **Patience is a virtue, especially when ice cream is involved.** Resist the urge to peek every five minutes. It’s working its magic!
- When it’s ready to serve, scoop generously into bowls. Grab a few fresh mint leaves, give them a little slap between your palms (it releases their aroma!), and artfully place them on top. Voilà!
Common Mistakes to Avoid
Nobody’s perfect, but we can avoid some common ice cream pitfalls. Learn from my past blunders, folks!
- Warm Equipment: Trying to whip cream in a warm bowl with warm whisks? That’s like trying to run a marathon in flip-flops. It just won’t work well. Chill those babies!
- Over-whipping the Cream: One minute it’s beautiful whipped cream, the next it’s slightly grainy, and then… hello, butter! Stop when the peaks are stiff but still smooth.
- Using Low-Fat Anything: I know, I know, sometimes we try to be healthy. But this recipe thrives on full-fat cream. Don’t compromise the creamy goodness!
- Not Freezing Long Enough: Rushing the freeze time will result in a soupy, disappointing mess. Give it the time it needs to firm up. Your patience will be rewarded.
- Forgetting the Mint: It’s more than just a garnish, it’s a statement! Don’t skip it; it adds a fresh pop that perfectly complements the vanilla.
Alternatives & Substitutions
Feeling adventurous? This vanilla base is your oyster! Here are some ideas to mix things up:
- Flavor Swap: Instead of vanilla, try almond extract, a dash of peppermint extract (for a minty ice cream!), or even a hint of espresso powder for a coffee vibe.
- Add-ins Galore: Once you’ve folded in the condensed milk, stir in some mini chocolate chips, chopped cookies (Oreos, anyone?), crushed candy bars, or a swirl of fruit compote. Just don’t go too crazy, we still want it to freeze!
- Different Garnishes: No mint? No problem! Drizzle with chocolate sauce, sprinkle with toasted nuts, or top with some fresh berries for a burst of color and flavor.
- Condensed Milk: While I highly recommend the full-fat, if you *must* use a light version, be aware the texture might be slightly less creamy. Your call, but **IMO**, stick to the original for maximum deliciousness.
FAQ (Frequently Asked Questions)
Got questions? I probably do too, but here are some I’ve anticipated for you, my curious friend:
Do I *really* need heavy cream? Can’t I use half-and-half?
Oh, honey, no. Heavy cream is essential. Half-and-half won’t whip, and you’ll end up with a sweet, milky liquid that will never become ice cream. Trust me on this one.
My cream isn’t whipping! What’s going on?
Is it cold enough? Is your bowl cold? Are your whisks cold? Warm cream is a stubborn beast. Also, make sure it’s actually heavy cream, not some impostor. And sometimes, you just need to whip a bit longer. Give it some elbow grease!
How long will this magical ice cream last in the freezer?
Theoretically, in an airtight container, it can last a couple of weeks. Realistically? Maybe three days, if you’re really good at self-control. Good luck, soldier.
Can I add a little booze to this? For adult-only fun?
You cheeky devil, you! Yes, a tablespoon or two of a liqueur (like Kahlua or Grand Marnier) can be added with the condensed milk mixture. Just don’t go overboard, as too much alcohol can prevent the ice cream from freezing properly.
Why the mint garnish? Is it just for looks?
Partially for looks, because who doesn’t love a pretty dessert? But also, the fresh, slightly peppery scent and taste of mint cuts through the sweetness of the vanilla ice cream, creating a really lovely, balanced bite. **FYI**, it elevates the whole experience!
Final Thoughts
And there you have it! You’ve just created a batch of delicious, no-churn vanilla ice cream that’s so good, people will think you secretly bought it from a gourmet shop. Go ahead, pat yourself on the back. You’ve earned it! Now go impress someone—or yourself—with your new culinary skills. You deserve every creamy, minty bite. Happy scooping!


