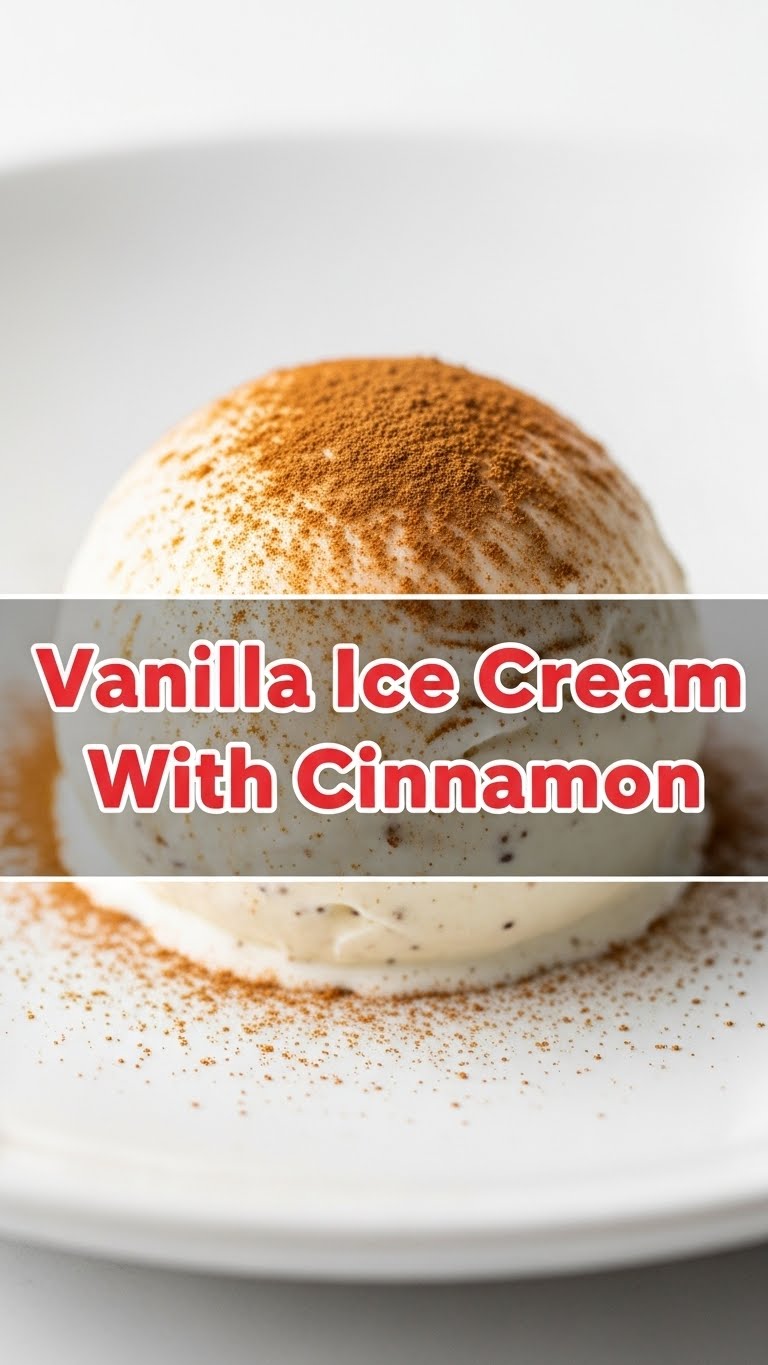
So you’re craving something ridiculously good, creamy, and with a little *zing* but the thought of a complicated recipe makes you want to just order takeout? Been there, done that, bought the T-shirt. But what if I told you there’s a way to conjure up a dreamy bowl of homemade vanilla ice cream, kissed with cinnamon, without needing a culinary degree or selling your soul to the ice cream gods? Yeah, it’s true. And it’s easier than trying to fold a fitted sheet.
Why This Recipe is Awesome
Okay, so why should this be your next kitchen adventure? First off, it’s ridiculously easy. Seriously, if I, a person who once set off a smoke alarm making toast, can nail this, so can you. It requires minimal fuss, zero actual cooking (unless you count gently heating milk, which, let’s be real, isn’t cooking), and the payoff is huge. Plus, it’s homemade, which means you get all the bragging rights without any of the actual struggle.
And the cinnamon? It’s not just an afterthought; it’s the secret handshake that takes this from ‘good’ to ‘OMG, I need more!’ Get ready for a dessert that tastes fancy but is totally idiot-proof.
Ingredients You’ll Need
- 2 cups heavy cream: The undisputed star of the show! Don’t skimp; this isn’t the place for ‘light’ options unless you like icy disappointment. Seriously, full fat is your friend here.
- 1 cup whole milk: Our creamy supporting actor, helping keep things smooth and lush.
- 2/3 cup granulated sugar: Sweetness. Pure, simple sweetness. Adjust to your sweet tooth, but this is a solid starting point.
- 1 tablespoon vanilla extract: The OG flavor bomb. Go for the good stuff; imitation vanilla is a crime against humanity, IMO.
- 1/2 – 1 teaspoon ground cinnamon: Our spicy little secret weapon. Start with half a teaspoon, taste, then add more if you’re feeling wild.
- Pinch of salt: Sounds weird, I know, but it actually makes everything taste more vanilla-y and less just… sweet. Trust me on this one, it’s a flavor enhancer!
Step-by-Step Instructions
- Get Mixing: In a large bowl (or directly in your ice cream maker bowl if it’s super sturdy), whisk together the heavy cream, whole milk, granulated sugar, cinnamon, and that tiny pinch of salt. Whisk until the sugar is mostly dissolved – you don’t want grainy ice cream, do you? No.
- Add the Good Stuff: Stir in the vanilla extract. Give it another gentle whisk to make sure it’s all happy and combined.
- Chill Out: Cover the bowl with plastic wrap and pop it in the fridge for at least 2 hours. Don’t skip this step! A well-chilled mixture freezes much better and faster. Overnight is even better if you can swing it.
- Churn, Baby, Churn! Once your mixture is properly chilled, pour it into your ice cream maker’s frozen bowl and churn according to the manufacturer’s instructions. This usually takes about 20-30 minutes, turning into a soft-serve consistency. It’s like magic, but with science!
- Harden Up: Transfer the soft ice cream to an airtight container. Press a piece of plastic wrap directly onto the surface of the ice cream to prevent pesky ice crystals (a crucial tip, FYI!). Freeze for another 4-6 hours, or until it’s firm enough to scoop. Patience, young grasshopper.
Common Mistakes to Avoid
- Not chilling your base enough: Seriously, I warned you! If your mixture isn’t cold, your ice cream maker will just make a slightly thicker liquid, not actual ice cream. Rookie mistake.
- Overfilling the ice cream maker: The mixture expands as it churns and freezes. Follow your machine’s fill line, or you’ll have a delightful, creamy mess all over your counter. Nobody wants that.
- Using too little fat: Remember how I said don’t skimp on the heavy cream? This is why. Lower fat means more ice crystals and a less luxurious, less creamy texture. You want luscious, not icy, right?
- Skipping the salt: It sounds counter-intuitive, but a tiny pinch of salt enhances all the other flavors. Without it, your ice cream might just taste…flat. And who wants flat ice cream?
Alternatives & Substitutions
- No ice cream maker? No problem! You can make this no-churn. Whisk your chilled base vigorously every 30-45 minutes as it freezes in an airtight container until it reaches your desired consistency. It’s more effort, but totally doable for the determined dessert warrior.
- Spice it up: Not a huge cinnamon fan? Try a pinch of nutmeg or even cardamom for a different vibe. Or just go plain vanilla – it’s a classic for a reason and still delicious!
- Sugar swap: You can experiment with maple syrup or honey for a different kind of sweetness, but reduce the liquid slightly elsewhere to maintain consistency, or it might get too soft. White granulated sugar is just easier though, IMO.
- Dairy-free dreams: While I haven’t personally tried it with this specific recipe, you could try substituting the heavy cream with full-fat coconut cream and whole milk with a creamy plant-based milk (like oat or cashew). Just make sure they’re unsweetened!
FAQ (Frequently Asked Questions)
- Do I really need an ice cream maker? Well, technically no, you can do the no-churn method mentioned above. But if you’re serious about ice cream, an ice cream maker is a worthy investment. It makes life so much easier!
- Can I add chocolate chips? Um, is the sky blue? Absolutely! Add them during the last few minutes of churning, or fold them in when you transfer the soft ice cream to the container for freezing. Go wild!
- Why is my ice cream icy and not creamy? Chances are your fat content was too low, or you didn’t chill your base enough before churning. Also, make sure you press plastic wrap directly on the surface during hardening to fight those pesky ice crystals.
- How long does homemade ice cream last? In an airtight container, it’ll be best for about 1-2 weeks. After that, it might start to lose some of its glorious texture and pick up freezer flavors. But honestly, it rarely lasts that long anyway!
- My ice cream is too hard straight from the freezer, what gives? Homemade ice cream tends to freeze harder than commercial stuff because it lacks all those anti-freeze agents. Just let it sit out on the counter for 5-10 minutes before scooping. Easy peasy!
Final Thoughts
There you have it, friend! A ridiculously simple, incredibly delicious vanilla ice cream with that warm, comforting hug of cinnamon. You’ve just unlocked a new level of dessert wizardry, all without breaking a sweat (or a budget). Now go impress someone—or yourself—with your new culinary skills. You’ve earned it! Don’t forget to grab a spoon, or maybe three, and enjoy every single creamy, dreamy bite. And remember, life’s too short for bad ice cream!


