So, you’re craving something tasty but too lazy to spend forever in the kitchen, huh? Same. Ever stared into the abyss of your fridge, pondering life’s big questions like, “Should I just eat cereal for dinner, again?” or “Is it too much to ask for cake right now?” Yeah, me too. Luckily, I’ve got your back with a recipe that’s going to hit all those sweet spots without making you want to throw your apron at the wall in despair.
Why This Recipe is Awesome
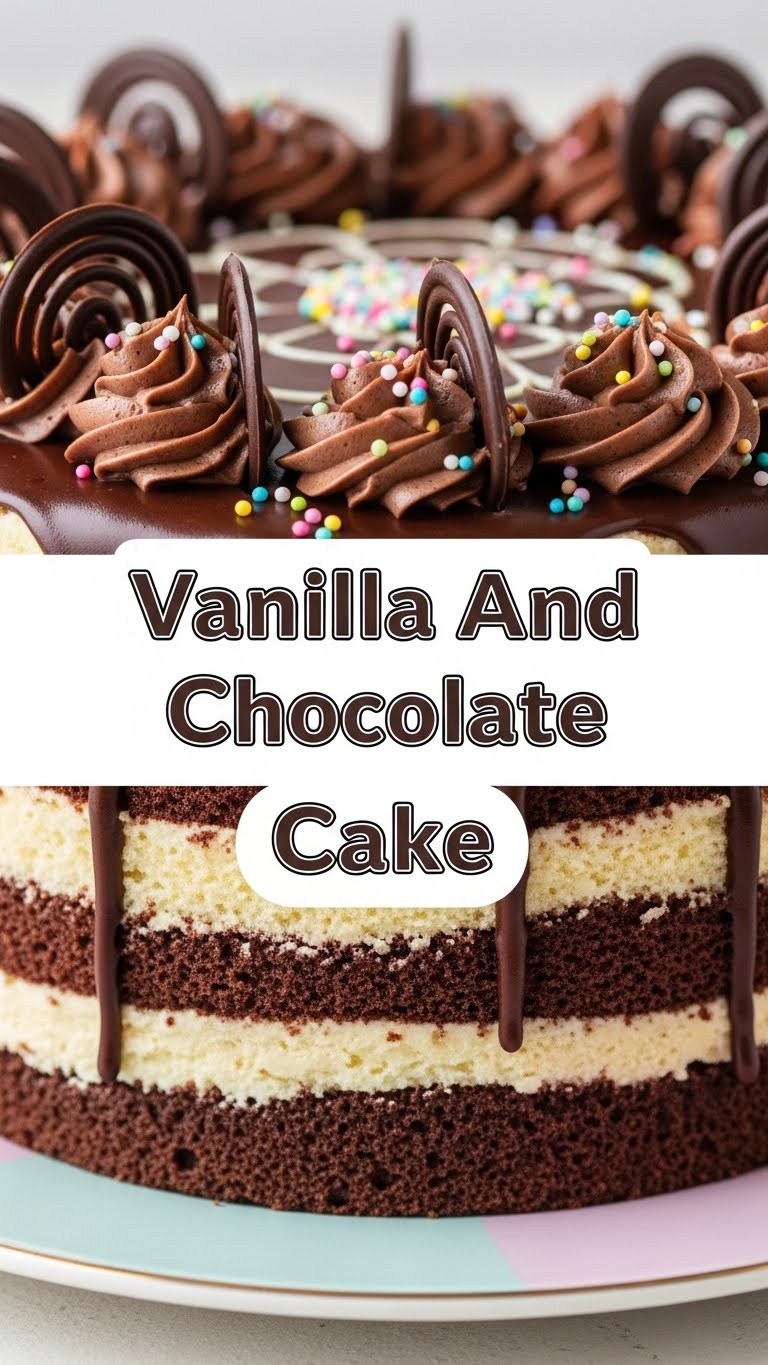
Because it’s a two-for-one deal, baby! Why choose between vanilla and chocolate when you can have both? This cake is like the culinary equivalent of having your cake and eating it too (literally). It’s incredibly forgiving, meaning even if you get a little distracted by your cat’s latest antics, it’ll probably still turn out amazing. Plus, it looks fancy enough to impress your friends, but it’s so straightforward, you’ll feel like a baking wizard without actually having to cast any complicated spells. It’s **idiot-proof**, I swear, even I didn’t mess it up!
Ingredients You’ll Need
Gather ’round, my fellow food enthusiasts! Here’s your shopping list. Try not to eat half of it before you start:
- 2 ½ cups All-Purpose Flour: The unsung hero, the binder of all delicious things.
- 1 teaspoon Baking Soda: Gives it that lovely lift. Don’t skip this, unless you like dense bricks.
- ½ teaspoon Salt: Balances the sweetness. It’s like the little black dress of baking ingredients.
- 1 cup (2 sticks) Unsalted Butter: Your baking BFF, softened to room temperature. This is **crucial**!
- 2 cups Granulated Sugar: The sweet stuff.
- 4 Large Eggs: Room temperature, please. They mix better, trust me.
- 1 cup Buttermilk: Or regular milk with a splash of lemon juice/vinegar if you’re feeling DIY.
- 1 tablespoon Vanilla Extract: Go for the good stuff; it makes a difference.
- ½ cup Unsweetened Cocoa Powder: For the chocolate half. The darker, the better, IMO.
Step-by-Step Instructions
- Prep Your Pan & Oven: First things first, preheat your oven to **350°F (175°C)**. Grease and flour a 9×13 inch baking pan. Or, if you’re fancy, line it with parchment paper. This is your cake’s happy place.
- Mix Dry Ingredients: In a medium bowl, whisk together the flour, baking soda, and salt. Set it aside.
- Cream Butter & Sugar: In a large bowl (or stand mixer if you’re living the dream), beat the softened butter and sugar together until it’s light, fluffy, and looks like a cloud you could eat. This usually takes about 3-5 minutes. Don’t skimp on this step; it’s **key** for a tender cake.
- Add Eggs & Vanilla: Beat in the eggs, one at a time, mixing well after each addition. Then stir in that glorious vanilla extract.
- Alternate Wet & Dry: With the mixer on low speed, gradually add the dry ingredients to the wet mixture, alternating with the buttermilk. Start and end with the flour. Mix just until combined. **Do not overmix!**
- Divide and Conquer: Divide your beautiful cake batter in half into two separate bowls.
- Chocolate Time: Into one of the bowls, sift in the cocoa powder and gently fold it in until fully combined. Now you have a vanilla half and a chocolate half!
- Swirl It Up: Dollop spoonfuls of the vanilla and chocolate batter alternately into your prepared pan. Once all the batter is in, grab a knife or a skewer and swirl through it a few times to create that gorgeous marbled effect. Don’t overdo it, or you’ll lose the distinct layers.
- Bake, Baby, Bake: Pop that pan into your preheated oven and bake for **30-35 minutes**, or until a wooden skewer inserted into the center comes out clean.
- Cool Down: Let the cake cool in the pan for about 10-15 minutes before transferring it to a wire rack to cool completely. Patience is a virtue, especially when it comes to cake.
Common Mistakes to Avoid
- Not Preheating the Oven: Rookie mistake! Your cake needs a hot oven from the get-go for a proper rise.
- Cold Ingredients: Butter, eggs, buttermilk – they all need to be at room temperature. Otherwise, your batter might look curdled, and no one wants that.
- Overmixing the Batter: This is a biggie. Once you add the flour, mix *just* until it’s combined. Overmixing develops the gluten too much, leading to a tough, dry cake.
- Opening the Oven Door Too Early: Resist the urge to peek! Opening the door before the cake is set can make it sink. Wait until at least 25 minutes in.
- Eyeballing Measurements: This isn’t improv comedy, folks. Precision matters in baking. Use proper measuring cups and spoons.
Alternatives & Substitutions
Feeling a little rebellious, or just missing an ingredient? I got you:
- Buttermilk Substitute: No buttermilk? No problem! Add 1 tablespoon of white vinegar or lemon juice to a measuring cup, then fill the rest with regular milk until you reach 1 cup. Let it sit for 5-10 minutes. Voila!
- Butter vs. Oil: Can you use oil instead of butter? Sure, if you’re feeling adventurous or just ran out. It’ll give you a slightly different texture (often more moist), but **butter just gives that *oomph***, you know?
- Cake Flour: If you want an even lighter, softer crumb, you can substitute cake flour for all-purpose flour. Just make sure to use the correct measurements (sometimes you need slightly more cake flour).
- Frosting: I didn’t include a frosting recipe because honestly, you can use anything! A simple chocolate or vanilla buttercream, a dusting of powdered sugar, or even just some whipped cream. Or, if you’re like me, just eat it plain. It’s that good.
FAQ (Frequently Asked Questions)
Because you’ve got questions, and I’ve got sassy answers:
Can I use margarine instead of butter? Well, technically yes, but why hurt your soul (and your cake’s flavor) like that? Butter truly makes a difference in taste and texture. Use it if you can!
My cake is dry! What happened? Oh, bummer! Most likely culprits are overbaking, overmixing the batter, or not using enough liquid/fat. Next time, keep an eye on that oven, and mix with a gentle hand.
Can I make this cake ahead of time? Absolutely! Baked cakes can usually be stored at room temperature for 2-3 days, or in the fridge for up to a week. Just make sure it’s well-covered to prevent it from drying out.
Can I freeze this cake? You betcha! Once completely cooled, wrap the cake (or slices) tightly in plastic wrap, then foil. It’ll last in the freezer for up to 2-3 months. Thaw at room temperature when cravings strike.
What if I don’t have a 9×13 inch pan? You can use two 8 or 9-inch round pans! Just adjust the baking time down to about 25-30 minutes and keep an eye on it. FYI, this might make it a layer cake!
Do I *have* to swirl it? Nope! You could totally pour the vanilla batter in, then the chocolate batter on top, and bake it that way. But honestly, the swirl is half the fun and makes it look super impressive.
Can I make this gluten-free? Many folks have good luck substituting a 1:1 gluten-free all-purpose flour blend for regular flour. Just make sure your blend contains xanthan gum!
Final Thoughts
There you have it, folks! Your new go-to recipe for a delicious, show-stopping vanilla and chocolate swirl cake. It’s easy, it’s fun, and it tastes like a dream. So go forth and conquer your kitchen! Now go impress someone—or yourself—with your new culinary skills. You’ve earned it!


