So, you’ve scrolled past one too many perfect-looking cookies on Instagram, and now you’re wondering if you can actually bake something that doesn’t look like a sad, deflated disc? Or maybe you just need a chocolate fix that isn’t straight from a suspiciously old Halloween stash? My friend, you’ve come to the right place. We’re about to dive into the wonderful, slightly messy world of unique chocolate chip cookies. And no, you don’t need a culinary degree to pull this off. Pinky swear.
Why This Recipe is Awesome
Okay, let’s be real. There are a bazillion chocolate chip cookie recipes out there. So why *this* one? Because it’s not just another cookie. This is the cookie that says, “Yeah, I baked this, and yes, it’s better than yours.” (Just kidding… mostly.) But seriously, these aren’t your grandma’s flat, kinda-boring cookies. We’re talking **chewy centers, slightly crispy edges, a complex flavor thanks to one secret step, and just enough salt to make your taste buds do a happy dance.** Plus, it’s practically idiot-proof. If *I* can make these without setting off the smoke alarm, you totally can too. It’s a low-effort, high-reward situation, and who doesn’t love that?
Ingredients You’ll Need
Time to gather your edible arsenal! Don’t worry, nothing too fancy here, just a few things that’ll work together to create pure magic. Or at least, a really, really good cookie.
- 1 cup (2 sticks) unsalted butter: The good stuff. We’re gonna do something special with it. Don’t even *think* about margarine.
- ¾ cup packed light brown sugar: For that caramel-y chewiness we all crave.
- ½ cup granulated sugar: Because balance, my friend. And crisp edges!
- 2 large eggs: Room temperature, if you’re feeling fancy. If not, whatever, they’ll still work.
- 1 teaspoon vanilla extract: Go for the good stuff here. It makes a difference, honest.
- 2 ¼ cups all-purpose flour: Just regular flour. No need for ancient grain, artisanal, unicorn-dust flour.
- 1 teaspoon baking soda: Our little lift agent.
- ½ teaspoon salt: Yes, a full half-teaspoon. It’s important for flavor balance, trust me.
- 1 ½ cups chocolate chips (or chunks!): A mix of semi-sweet and dark is *chef’s kiss*. Or milk if you’re a sweet tooth rebel.
- Flaky sea salt (for sprinkling): **This is the unique touch, IMO.** Don’t skip it! It elevates the whole experience.
Step-by-Step Instructions
Alright, apron on (or not, I’m not your boss), let’s get baking! Follow these simple steps and prepare for cookie glory.
- Brown the Butter: In a light-colored saucepan, melt the butter over medium heat. Keep stirring it. It’ll get foamy, then start to smell nutty, and little brown bits will appear at the bottom. Once it’s a beautiful amber color, take it off the heat immediately. Pour it into a heat-proof bowl to stop it cooking further and let it cool for about 10-15 minutes. We don’t want scrambled egg cookies!
- Mix the Sugars and Butter: Once your brown butter is slightly cooled but still warm (important!), add both brown and granulated sugars to it. Whisk it all together until smooth and creamy.
- Add Eggs & Vanilla: Beat in the eggs one at a time, making sure each is fully incorporated before adding the next. Stir in the vanilla extract. Scrape down the sides of the bowl to get everything mixed evenly.
- Combine Dry Ingredients: In a separate bowl, whisk together the flour, baking soda, and salt. Don’t skip the whisking; it distributes everything nicely.
- Combine Wet & Dry: Gradually add the dry ingredients to the wet ingredients, mixing on low speed (or by hand) until *just* combined. Do not overmix! Overmixing leads to tough cookies, and no one wants a tough cookie.
- Stir in Chocolate: Gently fold in your chocolate chips or chunks. Make sure they’re evenly distributed throughout the dough.
- Chill (Optional, but Recommended): For the absolute best flavor and texture, cover the dough and chill it in the fridge for at least 30 minutes, or even overnight. This lets the flavors meld and prevents spreading. If you’re impatient, you *can* skip this, but you’ve been warned!
- Preheat & Scoop: When you’re ready to bake, preheat your oven to 375°F (190°C). Line a baking sheet with parchment paper. Scoop rounded tablespoons of dough onto the prepared sheet, leaving about 2 inches between them.
- Bake! Bake for 10-12 minutes, or until the edges are golden brown and the centers are still slightly soft. They’ll continue to set as they cool.
- Sprinkle & Cool: Immediately after taking them out of the oven, sprinkle a tiny pinch of flaky sea salt on top of each warm cookie. Let them cool on the baking sheet for 5 minutes before transferring them to a wire rack to cool completely. Or just eat one warm. I won’t tell.
Common Mistakes to Avoid
Baking is fun, but it’s also a science. Ignore these at your own cookie peril!
- Not browning the butter enough (or too much!): This is the unique kicker! If it’s not brown enough, you miss the nutty flavor. If it’s burnt, well, enjoy your bitter cookies. Keep a close eye on it!
- Overmixing the dough: I said it once, I’ll say it again: overmixing develops the gluten too much, making your cookies tough. We want tender, chewy goodness, not a hockey puck.
- Skipping the chill time: Look, I get it, instant gratification is tempting. But chilling the dough makes a *huge* difference in flavor depth and preventing super-flat cookies.
- Not using parchment paper: Thinking you don’t need parchment paper? Rookie mistake! It prevents sticking and ensures even baking. Plus, cleanup is a breeze.
- Baking too many at once: Don’t crowd the pan, unless you want one giant, sad cookie monster blob. Give them space to spread and bake properly.
Alternatives & Substitutions
Recipes are guidelines, not laws carved in stone! Feel free to play around, especially after you’ve mastered the basic version.
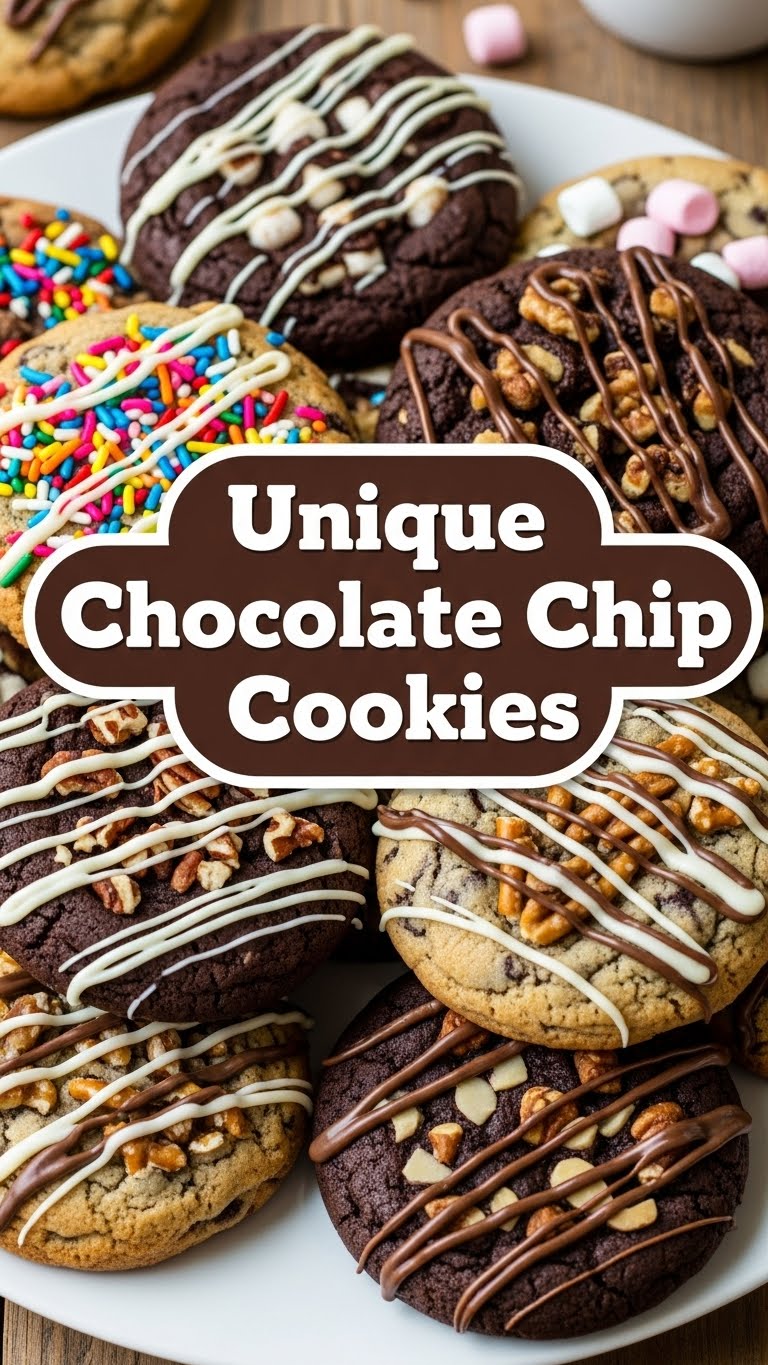
- Different Chocolates: Not a fan of semi-sweet? Go all dark chocolate, or try milk chocolate for a sweeter profile. White chocolate chips would be super unique too, especially with the sea salt. Mini M&Ms? Chopped up Snickers bars? Your call!
- Add-ins Galore: Want more pizzazz? Stir in a handful of chopped walnuts, pecans, or even pretzels for a salty-sweet crunch. A pinch of espresso powder (about ½ tsp) added with the dry ingredients will deepen the chocolate flavor beautifully.
- Gluten-Free Flour: While I haven’t personally tested it with this specific recipe, a good 1:1 gluten-free baking flour blend *should* work. Just be aware the texture might be slightly different.
- Less Sugar: You *can* reduce the sugar slightly if you prefer less sweet cookies, but don’t cut too much, as it affects the texture and browning.
FAQ (Frequently Asked Questions)
Got questions? I’ve got (mostly sarcastic) answers!
- Can I use margarine instead of butter? Well, technically yes, but why hurt your soul (and your cookies) like that? Real butter provides superior flavor and texture. Stick with butter, please!
- My cookies spread too much! What happened? A few culprits: your butter was too warm when mixing, you didn’t chill the dough, your oven temperature is off, or you used too much leavening. Next time, try chilling longer!
- How long do these unique chocolate chip cookies last? If they even make it past day one, they’ll stay fresh in an airtight container at room temperature for about 3-4 days. But let’s be honest, they rarely last that long.
- Can I freeze the dough? Absolutely! Roll the dough into balls, place them on a parchment-lined tray, and freeze until solid. Then transfer to a freezer-safe bag. Bake from frozen, adding a minute or two to the baking time. It’s a great meal prep hack for cookies!
- Why is room temperature butter/eggs important? It helps them emulsify better with the sugar, creating a smoother dough and a more consistent texture in the final cookie. Cold ingredients can lead to a lumpy batter and potentially tougher cookies.
- What if I don’t have flaky sea salt? You can skip it, but you’ll miss out on that amazing flavor pop. If you have coarse kosher salt, a *tiny* pinch could work as a last resort, but fine table salt just isn’t the same here.
Final Thoughts
Phew! You made it. You’re now armed with the knowledge (and hopefully the ingredients) to bake some truly spectacular, unique chocolate chip cookies. Seriously, pat yourself on the back. It’s a simple pleasure, but a well-made cookie can solve 99% of life’s problems (the other 1% might need a second cookie). So go forth, bake glorious cookies, and don’t forget to share… or not. Your call. Now go impress someone—or yourself—with your new culinary skills. You’ve earned it!


