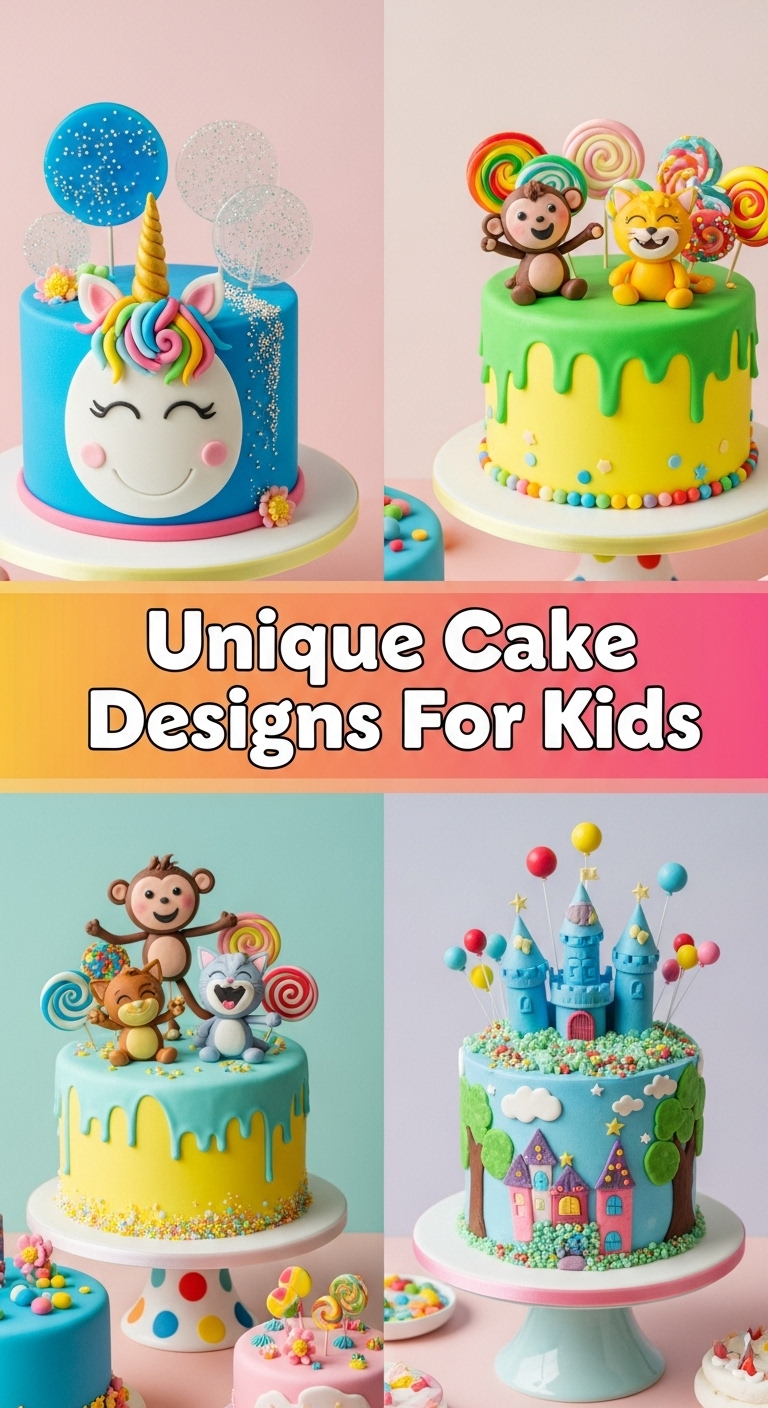
So, you’re staring down another kid’s birthday, and the thought of another round cake with some sprinkles just… bores you to tears? Me too, friend, me too. We’re in an era of epicness, not “meh.” Your little monster deserves a cake that’s as unique and wild as they are, right? And guess what? You don’t need to be a pastry chef with a thousand tiny tools to pull it off. We’re talking maximum “wow” factor with minimum “pulling out your hair” effort. Let’s ditch the cookie-cutter cakes and unleash some seriously fun, totally doable creativity!
Why These Unique Cake Designs Are Awesome
Because frankly, life’s too short for boring cake. This isn’t about perfectly piped rosettes (unless you’re into that, no judgment!). It’s about making a memorable centerpiece that screams “I tried my best, and it looks kinda cool!” You’ll earn major cool parent/aunt/uncle/friend points without having to apprentice at a fancy bakery. Plus, watching a kid’s face light up when they see a cake that’s genuinely *theirs* and not just a generic character? **Priceless.** And honestly, isn’t half the fun getting to play with food like a giant kid yourself? Yeah, I thought so.
Ingredients (aka Tools & Fun Stuff) You’ll Need
Okay, so we’re assuming you’ve got a basic cake baked and cooled – whether it’s from scratch (bravo!) or a box mix (no shame in that game, my friend). Now for the fun part:
- Your Favorite Frosting: Store-bought or homemade, doesn’t matter. Just make sure you have enough. Pro tip: white is great for coloring!
- Food Coloring Gels: Gels give you vibrant colors without watering down your frosting. Liquid drops? Rookie mistake for bright hues.
- Candy, Candies, and More Candies: Think M&Ms, Skittles, gummy worms, chocolate bars, licorice, sprinkles (of course!), candy eyes (they make *everything* cuter/creepier).
- Cookies & Crackers: Oreos, graham crackers, Nilla Wafers – great for textures and shapes.
- Plastic Toys/Figurines: Clean ones, obviously! Dinos, superheroes, little cars – perfect for themed landscapes.
- Piping Bags & Tips (Optional but Handy): Even just a Ziploc bag with the corner snipped works wonders for details.
- Spatulas & Offset Spatulas: For smooth frosting, or artfully messy frosting.
- Imagination (and a Sense of Humor): Seriously, don’t overthink it.
Step-by-Step “Un-Boring Your Cake” Instructions
Alright, let’s get down to business. Here are a couple of ideas to get your creative juices flowing. Pick one, mix and match, or just use them as a launchpad!
Idea 1: The “Monster Mash” Cake
- **Crumb Coat & Base Layer:** First, give your cooled cake a thin “crumb coat” of frosting. This traps loose crumbs. Pop it in the fridge for 15-20 minutes to set. Then, apply a generous, smooth (or not-so-smooth, it’s a monster!) layer of frosting in your chosen monster color (think vibrant green, purple, blue).
- **Eye See You:** Grab those candy eyes! Stick them on the cake in weird, wonderful places. One big eye? Five tiny ones? Go wild.
- **Fangs & Fur:** Use pointy chocolate chips, sliced almonds, or white licorice for teeth and fangs. For “fur,” use a fork to gently drag lines through the frosting, or pipe small dollops all over.
- **Silly Details:** Add sprinkles for “warts,” mini chocolate chips for “spots,” or draw on a wonky mouth with a contrasting frosting color (using a Ziploc bag with a tiny snip works great here!).
Idea 2: The “Dino Dig” Cake
- **Earthy Base:** Frost your cake with a base of light brown or green frosting. Don’t worry about perfection; dirt isn’t perfect!
- **Crumbly Terrain:** Crush a bunch of Oreos (without the cream) or graham crackers. Sprinkle these generously over the top and sides of the cake to create “dirt” and “sand.”
- **Prehistoric Pop-Up:** Arrange clean plastic dinosaur figurines partly buried in the “dirt.” Make it look like they’re just emerging from an archaeological dig.
- **Jungle Accents:** Use green frosting (piped with a leaf tip if you have one, or just dolloped) for “foliage.” Add some green gummy candies or even a few real, clean sprigs of mint (just remember to remove them before eating!).
Common Mistakes to Avoid (aka “Don’t Do This, Trust Me”)
- **Working with Warm Cake:** This is a cardinal sin! **Always ensure your cake is completely cool** before frosting. Otherwise, you’ll have a melty, crumbly disaster.
- **Too Much Food Coloring at Once:** Start with a little, mix, then add more if needed. It’s easier to add color than to take it away. Unless you’re going for “radioactive,” less is more initially.
- **Overthinking It:** Seriously, this isn’t a competition. Kids appreciate effort and fun, not professional perfection. A slightly lopsided monster cake is probably even more charming.
- **Forgetting the Crumb Coat:** Skipping this step means your beautiful top layer of frosting will be full of cake crumbs. And nobody wants crumb-covered frosting, right?
Alternatives & Substitutions
Feeling limited? Nah, impossible! Here’s how to swap things up:
- **No Candy Eyes?** No problem! Use M&Ms with a dot of black icing, or even just white frosting dots with a smaller black dot. Get creative!
- **Different Animal/Theme?** Of course! Instead of a monster, think a “unicorn” with a rolled sugar cone horn, candy ears, and a rainbow mane of frosting. Or a “galaxy” cake with dark blue/purple frosting, splattered white frosting for stars, and edible glitter. The world is your oyster… or your cake!
- **Don’t Like Fondant?** Good, me neither (IMO, it tastes like sweet play-doh). Stick to frosting and candy for all your decorative needs. It’s easier and usually tastes better.
- **Ran Out of One Candy?** Use another! Mix and match. The more variety, the more whimsical your creation often becomes.
FAQ (Frequently Asked Questions)
- **Q: How long does it actually take to do these designs?** A: Honestly, after your cake is cooled, you could probably whip one of these up in 30-60 minutes, depending on how ambitious you get. It’s not an all-day affair, thank goodness!
- **Q: My frosting isn’t sticking to the sides of the cake. What gives?** A: Is your cake cold enough? Is your frosting too thin? If it’s too thin, add a tablespoon of powdered sugar at a time to thicken it. If it’s too thick, a tiny bit of milk will thin it. **Temperature is key!**
- **Q: Can I use fresh fruit for decoration?** A: Absolutely! Just add it closer to serving time so it doesn’t weep or get weird. Berries, sliced kiwi, or even orange segments can look awesome.
- **Q: What if I totally mess up?** A: Welcome to the club! Frosting is forgiving. Scrape it off, re-frost. Or, just lean into the “abstract art” look. Seriously, kids rarely care about perfection, just the fun of it.
- **Q: Do I need fancy piping tips?** A: Nope! A butter knife, a spoon, a fork, and a Ziploc bag with a snipped corner will get you surprisingly far. Don’t let lack of gear stop you.
- **Q: Should I let the kids help?** A: **YES!** This is half the fun. Expect a mess, lower your expectations for “perfection,” and let them go wild. It’s their cake, after all!
Final Thoughts
See? That wasn’t so scary, was it? You’ve got this. These aren’t just cakes; they’re edible canvases for fun and imagination. Don’t stress about making it perfect, just focus on making it memorable and uniquely *yours* (or, well, the kid’s!). So go forth, wield that spatula like a magic wand, and create something awesome. Now go impress someone—or yourself—with your new culinary *and* artistic skills. You’ve earned it!


