So, you’re eyeing that beautiful apple pie but the thought of actually *baking* it makes you want to crawl back under the covers? Been there, done that, bought the T-shirt. What if I told you there’s a magical land where apple pie exists, but the oven is totally optional? Yep, we’re diving headfirst into the glorious, no-sweat world of Unbaked Apple Pie With a Fancy-Pants Decorative Crust. Get ready for your mind (and taste buds) to be blown!
Why This Recipe is Awesome
First off, it’s *unbaked*. Need I say more? We’re talking maximum deliciousness with minimum effort. This bad boy is practically idiot-proof – and trust me, if *I* can make it look fancy, you absolutely can too. No worrying about soggy bottoms, burnt crusts, or undercooked apples. It’s cool, creamy, crunchy, and ridiculously refreshing, making it perfect for those days when even turning on the oven feels like a marathon. Plus, the decorative crust? Pure show-off material, darling. Your friends will think you slaved away for hours, and you can just smirk knowingly. It’s truly a win-win situation.
Ingredients You’ll Need
Gather ’round, my fellow kitchen rebels! Here’s what you’ll need to whip up this masterpiece. Think of it as your grocery list, but with sass.
- For the “Crust” (aka the awesome base):
- 1 ½ cups graham cracker crumbs (or digestive biscuits, if you’re feeling fancy and British).
- ½ cup unsalted butter, melted (because everything’s better with butter, duh).
- ¼ cup granulated sugar (just a touch to sweeten the deal).
- For the Apple Filling (the star of the show):
- 3 medium apples, various kinds work! (Granny Smith for tart, Honeycrisp for sweet, or a mix for ~balance~). Peeled, cored, and diced small.
- 1 cup apple juice or cider (the non-alcoholic kind, unless you’re making it for an adults-only party, then by all means!).
- ½ cup granulated sugar (or less, depending on how sweet your apples are and your sweet tooth).
- 2 tablespoons cornstarch (our secret weapon for thick, luscious filling).
- 1 teaspoon ground cinnamon (can you even *have* apple pie without it?).
- ¼ teaspoon ground nutmeg (a little cozy spice).
- 1 tablespoon lemon juice (brightens everything up and stops apples from browning. Science!).
- For the Creamy Topping (because why not?):
- 8 ounces cream cheese, softened (straight from the fridge is a NO-GO, trust me).
- ½ cup powdered sugar (also known as confectioners’ sugar).
- 1 teaspoon vanilla extract (the good stuff, not the imitation kind).
- 1 cup heavy cream, chilled (we’re whipping this bad boy).
- For the Decorative Crust (the *unbaked* part!):
- 1 sheet pre-made pie crust dough (the roll-out kind you find in the refrigerated section). Yes, we’re using it *unbaked*!
Step-by-Step Instructions
Alright, apron on (optional, but makes you feel legit). Let’s get this pie party started!
- Crust Time: In a medium bowl, mix graham cracker crumbs, melted butter, and ¼ cup sugar until it looks like wet sand. Press this mixture firmly into the bottom of a 9-inch pie plate. You want it packed tight, so it doesn’t fall apart later. Pop it in the fridge to chill for at least 30 minutes while you get on with the good stuff.
- Apple Magic: In a medium saucepan, combine diced apples, apple juice, ½ cup sugar, cinnamon, nutmeg, and lemon juice. Bring it to a simmer over medium heat, stirring occasionally, until the apples are slightly tender (about 5-7 minutes).
- Thicken It Up: In a small bowl, whisk cornstarch with 2 tablespoons of cold water until smooth. Pour this slurry into the simmering apple mixture, stirring constantly. Continue to cook for another 1-2 minutes until the mixture thickens beautifully. It should be glossy and spoon-coating. Remove from heat and let it cool completely. Like, *completely*. You don’t want hot apples melting your cream cheese later, trust me.
- Cream Dream: In a large bowl, beat softened cream cheese, powdered sugar, and vanilla extract with an electric mixer until smooth and fluffy. In a separate, chilled bowl, whip the heavy cream until stiff peaks form. Gently fold the whipped cream into the cream cheese mixture until just combined. Don’t overmix, or it’ll deflate, and we can’t have that!
- Assemble the Awesomeness: Take your chilled crust out of the fridge. Pour the cooled apple filling over the crust, spreading it evenly. Then, gently spoon the cream cheese topping over the apple layer, smoothing it out.
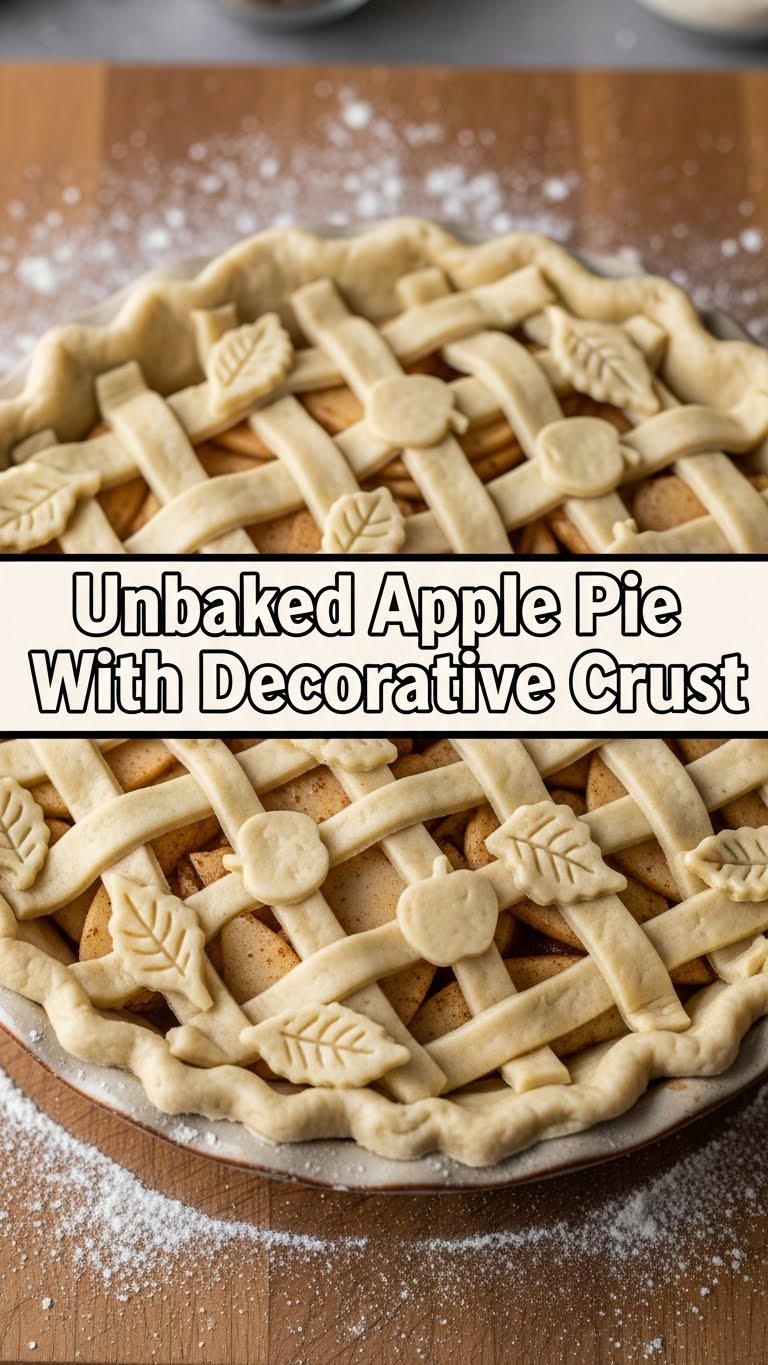
- Decorative Flourish: Unroll your pre-made pie crust dough. Using cookie cutters (think leaves, apples, stars, or just thin strips), cut out your desired shapes. Arrange these decorative pieces artfully on top of your creamy layer. No baking needed here! The moisture from the cream will soften them slightly over time.
- Chill Out: Cover the pie loosely with plastic wrap and refrigerate for at least 4 hours, or ideally, overnight. This gives everything time to set up and get cozy.
Common Mistakes to Avoid
Even though this recipe is chill, there are still a few traps to dodge. Learn from my past (and often hilarious) culinary blunders!
- Not Chilling the Crust Enough: You want a solid base, not a crumbly mess. **Patience is a virtue here, people!**
- Hot Apple Filling: Seriously, let those apples cool. Adding hot filling to your cream cheese topping is a recipe for a runny, soupy disaster. Unless you’re going for a deconstructed vibe, which you’re probably not.
- Overmixing the Cream Cheese Topping: Once the whipped cream is folded in, stop! Overmixing will knock all the air out, and you’ll end up with a dense, sad topping instead of light and fluffy.
- Ignoring the “Softened” Cream Cheese: Trying to beat cold cream cheese is like trying to make friends with a cat that doesn’t like you – lumpy and frustrating.
- Rushing the Final Chill: This isn’t a race! The longer it chills, the better it sets, and the easier it is to slice. **Good things come to those who wait.**
Alternatives & Substitutions
Feeling creative? Or just missing an ingredient and refusing to go back to the store? I got you.
- Crust Swaps: Don’t have graham crackers? Try crushed Biscoff cookies for a spiced caramel vibe, or even shortbread cookies for a buttery base. **Pro tip: Adjust sugar based on how sweet your chosen cookie is!**
- Apple Adventures: Any firm apple works well. You could even do a mix of apples and pears for a fun twist.
- Spice It Up: Feel free to add a pinch of ground ginger or cardamom to your apple filling for an extra layer of warmth.
- Cream Cheese Topping Alternatives: If you’re not a cream cheese fan, you could do a simple whipped cream topping (stabilized with a little gelatin or cornstarch if you want it extra firm) or even a lemon curd layer for a zesty kick.
- Decorative Dough Hacks: No pre-made dough? You can skip the decorative crust entirely, or even make your own simple shortbread dough to cut shapes from (again, unbaked!). Or, just sprinkle extra cinnamon or toasted nuts on top for a different kind of flair. **FYI, store-bought saves time!**
FAQ (Frequently Asked Questions)
Got questions? I probably had them too at some point. Let’s tackle them!
- “Can I use store-bought apple pie filling instead of making my own?” Oh, you rebel! Yes, you totally *can*. Just make sure it’s a good quality one. Skip the sugar and cornstarch steps for the apple filling, obviously. Your secret’s safe with me.
- “How long does this unbaked pie last in the fridge?” Ideally, 3-4 days. After that, the decorative crust might get a bit too soft, and the overall freshness starts to wane. But let’s be real, it probably won’t last that long anyway!
- “Do I *really* need to chill it overnight?” You *really* really should aim for at least 4 hours. Overnight is just for peak perfection and easier slicing. If you try to cut it too soon, it might be a bit messy, but still delicious, IMO.
- “Can I make individual mini pies?” Heck yes! Use cupcake liners or small ramekins for adorable single servings. Adjust chilling time accordingly – minis set faster.
- “My decorative crust looks a bit pale. Can I brush it with anything?” Since we’re not baking, an egg wash isn’t going to do much. But you could brush it lightly with a tiny bit of warmed apricot jam for a subtle sheen and hint of sweetness! Or just embrace the “rustic” look.
- “Is this technically *pie* if it’s unbaked?” That’s a philosophical debate for another day! For now, let’s just agree it’s delicious, impressive, and solves all your apple-dessert cravings without the oven drama. Call it whatever you want, as long as you eat it!
Final Thoughts
See? Who needs an oven when you have creativity, some good ingredients, and a dash of laziness? This Unbaked Apple Pie is your new go-to for impressing guests, satisfying a craving, or just feeling like a culinary wizard without all the fuss. Now go forth, my friend, and unleash your inner pie artist. You’ve earned those bragging rights (and that delicious slice!). Enjoy every single bite!


