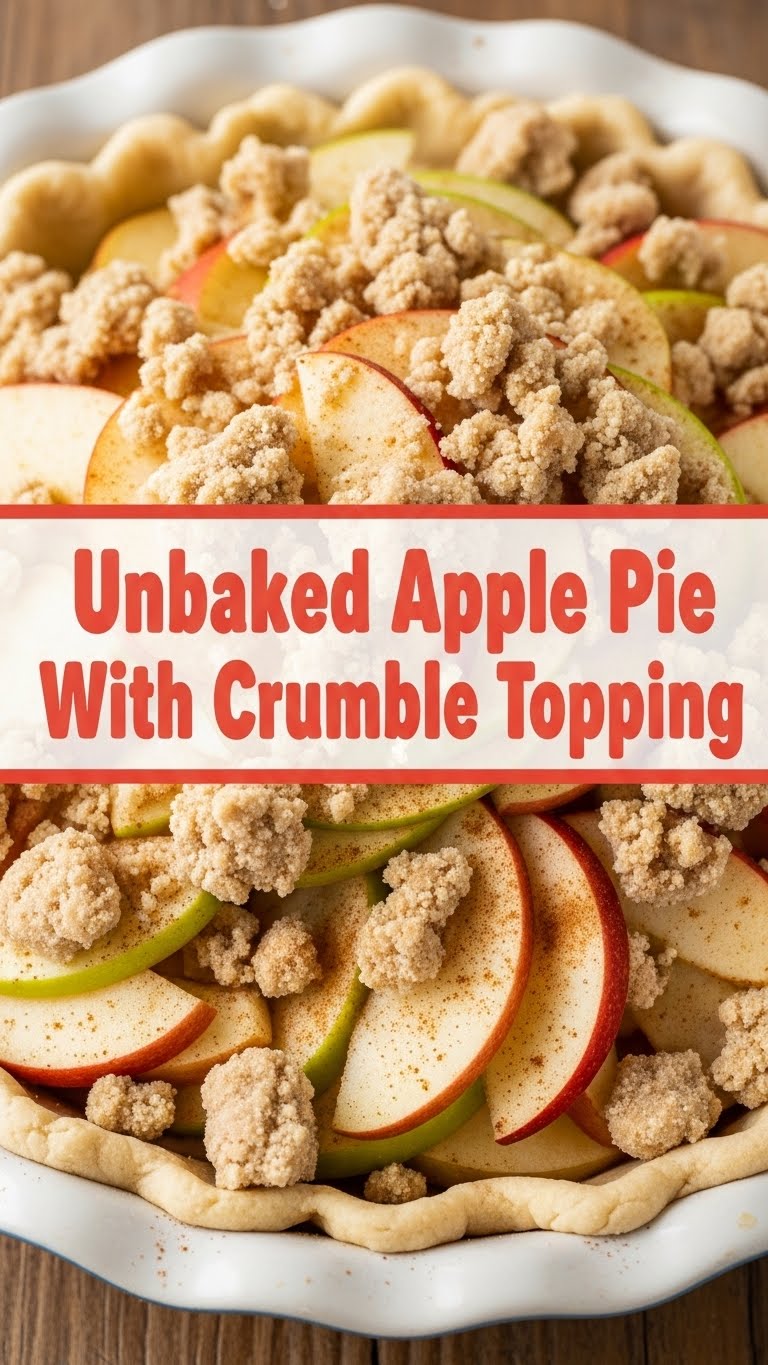
Ever woken up with a sudden, overwhelming craving for apple pie, but the thought of actual baking (and all the dishes!) makes you want to curl up and cry? Been there, done that, got the stained apron. What if I told you there’s a way to get that glorious apple pie goodness with minimal oven time and maximum chill vibes? Say hello to your new best friend: the Unbaked Apple Pie with Crumble Topping! It’s basically magic.
Why This Recipe is Awesome
Look, we all want to impress our friends/family/cat with our ‘culinary prowess’ without actually, you know, *profusely sweating* in the kitchen. This recipe is your secret weapon. It’s practically a magic trick! **No oven required for the main event** (unless you count toasting the crumble, which, let’s be real, is just glorified warm cereal topping). It’s quick, it’s easy, and it tastes like you slaved for hours. Plus, it’s cold, which is *chef’s kiss* for warmer days or when you just can’t deal with a hot dessert. It’s also pretty idiot-proof, even I didn’t mess it up, so you know it’s legit.
Ingredients You’ll Need
Gather your troops! Here’s what you’ll need to make this masterpiece:
For the Glorious Unbaked Apple Filling:
- 4-5 medium-sized crisp apples: Think Honeycrisp, Gala, Fuji, or Granny Smith if you like a tart kick. Not the mealy kind that make you question your life choices, please.
- 1 tbsp fresh lemon juice: A little zing to stop the apples from turning brown and sad. And adds flavor!
- 1/2 cup granulated sugar: Sweetness. Duh.
- 1/4 cup packed light brown sugar: Adds that lovely caramel depth.
- 1 tsp ground cinnamon: The “it’s fall even if it’s 90 degrees” spice.
- 1/4 tsp ground nutmeg: Cinnamon’s best friend.
- 3 tbsp cornstarch: Our little secret for a nice, thick filling without the actual cooking. Trust it.
- 1/4 cup cold water: Just a splash for our cornstarch magic.
For the Crumbly Crown:
- 1 cup rolled oats: Not instant! We’re fancy, but not *that* fancy.
- 1/2 cup all-purpose flour: The binder of deliciousness.
- 1/2 cup packed light brown sugar: More caramel-y goodness, because why not?
- 1/2 tsp ground cinnamon: Because you can never have enough.
- Pinch of salt: Because every sweet thing needs a little savory friend to make it shine.
- 1/2 cup (1 stick) unsalted butter: **COLD butter**, diced. This is super important, trust me. No melted butter disasters here.
Step-by-Step Instructions
Alright, apron on (optional, let’s be real), let’s get cooking (sort of)!
Part 1: The Glorious Unbaked Apple Filling
- First things first, peel, core, and dice your apples. Aim for roughly 1/2-inch pieces. Don’t be a perfectionist, but don’t give us huge chunks either. Consistency is key!
- Toss those apple pieces with the lemon juice in a large bowl. This prevents browning and adds a lovely freshness. Nobody wants grey apples.
- In a separate small bowl, whisk together the cornstarch and cold water until smooth. This is your thickening magic – no lumps allowed!
- Add the granulated sugar, brown sugar, cinnamon, and nutmeg to the bowl with the apples. Mix it all up until everything looks happy and coated.
- Pour the cornstarch slurry over the apple mixture. Stir gently until all the apple pieces are coated. The apples will still look somewhat watery at this stage – that’s totally okay, the magic happens later in the fridge.
- Spoon your apple mixture into an 8 or 9-inch pie dish or a similar serving dish. Spread it evenly. Don’t press too hard, let the apples breathe a little.
- Cover your pie dish tightly with plastic wrap and slide it into the fridge. **Chill time is crucial here, folks!** Let it hang out for at least 4 hours, but ideally overnight. This is where the cornstarch does its work and thickens everything into a luscious, pie-like filling. Patience, young padawan!
Part 2: The Crumbly Crown
- When your pie is almost done chilling, preheat your oven to 350°F (175°C). Yes, just for the crumble, we’re rebel bakers!
- In a medium bowl, combine your oats, flour, brown sugar, cinnamon, and that tiny pinch of salt. Whisk them together until they’re well mixed.
- Now, grab your **cold, diced butter**. Add it to the dry ingredients. Use your fingers, a pastry cutter, or even a fork (if you’re feeling old school) to cut the butter into the mixture. Work quickly until it looks like coarse crumbs with some pea-sized pieces. **Don’t overmix!** We’re going for crumbles, not dough.
- Spread your crumble mixture evenly on a baking sheet lined with parchment paper. This helps it bake consistently and prevents sticking.
- Bake for about 10-15 minutes, or until the crumble is beautifully golden brown and smells divine. Keep an eye on it! Crumble goes from perfectly golden to charcoal surprisingly fast.
- Once baked, remove from the oven and let it cool completely on the baking sheet. Seriously, let it cool. Warm crumble will melt into your chilled pie in a way that’s not *quite* as charming.
Part 3: Assembly & Glory
- Once your apple pie filling is perfectly chilled and set, and your crumble is cool, remove the pie from the fridge.
- Sprinkle the cooled crumble generously over the top of your unbaked apple pie.
- Serve immediately and prepare for compliments! Or, you can keep the assembled pie in the fridge until ready to serve. Best enjoyed within a day or two for optimal crumble crunch.
Common Mistakes to Avoid
Nobody’s perfect, but we can avoid some common culinary pitfalls together:
- Impatience is Not a Virtue Here: Seriously, that **chilling time for the apples is NON-NEGOTIABLE**. Skimp on it and you’ll have a watery mess, not a pie. Think of it as forced relaxation for your dessert.
- Warm Butter for the Crumble: Using soft or melted butter for the crumble is a one-way ticket to ‘oatmeal paste’ town. **Cold butter is key** for that perfect, crumbly texture. It’s science!
- Overmixing the Crumble: Work it just until it’s crumbly. If you overmix, you’ll develop gluten and end up with a chewy, less-than-ideal topping. We want light and airy crumbles!
- Burning the Crumble: Don’t walk away from the oven! Crumble goes from perfectly golden to charcoal surprisingly fast. Keep an eye on it, especially in the last few minutes. A burnt crumble makes a sad chef.
- Using Mushy Apples: Stick to firm, crisp apples. Soft apples will turn into baby food in your pie, which is… not the goal. Trust me on this one.
Alternatives & Substitutions
Feeling creative? Good! Here are some fun ways to tweak this recipe:
- Different Fruits: Peaches in the summer? Berries (maybe cooked first to reduce liquid)? Go wild! Just adjust the sugar and cornstarch if your chosen fruit is super juicy.
- Nutty Crumble: Add 1/4 cup of chopped nuts (pecans, walnuts, almonds) to your crumble mixture for extra crunch and flavor. Or a dash of almond extract in the apple filling, yum!
- Gluten-Free Crumble: Swap the regular all-purpose flour for a good gluten-free all-purpose blend. Easy peasy, and still delish!
- Vegan Version: Use plant-based butter for the crumble. For the filling, it’s already naturally vegan! How cool is that?
- Spiced Up: Feeling extra festive? Add a tiny pinch of ground cloves or ginger to your apple filling. Don’t go overboard, though; we’re making pie, not potpourri.
FAQ (Frequently Asked Questions)
- Q: Can I use pre-sliced apples?
A: Sure, if you trust their freshness and thickness! But honestly, fresh slicing takes like 5 minutes, and you know exactly what you’re getting. Plus, it’s a good arm workout, right? - Q: How long does this pie last?
A: In your fridge? Probably 3-4 days, if it even lasts that long without mysteriously disappearing. The crumble might get a *tiny* bit soft after a day, but it’s still ridiculously delicious. - Q: Do I *have* to chill it overnight?
A: **Minimum 4 hours**, friend. Overnight is just for optimal thickness and flavor melding. Think of it as allowing the apples to ‘marinate’ in their deliciousness. Trust the process! - Q: My crumble isn’t getting crispy, what gives?
A: Did you use cold butter? Did you overmix? Is your oven lying to you? Make sure your oven is actually at temperature, and if all else fails, a few extra minutes usually does the trick. Just watch it closely! - Q: Can I skip the lemon juice?
A: You *could*, but your apples might turn brown, which isn’t the prettiest sight. Also, the lemon adds a lovely bright counterpoint to the sweetness. Don’t be a rebel here, friend. - Q: Can I bake the whole thing?
A: Well, then it wouldn’t be an *unbaked* apple pie, would it? 😉 But yes, you totally can! Just know you’ll need to pre-cook your apples a bit if you want them soft, or bake for much longer until tender, then add the crumble for the last 15-20 mins. It’s a different adventure, but still tasty!
Final Thoughts
See? No sweat, no tears, just pure apple pie bliss. You just made something ridiculously delicious with minimal effort. Go on, pat yourself on the back. You deserve a slice (or two!). This unbaked wonder is perfect for when you want maximum flavor with minimum fuss. Now go impress someone—or yourself—with your new culinary skills. You’ve earned it! Don’t forget to share, or don’t. Your call, chef.


