So you’re craving something tasty but too lazy to spend forever in the kitchen, huh? Same. Especially when it comes to chocolate chip cookies. It’s not just a cookie; it’s a whole vibe, a universe of chewy, crispy, melty goodness. But who has time to master every single variation? Today, we’re diving into the glorious world of the chocolate chip cookie, focusing on how one killer base recipe can open doors to all your favorite types. Get ready to bake like a boss without the culinary degree!
Why This Recipe is Awesome
Okay, so why this recipe? Because it’s the ultimate chameleon of cookie recipes. Seriously. It’s not just idiot-proof (even I didn’t mess it up, and my oven has a vendetta against me), it’s also incredibly forgiving. Want it chewier? Crisp-ier? Thicker? Thinner? We’re gonna tell you how to tweak this one recipe to hit all those sweet spots. Consider this your foundational knowledge for conquering the entire chocolate chip cookie kingdom. You’re welcome.
Ingredients You’ll Need
- Unsalted Butter: 1 cup (2 sticks), softened. (Because even butter needs to chill out a bit before it works its magic.)
- Granulated Sugar: 3/4 cup. (For that classic sweetness.)
- Packed Light Brown Sugar: 3/4 cup. (The secret sauce for chewiness. Don’t skimp!)
- Large Eggs: 2. (The binders of our dreams.)
- Vanilla Extract: 2 teaspoons. (Go for the good stuff, it makes a difference.)
- All-Purpose Flour: 2 1/4 cups. (The backbone of our cookie empire.)
- Baking Soda: 1 teaspoon. (Our little lift-off agent.)
- Salt: 1/2 teaspoon. (Don’t forget it! It balances everything out.)
- Chocolate Chips: 1 1/2 cups. (Your choice! Milk, semi-sweet, dark, chunks – go wild!)
Step-by-Step Instructions
- Prep Your Stage: Preheat your oven to 375°F (190°C). Line a couple of baking sheets with parchment paper. Trust me, it’s worth it for easy cleanup.
- Cream It Up: In a large bowl, cream together the softened butter, granulated sugar, and brown sugar until it’s light and fluffy. This usually takes about 2-3 minutes with an electric mixer.
- Egg-cellent Addition: Beat in the eggs one at a time, making sure each is fully incorporated before adding the next. Then stir in that glorious vanilla extract.
- Dry Mix Magic: In a separate medium bowl, whisk together the flour, baking soda, and salt. This ensures everything is evenly distributed.
- Combine Forces: Gradually add the dry ingredients to the wet ingredients, mixing until just combined. Do not overmix! Overmixing develops gluten, leading to tough cookies. And nobody wants tough cookies.
- Chocolate Time! Fold in your chosen chocolate chips. You can never have too many, IMO.
- Scoop & Bake: Drop rounded tablespoons of dough onto your prepared baking sheets, leaving a couple of inches between each. Bake for 9-11 minutes, or until the edges are golden brown and the centers are still slightly soft.
- Cool Down: Let the cookies cool on the baking sheets for a few minutes before transferring them to a wire rack to cool completely. Or, you know, eat them warm because who can resist?
Common Mistakes to Avoid
- Melting the butter: Softened means soft, not liquid. Melted butter makes for flat, greasy cookies. Chill out your butter, literally.
- Overmixing the dough: We just talked about this! Unless you’re aiming for cookie-flavored hockey pucks, mix until just combined.
- Not chilling the dough (sometimes): While this recipe doesn’t require it, if you want thicker, chewier cookies, a 30-minute chill can work wonders. Skipping it means a slightly flatter cookie.
- Eyeballing ingredients: Baking is a science, people! Use proper measuring cups and spoons. Unless you’re a seasoned baker, don’t play fast and loose with measurements.
Alternatives & Substitutions
Okay, this is where we turn our basic cookie into your cookie, unlocking the different ‘types’ you crave.
- For a Chewy Cookie: Increase the brown sugar slightly (say, by 1/4 cup) and reduce granulated sugar by the same amount. Also, a slightly underbaked center (still soft when pulled from the oven) contributes to chewiness. Chill your dough for at least 30 minutes, or even overnight, for peak chewiness. This allows the flour to fully hydrate and prevents spreading.
- For a Crispy Cookie: Use all granulated sugar (no brown sugar) and slightly less flour (2 cups instead of 2 1/4). Bake a minute or two longer until fully golden.
- For Thick, Puffy Cookies: Add 1/2 teaspoon of cornstarch to your dry ingredients. This little trick works wonders! Also, a good chill of the dough is your best friend for puffiness.
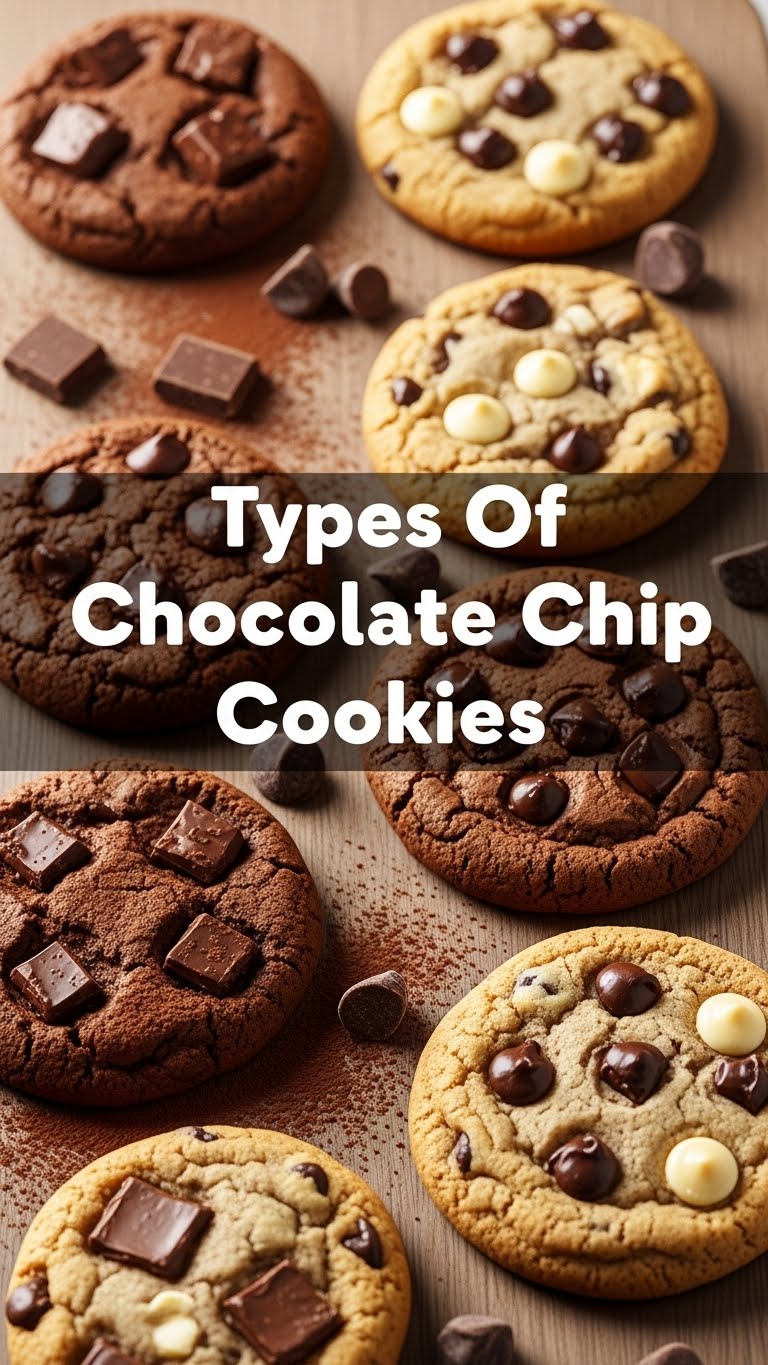
- Chocolate Type: This is where the fun begins!
- Classic: Semi-sweet chips. Can’t go wrong.
- Rich & Intense: Dark chocolate chunks or chopped bars (60-70% cacao).
- Sweet & Creamy: Milk chocolate chips.
- Fancy Pants: White chocolate chips, butterscotch chips, or a mix of several!
- Mix-ins Galore: Add a handful of chopped nuts (pecans, walnuts), sprinkles, toffee bits, or even a dash of espresso powder (enhances chocolate flavor!). Just don’t go overboard, aim for 1/2 cup extra max.
FAQ (Frequently Asked Questions)
- Can I use margarine instead of butter? Well, technically yes, but why hurt your soul like that? Butter provides superior flavor and texture. If you absolutely must, opt for a high-quality stick margarine.
- My cookies are spreading too much! What gives? Likely a few culprits: butter was too warm, not enough flour, or your oven temperature is off. Try chilling your dough before baking!
- How do I make them gooey in the middle? Pull them out of the oven when the edges are set and golden, but the very center still looks a little underbaked and glossy. They’ll continue to bake on the hot pan.
- Can I freeze the dough? Heck yes! Scoop portions onto a baking sheet, freeze until solid, then transfer to a freezer-safe bag. Bake from frozen, adding a couple of minutes to the bake time. Fresh cookies anytime, FYI!
- What’s the best kind of chocolate to use? IMO, a mix of semi-sweet chips and a chopped dark chocolate bar creates the best balance of sweetness and deep chocolate flavor. But truly, use what makes your heart sing!
Final Thoughts
And there you have it! Your very own guide to not just a chocolate chip cookie, but all the chocolate chip cookies you could ever dream of. You’ve got the power now to tweak, experiment, and create your perfect batch every single time. Now go impress someone—or yourself—with your new culinary skills. You’ve earned it! Don’t forget to share your creations (and maybe a few cookies) with your favorite people. Happy baking!


