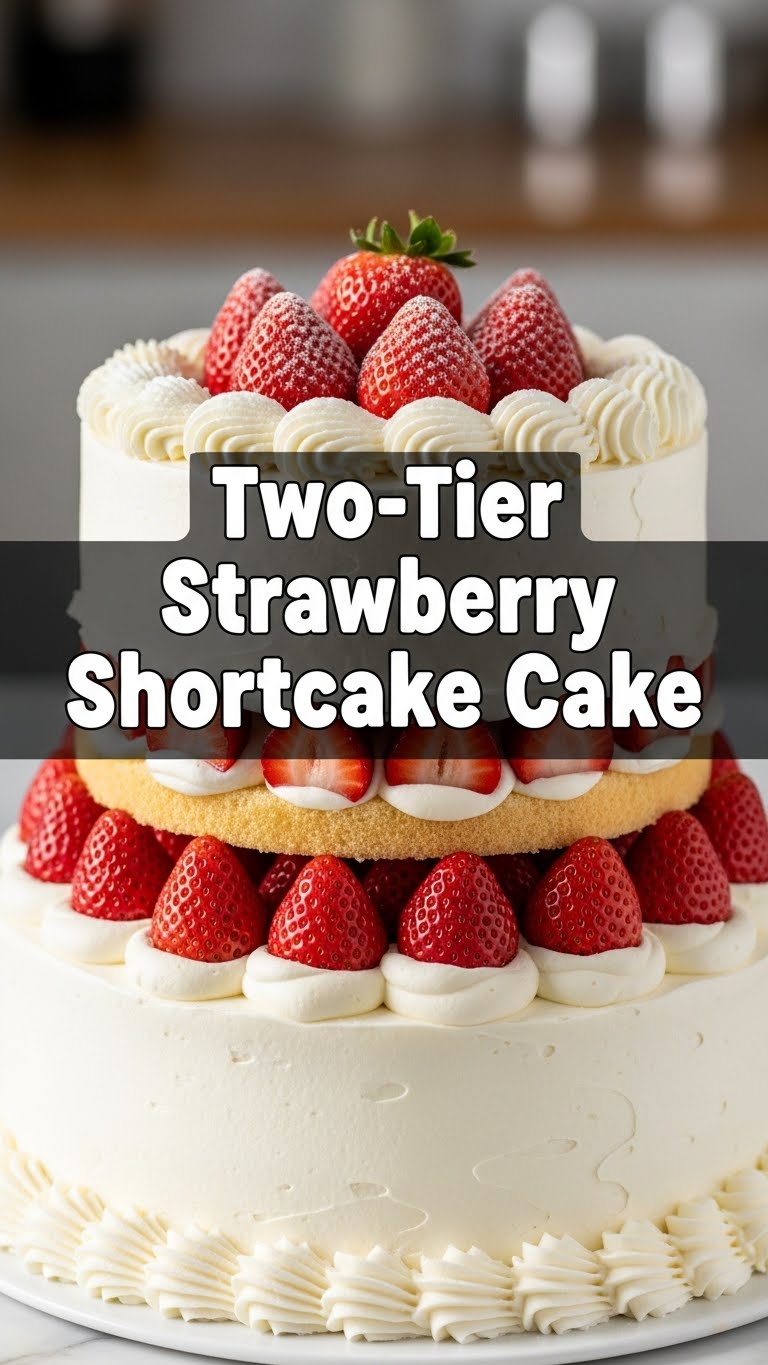
Ever looked at a fancy cake and thought, “Yeah, I could totally make that… if I had 3 extra hands, a culinary degree, and infinite patience?” Well, guess what, buttercup? Today, we’re making a showstopper that looks like you slaved for hours but is shockingly simple. We’re talking a **Two-Tier Strawberry Shortcake Cake**. It’s basically all the best parts of summer in cake form, stacked high and ready to impress. Get ready to channel your inner pastry chef, sans the stress!
Why This Recipe is Awesome
Okay, let’s be real. This isn’t just *a* cake; it’s *the* cake. Why? Because it’s the culinary equivalent of wearing sweatpants but looking like you’re ready for a photoshoot. It screams “I’m fancy!” but whispers “I used a box mix and that’s okay!” Honestly, it’s idiot-proof, even I didn’t mess it up (and I once set off a smoke detector making toast). It’s got two tiers, because why have one cake when you can have *two* cakes stacked on top of each other? Exactly. Plus, fresh strawberries, light as air whipped cream, and tender cake layers? It’s a guaranteed crowd-pleaser. Or, you know, a crowd of one – no judgment here!
Ingredients You’ll Need
Gather your troops! Here’s what you’ll need to create this masterpiece. Don’t worry, no obscure foraging required.
- For the Cake Layers (times two!):
- 1 box (approx. 15.25 oz/432g) white or vanilla cake mix (yeah, we’re not baking from scratch today, sue me – unless you *want* to, then bless your ambitious heart).
- Ingredients as per cake mix box (usually eggs, vegetable oil, water).
- For the Epic Whipped Cream:
- 4 cups (about 960ml) heavy whipping cream, super cold (because warm cream is just milk with commitment issues).
- 1 cup (about 120g) powdered sugar (sifted, if you’re feeling extra fancy, but not required).
- 2 teaspoons pure vanilla extract (the good stuff, please).
- For the Strawberry Deliciousness:
- 3 lbs (about 1.3kg) fresh strawberries, hulled and sliced (save a few whole ones for garnish, you artist, you).
- 2 tablespoons granulated sugar (just to make those berries extra juicy and happy).
- The Unsung Heroes:
- Non-stick baking spray or butter and flour for your pans.
- One 8-inch round cake pan and one 6-inch round cake pan.
Step-by-Step Instructions
Deep breaths! You got this. Follow these simple steps and prepare for glory.
Get Prepped: First things first, get those ovens fired up to 350°F (175°C). Seriously, don’t skip this. **Preheating is your friend.** Grease and flour your 8-inch and 6-inch cake pans. Line the bottoms with parchment paper if you’re feeling extra secure about not having sticking issues (smart move, IMO).
Cake Time: Whip up your cake mix according to the package directions. It’s pretty straightforward. Divide the batter: put about 2/3 of it into the 8-inch pan and the remaining 1/3 into the 6-inch pan. You’re aiming for two distinct cakes, not one big one that tried to escape its pan.
Bake ‘Em Up: Pop those pans in the oven. The 8-inch cake will likely take around 28-32 minutes, and the 6-inch will be quicker, around 20-25 minutes. **A good rule of thumb: when a toothpick inserted into the center comes out clean, they’re done.** Don’t open the oven door too early, or you’ll have sad, sunken cakes. Once baked, let them cool in the pans for about 10-15 minutes, then carefully invert them onto a wire rack to cool completely. This is crucial! **Warm cakes and whipped cream are a recipe for a melty mess.**
Strawberry Soiree: While your cakes are chilling, put your hulled and sliced strawberries in a bowl with the 2 tablespoons of granulated sugar. Give them a gentle toss and let them sit for at least 15-20 minutes. This little magic trick (called macerating) pulls out their juices, creating a delicious syrupy goodness. Yum!
Whip It Good: Now for the star filling! In a very cold bowl (metal bowls work great if chilled in the freezer for 10 minutes), pour your super cold heavy cream, powdered sugar, and vanilla extract. Beat with an electric mixer on high speed until **stiff peaks form**. This means when you lift the beaters, the cream stands up straight. Be careful not to overmix, or you’ll end up with butter (delicious, but not what we’re aiming for here!).
Assemble Your Masterpiece: Once your cakes are completely cool, grab a serving platter or cake stand. Carefully place the 8-inch cake layer down. Spread a generous layer of whipped cream over it, then spoon about half of your macerated strawberries (and their delicious juices!) over the cream. Place the second 8-inch cake layer on top, repeat with more cream and strawberries. For the 6-inch cake, do the same: cake layer, cream, strawberries, second cake layer, more cream, and the remaining strawberries.
The Grand Stack: Now for the two-tier magic! Gently center the smaller 6-inch cake on top of the larger 8-inch cake. You can add a little more whipped cream around the base of the top tier for a seamless look. Decorate with those few whole strawberries you saved earlier. **FYI, this cake is best served within a few hours of assembly** for peak deliciousness, but it’ll hold up in the fridge for a bit too.
Common Mistakes to Avoid
Look, we all make mistakes. But let’s try to avoid these common cake blunders, shall we? You’re better than that!
- Thinking you don’t need to preheat the oven: Rookie mistake! Your cake won’t rise properly, and you’ll end up with a dense, sad disc.
- Overmixing the cake batter: It’s a cake, not a bread. Overmix and you activate too much gluten, resulting in a tough, chewy texture. Mix until just combined, a few lumps are fine.
- Opening the oven door too early: Patience, my friend. Resist the urge to peek before the recommended baking time, or your cake might collapse.
- Not cooling cakes completely: Trying to frost a warm cake? That’s a melty, sliding disaster waiting to happen. **Cool those babies fully on a wire rack!** I can’t stress this enough.
- Overwhipping the cream: Go too far and you’ve got butter. While butter is glorious, it won’t pipe nicely onto your cake. Stop when it’s just holding stiff peaks.
- Skipping the strawberry maceration: Just slicing them is fine, but letting them hang out with some sugar makes them extra juicy and delicious. Don’t be shy, let them mingle!
Alternatives & Substitutions
Feeling wild? Want to customize? Go for it! This is your cake adventure.
- Cake Mix Swap: If you’re a baking purist (or just feeling extra ambitious), feel free to use your favorite homemade vanilla or white cake recipe instead of the box mix. Just adjust baking times for your pan sizes.
- Berry Blast: Not a strawberry fanatic? (Gasp!) Swap them out for raspberries, blueberries, or a mix of summer berries. Just make sure whatever fruit you use is fresh and ripe.
- Whipped Cream Stabilizers: If you’re worried about your whipped cream deflating, you can add a tablespoon of cream cheese (softened) or a tiny bit of unflavored gelatin (dissolved as per package instructions) to the cream before whipping. It gives it a bit more backbone, especially if your cake is going to sit out for a while.
- Tier-Optional: Don’t feel like a two-tier masterpiece? No problem! Make one large 9-inch cake instead, or two separate single-tier cakes. **It’ll still be delicious, promise!**
FAQ (Frequently Asked Questions)
Got questions? I’ve got answers, delivered with a side of sass.
- Can I make the cake layers ahead of time? Absolutely! Once completely cooled, wrap them tightly in plastic wrap and store at room temperature for a day, or freeze for up to a month. Just thaw before assembling.
- How long does this cake last? It’s best eaten within 2-3 days when stored covered in the fridge. The whipped cream can start to weep a little after that, and the cake gets a bit soggy.
- Can I use frozen strawberries? Well, technically yes, but why hurt your soul like that? Fresh is definitely best for flavor and texture. If you absolutely *must* use frozen, thaw them completely and drain them *really* well to avoid a watery cake.
- My whipped cream isn’t stiff, help! Is your cream super cold? Is your bowl super cold? These are key! If it’s still not working, you might not have enough fat in your cream (ensure it’s “heavy whipping cream,” not just “whipping cream”) or you might be in a humid environment. Keep beating!
- Do I *have* to make it two tiers? Nope, one tier is perfectly valid! **No judgment here.** It’ll still be a showstopper.
- Is this cake kid-friendly? Oh, absolutely! Just watch for sticky fingers and the inevitable “Can I have another piece?” requests.
- Can I add some lemon zest to the cake or cream? Ooh, excellent idea! A little lemon zest in the cake batter or whipped cream would add a lovely brightness. Go for it!
Final Thoughts
See? You’re basically a master baker now. This Two-Tier Strawberry Shortcake Cake isn’t just dessert; it’s a statement. It’s a testament to your newfound (or previously hidden) culinary prowess. It’s light, it’s fresh, it’s impressive, and honestly, it tastes like summer vacation. So go forth and conquer your cravings, my friend. Now go impress someone—or yourself—with your new culinary skills. You’ve earned it!


