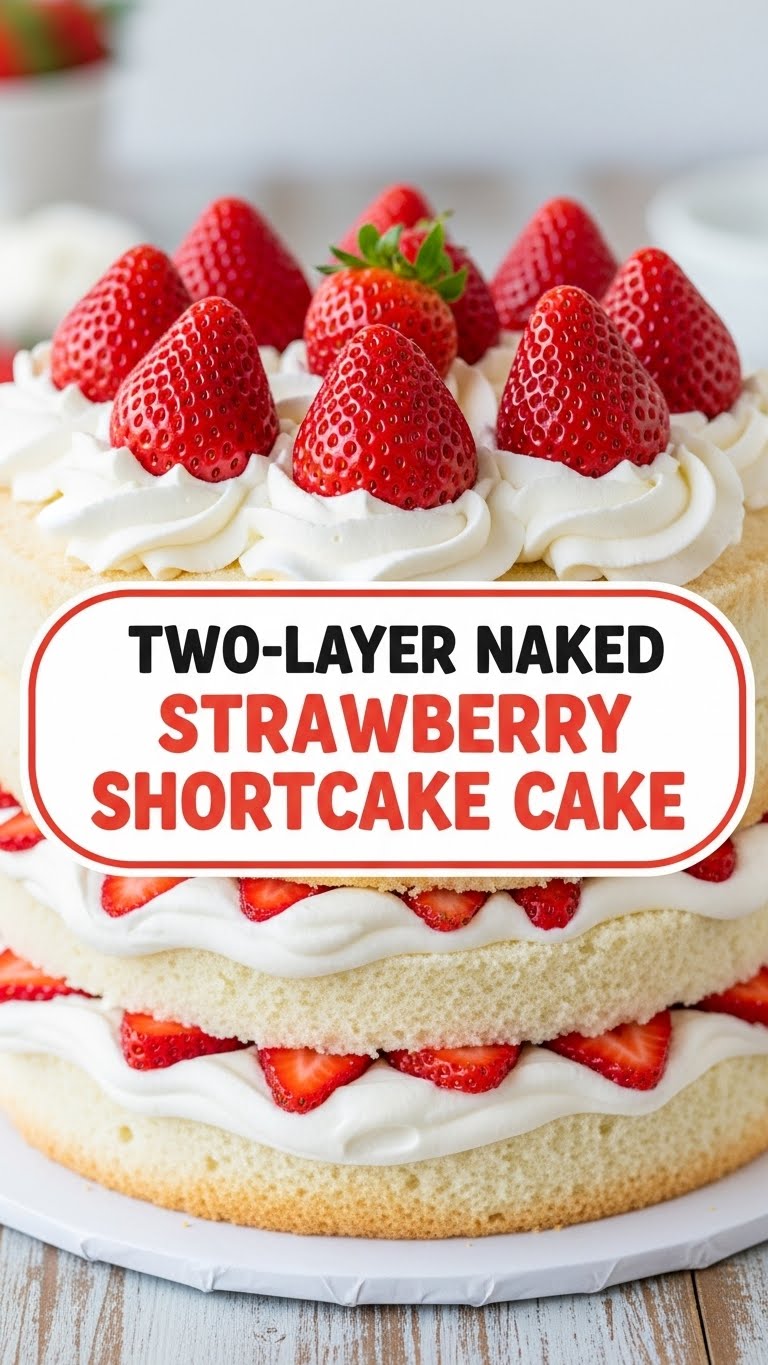
So you’re craving something ridiculously tasty, totally Instagram-worthy, but also don’t want to spend your entire weekend in the kitchen, huh? Same, friend, same. Enter the Two-Layer Naked Strawberry Shortcake Cake: your new bestie for looking like a baking genius without the fuss.
Why This Recipe is Awesome
Listen, I get it. Sometimes you want cake, but not the kind that requires an engineering degree to frost perfectly. This “naked” cake is basically the chill, no-makeup version of a fancy dessert. It’s light, it’s fresh, and honestly, it’s pretty darn idiot-proof. Even I didn’t mess it up, and my kitchen has seen some things, trust me. Plus, strawberries! They just scream summer, happiness, and “I made this delicious thing for you, now love me.”
It’s also a total crowd-pleaser and deceptively simple. You whip up a couple of tender cake layers, pile on some glorious whipped cream, and shower it with juicy strawberries. No fuss, no muss, just pure, unadulterated shortcake bliss. Bonus: less frosting means you can eat more cake. You’re welcome.
Ingredients You’ll Need
Get ready to raid your pantry (and maybe make a quick run to the store for those gorgeous berries!).
For the Shortcake Layers:
- All-purpose flour: The backbone of our cake. Don’t eyeball it; level that cup!
- Granulated sugar: For that sweet, sweet goodness.
- Baking powder: Our lift-off agent! Makes it light and airy.
- Salt: Just a pinch to make everything else taste better.
- Unsalted butter: Cold and cubed. Yes, cold! It’s important for that shortcake texture.
- Large egg: One happy little binder.
- Whole milk: For richness and moisture.
- Vanilla extract: Because everything’s better with vanilla.
For the Whipped Cream & Strawberry Filling:
- Heavy cream (or whipping cream): Make sure it’s super cold for max fluffiness.
- Powdered sugar (confectioners’ sugar): Sweetens and stabilizes the cream.
- Vanilla extract: Again, because it’s awesome.
- Fresh strawberries: The star of the show! Hull and slice ’em up. Get the good ones, you deserve it.
- A little extra granulated sugar: For macerating the strawberries – it brings out their juices.
Step-by-Step Instructions
Alright, apron on, let’s get baking! Don’t overthink it, just follow along.
- Preheat & Prep: First things first, get your oven to 375°F (190°C). Grease and flour two 8-inch round cake pans. Or, if you’re smart like me, line them with parchment paper. Trust me, it saves dishwashing grief.
- Mix the Dry Stuff: In a large bowl, whisk together the flour, granulated sugar, baking powder, and salt. Easy peasy.
- Cut in the Butter: Add your cold, cubed butter to the dry ingredients. Use a pastry blender, two knives, or even your clean fingertips (the quick method!) to cut the butter into the flour until it resembles coarse crumbs, like pebbly sand. No big chunks! This is key for tenderness.
- Wet Ingredients Unite: In a separate small bowl, whisk together the egg, milk, and vanilla extract.
- Combine & Mix (Gently!): Pour the wet ingredients into the dry mixture. Mix with a spoon or spatula just until combined. Seriously, don’t overmix! Lumpy is fine; tough cake is not.
- Bake ‘Em Up: Divide the batter evenly between your prepared cake pans. Pop them in the preheated oven for 20-25 minutes, or until a wooden skewer inserted into the center comes out clean.
- Cool Down: Let those beautiful cake layers cool in their pans for about 10 minutes before gently inverting them onto a wire rack to cool completely. Patience is a virtue here, my friend.
- Macerate the Berries: While the cakes are chilling out, gently wash and hull your strawberries. Slice them up and toss them in a bowl with a tablespoon or two of granulated sugar. Let them sit for at least 15-20 minutes. This draws out their sweet juices, which are basically liquid gold.
- Whip It Good: Time for the dreamy whipped cream! In a large, super-clean, super-cold bowl (I pop mine in the freezer for 10 minutes), combine the heavy cream, powdered sugar, and vanilla. Beat with an electric mixer (or a whisk if you’re feeling ambitious) until soft peaks form. Don’t overbeat, or you’ll have butter!
- Assemble Your Masterpiece: Once the cakes are completely cool, place one layer on your serving plate. Spoon about half of the whipped cream on top, spreading it gently to the edges. Pile about half of your macerated strawberries (and some of their glorious juice!) over the cream. Top with the second cake layer. Repeat with the remaining whipped cream and strawberries.
- Admire & Devour: Take a moment to gaze upon your creation. Then, grab a fork and dive in!
Common Mistakes to Avoid
Nobody’s perfect, but we can avoid some classic blunders that’ll make your cake sad.
- Not preheating the oven: Rookie mistake! A cold oven means uneven baking and a dense cake. Always preheat!
- Overmixing the batter: This is a biggie. Mixing too much develops the gluten, leading to a tough, rubbery cake. Mix until just combined, a few lumps are totally fine.
- Cutting corners on butter temperature: Using melted or soft butter instead of cold, cubed butter will change the texture of the shortcake. Stick to cold!
- Not cooling the cakes completely: If your cakes are warm, that lovely whipped cream will melt into a sad, soupy mess. Patience, young padawan!
- Overbeating the whipped cream: One second it’s perfect, the next it’s grainy and turning into butter. Watch it like a hawk.
Alternatives & Substitutions
Feeling adventurous? Or just missing an ingredient? No worries, we can totally improvise.
- Fruit Fantasies: Not a strawberry fan? Or just want variety? Swap ’em out! Raspberries, blueberries, sliced peaches, or a mix of berries would be divine. Just macerate them the same way.
- Dairy-Free Dream: For the cake, you can use a plant-based milk (like almond or oat) and a vegan butter substitute. For the whipped cream, well, that’s trickier. There are some good coconut cream or vegan whipping cream options out there, but make sure they’re super cold!
- Spice it Up: A tiny pinch of cinnamon or a dash of almond extract in the cake batter or whipped cream can add an interesting twist. Just a whisper, though!
- Shortcut Supreme: In a real pinch for time? You could totally use a good quality store-bought angel food cake or pound cake mix for the layers. No judgment here!
FAQ (Frequently Asked Questions)
Got questions? I’ve got (casual) answers!
- Can I make this ahead of time? You can bake the cake layers a day in advance and store them airtight. The whipped cream is best made right before serving, though. As for assembling, it’s best done within a few hours of eating, as the berries will get juicy and can make the cake a bit soggy if left too long.
- My whipped cream isn’t getting fluffy! What gives? Is your cream super cold? Is your bowl super cold? Are you sure it’s heavy cream and not half-and-half? These are usually the culprits! Also, avoid humid kitchens if you can.
- Can I use frozen strawberries? Technically yes, but fresh is always best for texture and flavor in this recipe. If you use frozen, thaw them completely and drain off most of the excess liquid before macerating.
- What if I don’t have two cake pans? You can bake one layer at a time, just ensure you grease and flour the pan again for the second batch. Or, make one thicker cake and slice it in half horizontally once completely cooled (use a serrated knife!).
- How long does it last? This cake is definitely best fresh. Leftovers can be stored in the fridge for 1-2 days, but the cake might get a bit soggy from the berry juices and the cream might lose some stiffness. Still delicious, IMO!
Final Thoughts
See? That wasn’t so bad, was it? You just whipped up a dessert that looks fancy but was secretly a breeze. This Naked Strawberry Shortcake Cake is perfect for brunches, picnics, or just a Tuesday evening when you need a little sweet pick-me-up. It’s light, it’s fresh, and it’s proof that sometimes, less truly is more.
Now go impress someone—or yourself—with your new culinary skills. You’ve earned it! Seriously, go grab a slice and enjoy the delicious fruits (pun intended!) of your labor.


