So you’re craving something tasty but too lazy to spend forever in the kitchen, huh? Same, friend, *same*. We’ve all been there: scrolling through endless food blogs, sighing dramatically at multi-step recipes, and then just ordering pizza. But what if I told you there’s a magical little treat that tastes like a million bucks, requires minimal effort, and barely makes a dent in your pile of dishes? Enter the glorious, utterly divine, Truffles with Condensed Milk. Get ready to have your mind blown (and your sweet tooth seriously satisfied).
Why This Recipe is Awesome
Okay, let’s be real. In a world full of complicated sourdough starters and sous vide experiments, sometimes you just need a win. This recipe isn’t just a win; it’s a touchdown, a slam dunk, a mic drop moment. Here’s why you’re about to fall head over heels:
- It’s practically idiot-proof. Seriously, if you can stir and roll, you got this. Even I didn’t mess it up, and that’s saying something.
- Minimal ingredients. We’re talking like, three main players. Your grocery list will thank you.
- No baking required! That’s right, keep your oven off and your kitchen cool. Perfect for those “too hot to cook” days or just general laziness.
- Impressive AF. Roll these babies out for guests, and they’ll think you spent hours slaving away. Your secret’s safe with me.
- Customizable! Want to get fancy? You totally can. Keep it simple? Also an excellent choice.
Ingredients You’ll Need
Gather ’round, my sweet-toothed companions! Here’s your super-short shopping list. You probably have most of this already, honestly.
- 1 can (14 oz or 397g) Sweetened Condensed Milk: The absolute star of our show. Don’t even think about using evaporated milk. That’s a whole different vibe, and not the one we’re going for.
- ½ cup (60g) Unsweetened Cocoa Powder: The dark, mysterious hero. Use a good quality one; it really makes a difference. Trust me on this.
- 2 tablespoons Unsalted Butter: Just a tiny bit, melted. It’s for that velvety smoothness, like silk for your mouth.
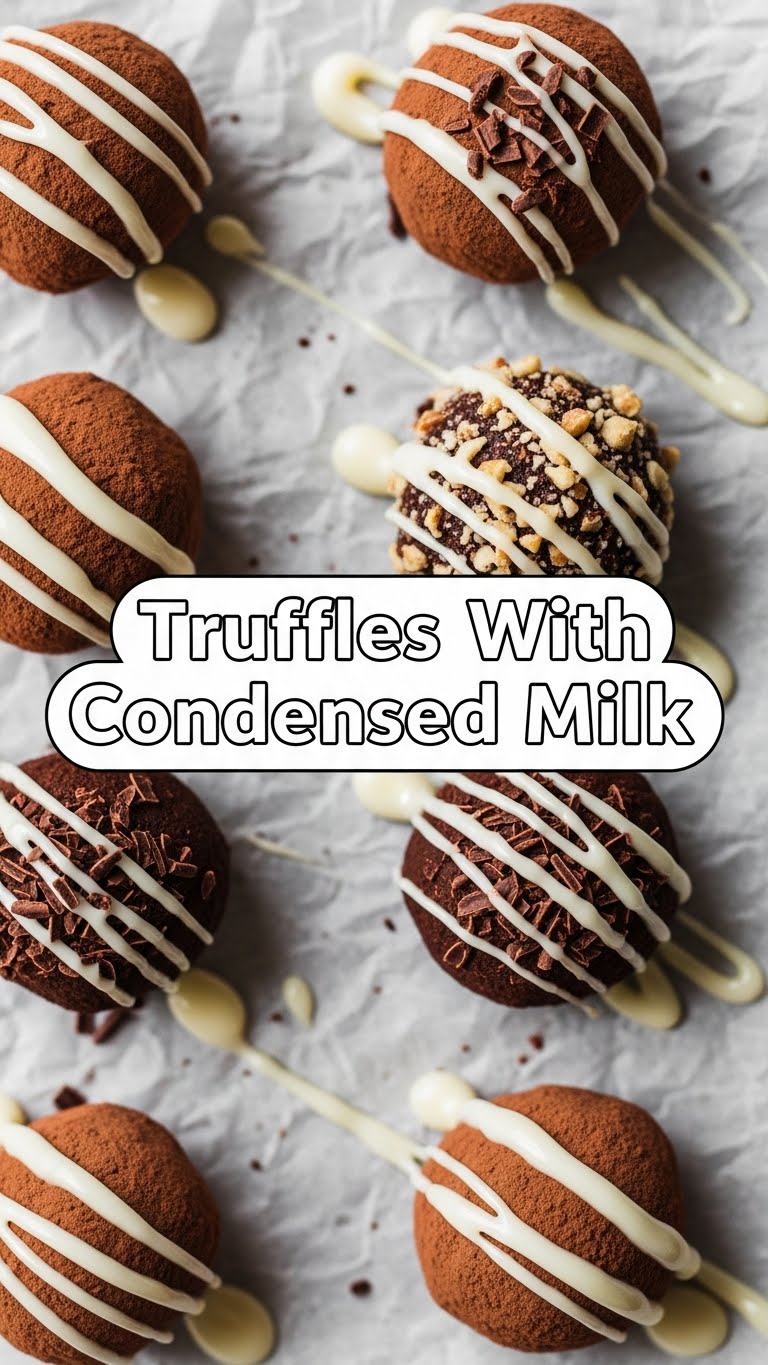
- Extra Cocoa Powder, Shredded Coconut, Sprinkles, or Chopped Nuts: For rolling and decorating! Go wild, express yourself, or keep it classic. Your call!
Step-by-Step Instructions
Alright, time for the magic to happen! Follow these ridiculously easy steps, and you’ll be drowning in deliciousness faster than you can say “more truffles, please!”
Melt the Butter: In a medium microwave-safe bowl, melt your 2 tablespoons of butter. This should only take about 30 seconds. Don’t burn it! We’re making truffles, not burnt offerings.
Combine the Good Stuff: Pour the entire can of sweetened condensed milk into the melted butter. Add the ½ cup of unsweetened cocoa powder. Stir it all together with a spatula or wooden spoon until everything is thoroughly combined and smooth. You’re aiming for a thick, uniform chocolatey paste. No streaks allowed!
Chill Out (Literally): This is perhaps the hardest step, because it requires patience. Cover your bowl with plastic wrap and pop it into the fridge for at least 1-2 hours. The mixture needs to be firm enough to roll. If you’re super impatient, you can stick it in the freezer for about 30-45 minutes, but keep an eye on it!
Roll ‘Em Up: Once chilled, grab a small spoon or a mini ice cream scoop. Scoop out about a teaspoon or a tablespoon of the mixture (depending on how big you want your truffles). Roll it between your palms to form a smooth ball. Your hands might get a little messy, but that’s part of the fun!
Coat and Conquer: Pour your chosen coating (extra cocoa powder, shredded coconut, sprinkles, etc.) onto a shallow plate. Roll each truffle ball in the coating until it’s fully covered. Repeat until all your mixture is transformed into glorious little truffles.
Final Chill (Optional but Recommended): Place your finished truffles on a plate lined with parchment paper and give them another quick chill in the fridge for about 15-30 minutes. This helps them set up perfectly and stay firm.
Common Mistakes to Avoid
Look, we all make mistakes. It’s how we learn! But since I’ve already made most of them for you, here’s a little cheat sheet to ensure your truffle journey is smooth sailing.
- Not Chilling Enough: This is probably the #1 culprit for “my truffles are a sticky mess!” Seriously, do not skip or shorten the chill time. Patience is a virtue, especially when rolling truffles.
- Using the Wrong Milk: As mentioned, condensed milk is non-negotiable. Don’t grab evaporated milk, skim milk, or oat milk. They will not work the same way.
- Too Much Initial Cocoa: While it’s tempting to dump a ton in, sticking to the ½ cup initially ensures a smooth, creamy truffle. You can always add more to the *outside*!
- Over-melting the Butter: Burnt butter tastes gross. Melt it gently.
- Trying to make them on a really hot day in a hot kitchen: Your truffles will melt faster than an ice cube in July. Stick to air-conditioned comfort if possible, or work quickly!
Alternatives & Substitutions
Feeling creative? Want to mix it up a bit? Excellent! Here are a few ideas to get those culinary juices flowing:
- Coatings Galore: Beyond the classic cocoa, try finely chopped pistachios, toasted shredded coconut, powdered sugar, mini chocolate chips, or even crushed freeze-dried raspberries for a pop of color and tartness.
- Flavor Boosters: Stir in ½ teaspoon of vanilla extract with the condensed milk and cocoa. Or a tiny pinch of sea salt to really make that chocolate sing! A little orange zest (like ¼ teaspoon) could be lovely too.
- Boozy Truffles: For an adult twist, add a teaspoon of rum, Kahlua, or Grand Marnier to the mixture. Just a tiny splash, you don’t want to make it too liquidy.
- Make it Vegan: Swap out the dairy sweetened condensed milk for a vegan alternative (often coconut-based, check the label!) and use plant-based butter. They work surprisingly well!
FAQ (Frequently Asked Questions)
Got questions? I’ve got (mostly sarcastic) answers!
Can I use regular milk instead of condensed milk? Oh, honey, no. Condensed milk is thick, sweet, and essential. Regular milk will just give you chocolate soup, and that’s not what we’re going for here. Why hurt your soul like that?
How long do these truffles last? If you manage not to devour them all in one sitting (impressive willpower!), they’ll last about a week in an airtight container in the fridge. But honestly, good luck with that.
Do I have to refrigerate them? Yes, absolutely! Especially after they’re made. These are delicate little flowers and will get very soft (or even melt) at room temperature, especially if it’s warm. Keep ’em chill!
My mixture is too sticky to roll! What did I do wrong? You probably didn’t chill it long enough, you impatient genius! Pop it back in the fridge (or freezer for a bit) until it’s firm. If it’s still super sticky, try adding a tiny bit more cocoa powder, but usually, it’s just a chill issue.
Can I freeze these truffles? You betcha! Store them in an airtight container, separated by parchment paper, for up to 2-3 months. Thaw them in the fridge when you’re ready for a delightful treat.
Is it okay to eat the entire batch by myself? FYI, I’m not a doctor, but IMO, it’s a perfectly valid life choice. No judgment here.
Final Thoughts
And there you have it! Delicious, easy-peasy truffles that make you look like a culinary wizard without actually having to *be* one. These little bites of heaven are perfect for a quick pick-me-up, a fancy-ish dessert for friends, or just, you know, because it’s Tuesday. So go forth, my friend, conquer that kitchen, and enjoy your sweet, sweet victory. Now go impress someone—or yourself—with your new culinary skills. You’ve earned it!


