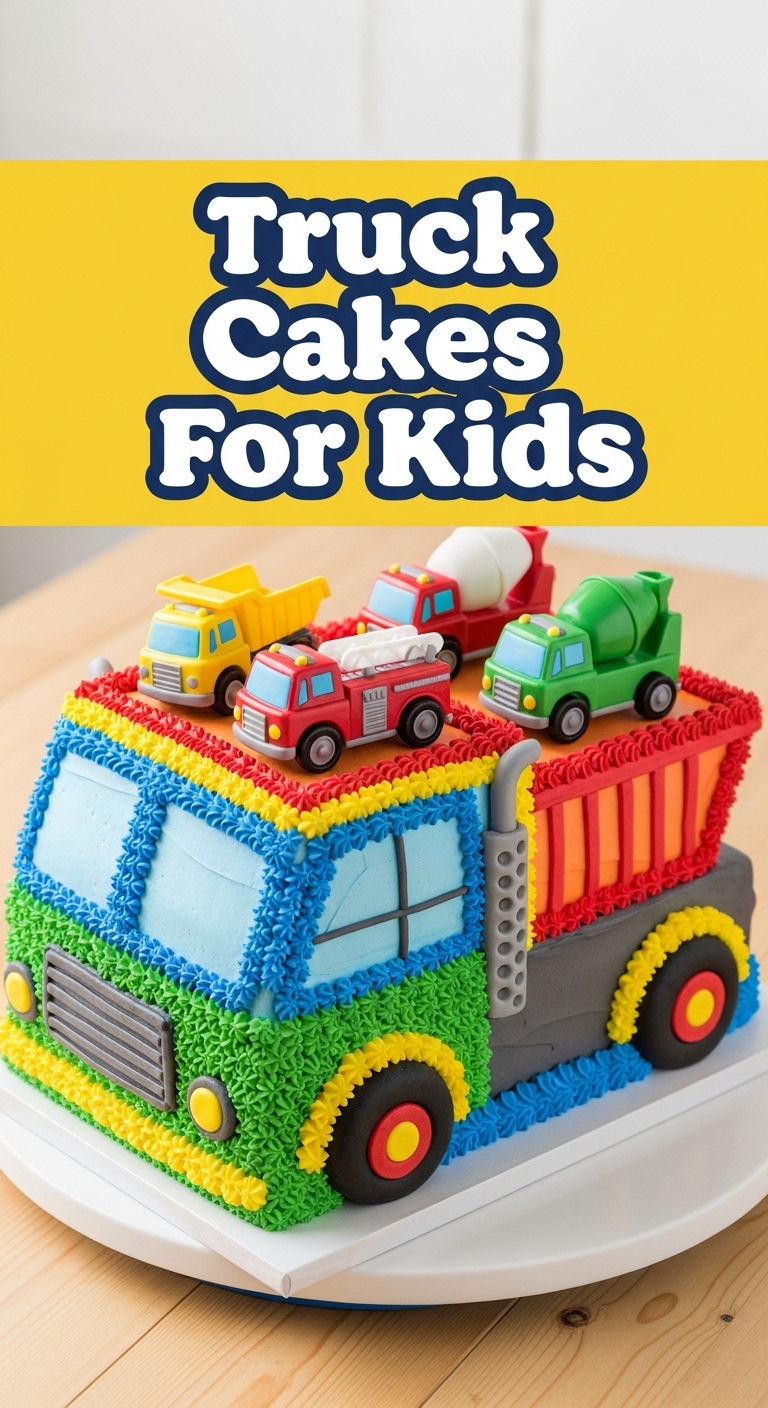
So, your little human is obsessed with trucks, and you’re contemplating whether you can just draw a truck on a store-bought cake and call it a day, huh? Been there, done that, got the slightly judgy stares from other parents. Kidding! Mostly. But what if I told you we could whip up some awesome “Truck Cakes” that look impressive, taste even better, and won’t make you want to throw your mixer out the window? Yes, friend, it’s possible. Let’s get baking!
Why This Recipe is Awesome
Okay, let’s be real. This recipe is awesome because it’s basically a foolproof way to become a kitchen hero without actually being a professional baker. Seriously, if I can do it without setting off the smoke alarm (most days), you can too. It’s got that homemade taste, but it’s straightforward enough that you won’t need to consult a culinary encyclopedia. Plus, it’s customizable – because who wants a boring cake when you can have a truck-shaped masterpiece?
It’s quick, relatively mess-free (if you try really hard), and the smiles you’ll get from the little truck enthusiasts? Priceless. So, ditch the boxed mix guilt and let’s make some memories (and delicious cake, IMO).
Ingredients You’ll Need
Gather your troops, because we’re making some cake from scratch. Don’t panic, it’s easy stuff!
- All-purpose flour: 2 cups. The backbone of our cake dreams.
- Granulated sugar: 1½ cups. Because sweetness is next to godliness.
- Baking powder: 2 teaspoons. Our cake’s personal lifting coach.
- Salt: ½ teaspoon. Just a pinch to make everything pop.
- Unsalted butter: 1 cup (2 sticks), softened. The good stuff. Don’t skimp here, folks!
- Large eggs: 3, at room temperature. Happy eggs, happy cake.
- Whole milk: 1 cup, at room temperature. Full fat, full flavor.
- Vanilla extract: 2 teaspoons. The secret weapon for making everything taste better.
- For the frosting: A tub of your favorite vanilla or chocolate frosting (or make your own if you’re feeling fancy, but we’re keeping it chill here).
- For decoration:
- Food coloring (green, yellow, red – for truck colors!)
- Oreo cookies or similar round biscuits (for wheels)
- Pretzel sticks (for exhaust pipes or details)
- Gummy candies or sprinkles (for lights/cargo)
Step-by-Step Instructions
- **Preheat Power-Up:** First things first, crank that oven to **350°F (175°C)**. Grease and flour a 9×13 inch baking pan (or two loaf pans for more truck-like shapes). This is crucial, unless you enjoy battling stuck cake later.
- **Dry Mix Magic:** In a medium bowl, whisk together your flour, sugar, baking powder, and salt. Give it a good swirl; we’re aiming for no lumpy surprises here.
- **Wet Mix Wonder:** In a separate, larger bowl, beat the softened butter until it’s light and fluffy. Now, crack in those eggs, one at a time, beating well after each addition. Stir in the vanilla extract. Your kitchen should be smelling pretty good by now, FYI.
- **Combine and Conquer:** Gradually add the dry ingredients to the wet ingredients, alternating with the milk. Start and end with the dry ingredients. Mix until *just* combined. **Don’t overmix!** A few small lumps are totally fine; overmixing makes for tough cakes.
- **Bake It Till You Make It:** Pour your beautiful batter into the prepared pan(s). Pop it into the preheated oven and bake for **28-35 minutes** for the 9×13 pan, or **25-30 minutes** for loaf pans. You’re looking for a golden-brown top and a wooden skewer inserted into the center coming out clean.
- **Cool Down Crew:** Once baked, let the cake cool in the pan for about 10-15 minutes. Then, carefully invert it onto a wire rack to cool completely. This part requires patience. Seriously, don’t rush it unless you enjoy crumbly frosting disasters.
- **Truck Time Transformation:** Once completely cool, cut your cake into truck shapes. A simple rectangle with a smaller rectangle cut out for the cab works wonders. Or, if using loaf cakes, just frost them as individual trucks!
- **Decorate Like a Pro (or a Kid):** Divide your store-bought frosting into separate bowls and tint them with food coloring for different truck parts (green for the body, red for details, etc.). Frost your cakes. Use Oreo cookies for wheels, pretzel sticks for exhaust pipes, and gummies for headlights. Get creative!
Common Mistakes to Avoid
- **Not preheating the oven:** Rookie mistake! Your cake won’t rise properly, and you’ll end up with a dense, sad disc.
- **Overmixing the batter:** You know those tough, chewy cakes? That’s usually from overzealous mixing. Mix until just combined, then stop. Walk away from the mixer.
- **Using cold ingredients:** Room temperature ingredients emulsify better, giving you a smoother, more even batter. Plan ahead, friend!
- **Opening the oven door too soon:** Resist the urge! This can make your cake sink in the middle. Give it at least 20 minutes before peeking.
- **Attempting to frost a warm cake:** This is a one-way ticket to frosting soup and crumbly nightmares. Seriously, wait until it’s **completely** cool.
Alternatives & Substitutions
Feeling adventurous? Or maybe you just ran out of milk? No worries, I got you!
- **Milk swap:** No whole milk? You can use 2% milk, buttermilk (for a tangier cake, reduce baking powder slightly), or even a dairy-free milk alternative like almond or soy milk (though results might vary slightly).
- **Butter alternative:** While butter is king, you can use unsalted margarine if you’re in a pinch. Just know that the flavor might not be as rich.
- **Flavor variations:** Want a chocolate truck? Add ½ cup of unsweetened cocoa powder to the dry ingredients and reduce the flour by ½ cup. Lemon truck? Add lemon zest to the batter!
- **Gluten-free option:** Swap out the all-purpose flour for a 1:1 gluten-free baking blend. Make sure it contains xanthan gum for the best results.
- **Frosting fun:** Don’t limit yourself to vanilla! Cream cheese frosting, chocolate ganache, or even a simple buttercream would be fantastic.
FAQ (Frequently Asked Questions)
- **Can I use oil instead of butter?**
You can, but it changes the texture slightly. Oil makes for a moister cake, but butter provides that rich flavor and crumb structure we’re going for. If you do use oil, use about ¾ cup for this recipe.
- **My cake is too dense, what happened?**
Most likely culprit: overmixing the batter or your baking powder isn’t fresh. Make sure to check the expiry date on your leavening agents!
- **How long do these truck cakes last?**
Stored in an airtight container at room temperature, they’re good for 3-4 days. In the fridge, maybe up to a week. If they even last that long, that is.
- **Can I make these into cupcakes instead?**
Absolutely! Fill cupcake liners about two-thirds full and bake for 18-22 minutes. You’ll just have mini truck cupcakes, which are equally adorable.
- **What if I don’t have food coloring?**
No worries! A plain white or chocolate truck is still super cool. You can rely on colorful sprinkles, candies, and fruit for decoration instead.
Final Thoughts
There you have it, folks! A delicious, fun, and surprisingly easy recipe for “Truck Cakes” that will make you the undisputed champion of the kids’ party (or just a Tuesday afternoon snack). Remember, it’s about having fun and making something yummy. Don’t stress too much about perfection; a slightly lopsided truck has character, right?
Now go impress someone—or yourself—with your new culinary skills. You’ve earned it! And maybe save a slice for yourself before the little ones demolish it all. Happy baking!


