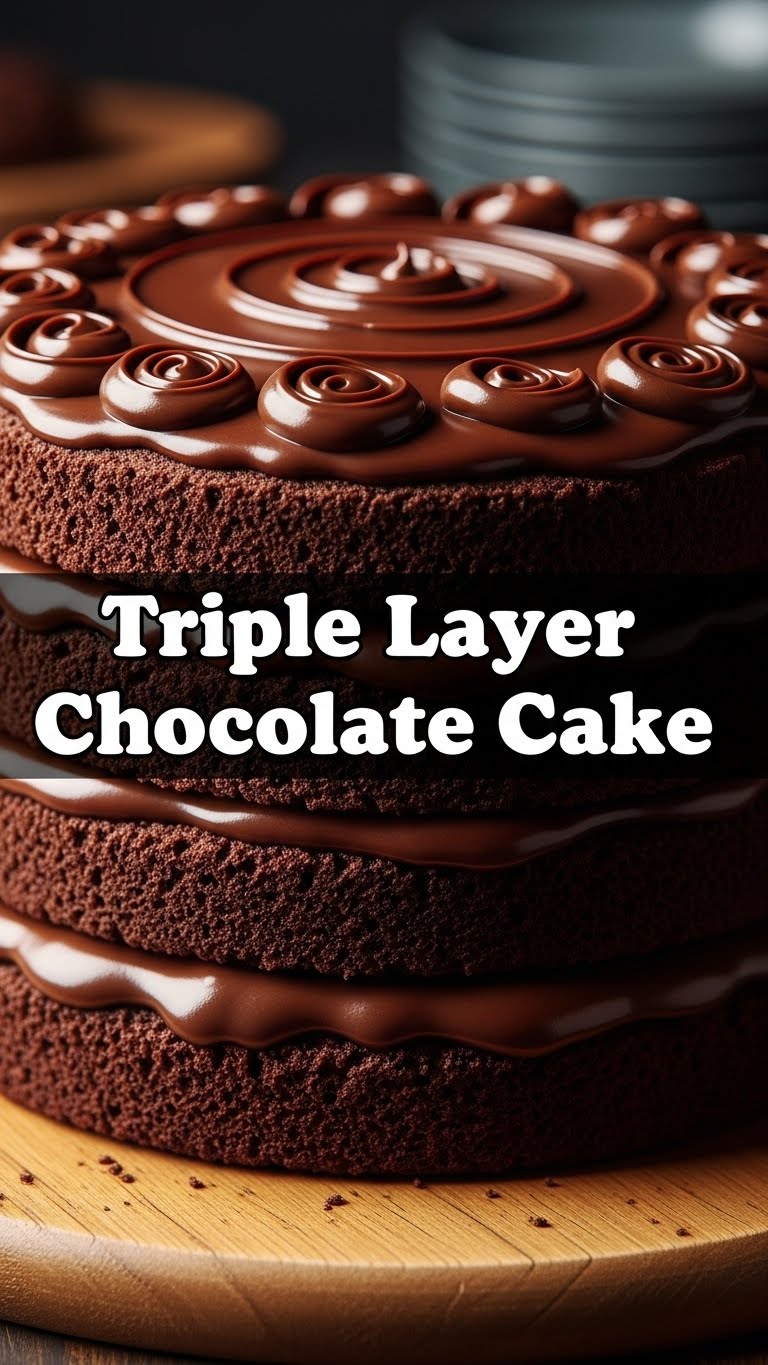
So, you’ve decided to tackle the Everest of desserts, huh? Or maybe you just want some chocolate and figured three layers are undeniably better than one. Smart move. You’re craving something that screams “I tried hard!” but actually requires minimal effort, right? Same, friend, same. Get ready to bake a Triple Layer Chocolate Cake that’ll make you feel like a culinary wizard, even if your usual go-to is instant ramen.
Why This Recipe is Awesome
Listen up. This isn’t just *any* chocolate cake. This is THE chocolate cake. Why is it awesome? Let me count the ways:
- It’s chocolate. Triple layer. Do I really need to elaborate?
- It’s surprisingly idiot-proof. I mean, I made it, and my baking track record usually involves slightly charred edges and uneven rises. So, yeah, you got this.
- The texture is so moist it practically melts in your mouth. No dry, crumbly sadness here, folks.
- It looks like you slaved away for hours, but it’s genuinely simple. Prepare for compliments and secretly smug satisfaction.
- And the frosting? Oh, the frosting is a rich, creamy dream. No wimpy, overly sweet stuff.
Ingredients You’ll Need
Gather your troops! Most of these are probably chilling in your pantry already. (And yes, I included the frosting ingredients here because who wants to make a cake without frosting? Nobody, that’s who.)
For the Cake:
- All-purpose flour: 2 cups. The basic building block of joy.
- Granulated sugar: 2 cups. For that sweet, sweet goodness.
- Unsweetened cocoa powder: ¾ cup. Go dark or go home.
- Baking soda: 2 teaspoons. Our lift-off agent.
- Baking powder: 1 teaspoon. More lift-off, because we like tall cakes.
- Salt: 1 teaspoon. Don’t skip this! It balances everything out.
- Large eggs: 2, at room temperature. They play nicer when they’re not chilly.
- Milk: 1 cup (whole milk recommended, but whatever you have works).
- Vegetable oil: ½ cup. Keeps things ridiculously moist.
- Vanilla extract: 2 teaspoons. Liquid gold. Seriously, don’t skimp.
- Hot coffee (or hot water): 1 cup. The secret ingredient! It deepens the chocolate flavor without making it taste like coffee. Shhh!
For the Chocolate Buttercream Frosting:
- Unsalted butter: 1 cup (2 sticks), softened. Not melted, not rock hard. Just soft.
- Powdered sugar: 3-4 cups, sifted. Start with 3, add more if you like it super sweet or thick. Sifting is crucial unless you love lumpy frosting.
- Unsweetened cocoa powder: ¾ cup. More chocolate, please and thank you.
- Heavy cream (or milk): ½ cup. For that silky smooth consistency.
- Vanilla extract: 1 teaspoon. More vanilla, more happy.
Step-by-Step Instructions
Alright, apron on (or not, I’m not your mom), let’s get baking!
- Prep Time! Preheat your oven to 350°F (175°C). Grease and flour three 8-inch round cake pans. This is non-negotiable, unless you want a cake-pan permanent resident. Line the bottoms with parchment paper for extra insurance.
- Dry Mix Magic: In a large bowl, whisk together the flour, sugar, cocoa powder, baking soda, baking powder, and salt. Make sure there are no lumpy bits.
- Wet Mix Wonder: In a separate medium bowl, combine the eggs, milk, vegetable oil, and vanilla extract. Give it a good whisk until everything is nice and blended.
- Combine Forces: Gradually pour the wet ingredients into the dry ingredients. Mix on low speed with an electric mixer (or by hand with a whisk) until just combined. Do not overmix! Overmixing leads to tough cake, and nobody wants a tough cake.
- The Secret Sauce: Carefully pour the hot coffee (or water) into the batter. Mix on low speed until the batter is smooth. It will be thin, and that’s perfectly normal, even desired!
- Bake It Up: Divide the batter evenly among your three prepared cake pans. Pop them in the preheated oven and bake for 25-30 minutes, or until a wooden skewer inserted into the center comes out clean.
- Cool Down: Let the cakes cool in their pans on a wire rack for about 10-15 minutes. Then, carefully invert them onto the wire rack to cool completely. Seriously, completely! Frosting a warm cake is a recipe for disaster (and chocolate soup).
- Frosting Frenzy: While the cakes are cooling, let’s make that dreamy frosting. In a large bowl, beat the softened butter with an electric mixer until creamy (about 2 minutes).
- Sweet & Creamy: Gradually add the sifted powdered sugar and cocoa powder to the butter, alternating with splashes of heavy cream and the vanilla extract. Beat until light and fluffy. If it’s too thick, add a bit more cream; if too thin, a bit more sifted powdered sugar.
- Assemble Your Masterpiece: Once the cakes are completely cool, place one layer on your serving plate. Spread about ⅔ cup of frosting evenly over the top. Repeat with the second and third layers. Then, slather the remaining frosting all over the sides and top of the cake. Make it pretty, or rustic, whatever floats your boat.
- Admire & Devour: Take a mandatory photo for Instagram, then slice it up and enjoy! You’ve earned this.
Common Mistakes to Avoid
We’ve all been there. Here’s how to sidestep common baking blunders:
- Overmixing the batter: As mentioned, tough cake is a real buzzkill. Mix until just combined, no more, no less.
- Not greasing and flouring pans properly: Rookie mistake! Your cake will become one with the pan. Use parchment paper for extra peace of mind.
- Opening the oven door too early: Every time you peek, you let heat out and risk your cake sinking in the middle. Patience, grasshopper. Wait until at least the minimum bake time.
- Frosting a warm cake: Unless you’re going for a lava cake vibe, don’t do it. The frosting will melt and slide right off, creating a chocolate puddle.
- Ignoring ingredient temperatures: Room temperature eggs and softened butter actually make a difference in emulsification and consistency. FYI!
Alternatives & Substitutions
Feeling adventurous or just missing an ingredient? No worries, we can usually make it work:
- Milk: Any milk works in a pinch – skim, almond, soy, oat. Whole milk just gives the best richness, IMO.
- Coffee: If you’re not a coffee person (gasp!), hot water is totally fine. The coffee just enhances the chocolate, it doesn’t make it taste like a mocha.
- Oil: You can use an equal amount of melted butter instead of vegetable oil, but oil often results in a moister cake. Your call!
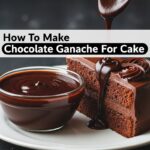
- Frosting Flair: Not feeling the buttercream? Go for a rich chocolate ganache, a cream cheese frosting, or even a peanut butter frosting if you’re feeling wild.
- Gluten-Free: Use a 1:1 gluten-free flour blend designed for baking. The results are usually pretty fantastic.
FAQ (Frequently Asked Questions)
Got questions? I’ve got (casual) answers!
- My cake sunk in the middle, what happened? Oh no! Could be a few things: oven door opened too soon, old baking powder/soda, or possibly overmixing the batter. Let’s try again!
- Can I make this as cupcakes instead? Absolutely! Divide the batter into cupcake liners and bake for about 18-22 minutes. Delicious mini chocolate bombs!
- How long does this cake last? Covered tightly at room temperature, it’s good for 2-3 days. In the fridge, it’ll last up to a week. But honestly, will it even last 24 hours? Probably not.
- Is this recipe *really* easy? Like, even for a beginner? Yes, seriously. If you can follow instructions and resist eating the batter (too much), you’ll nail it.
- Can I add chocolate chips to the batter? Go wild! More chocolate is always the answer in my book. About ½-1 cup should do the trick.
- Do I have to use unsweetened cocoa powder? Yes, for the deep chocolate flavor and to control the sweetness. Sweetened cocoa might make it too cloyingly sweet.
- What if I only have two cake pans? You can bake in batches, letting the pans cool slightly between uses. Or, bake two layers, then slice each horizontally to make four thinner layers for a taller, more dramatic cake.
Final Thoughts
Look at you, baker extraordinaire! You just whipped up a magnificent Triple Layer Chocolate Cake. Whether you share it with friends, impress your family, or just devour it solo in your pajamas (no judgment here), you totally crushed it.
Now go forth and enjoy the delicious fruits (or cakes!) of your labor. You’ve earned every single glorious bite. You’re basically a professional baker now, so wear that title proudly!

