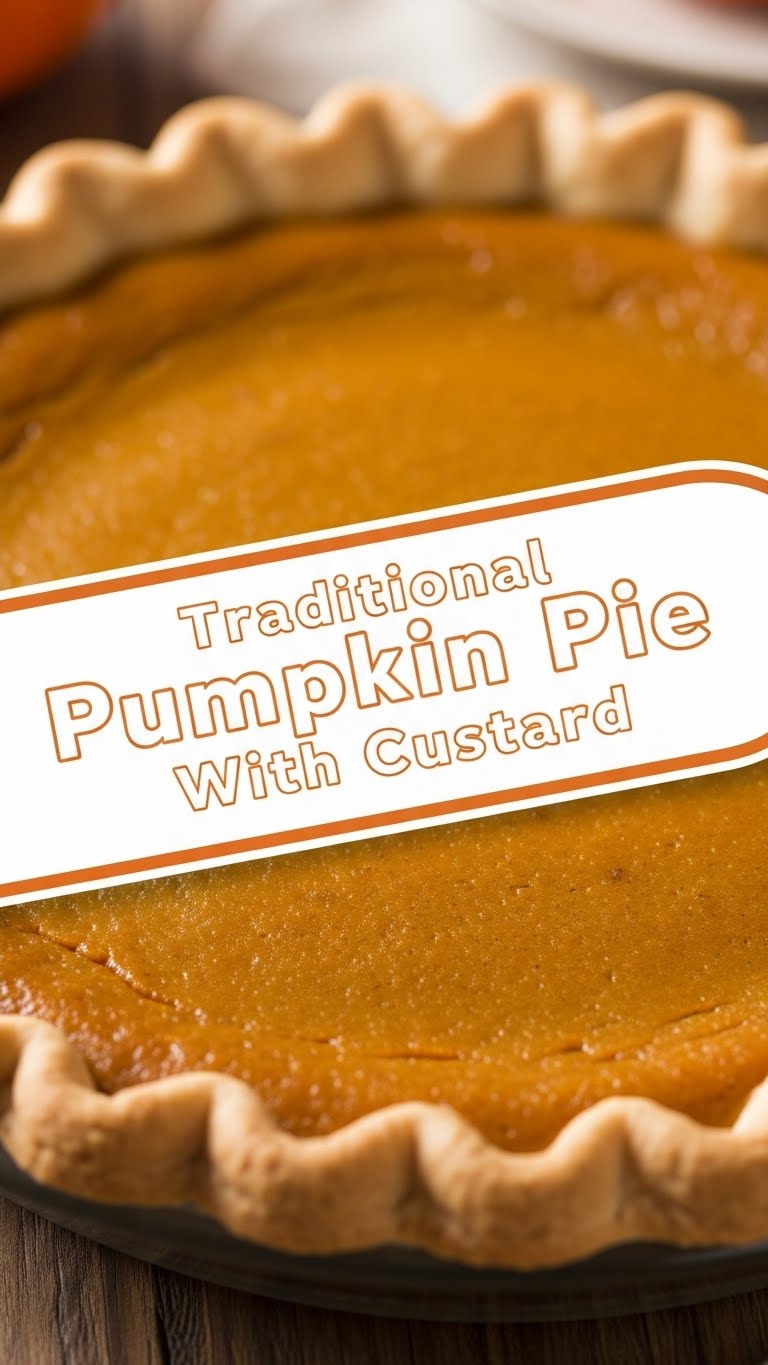
So, you’ve got that autumnal itch, that undeniable craving for something warm, comforting, and utterly delicious, but the thought of spending hours in the kitchen makes you want to crawl under a blanket? Yeah, same here, friend. But what if I told you we could whip up a traditional pumpkin pie with that extra-luxe, silky custard filling without the usual kitchen dramatics? Sounds like a dream, right? Well, buckle up, buttercup, because we’re about to make that dream a reality, and maybe even have a laugh or two along the way.
Why This Recipe is Awesome
Okay, let’s get real. This isn’t just *any* pumpkin pie. We’re talking about a traditional pumpkin pie that decided to go to finishing school and learned how to be extra smooth and sophisticated with a proper custard base. Why is it awesome? First, it’s **ridiculously easy**. Seriously, if you can stir things in a bowl and pour, you’re practically a pastry chef with this one. Second, it ditches the sad, watery fillings for a rich, creamy custard that will make your taste buds sing show tunes. And third, it’s pretty much **idiot-proof**. Even I, Queen of Occasionally-Burning-Water, manage to nail this every single time. So, if you’re looking for maximum “wow factor” with minimal effort, this is your new best friend. You’re welcome.
Ingredients You’ll Need
Gather ’round, my aspiring pie-makers! Here’s your hit list for culinary greatness. Nothing too fancy, promise!
- 1 (15-ounce) can pumpkin puree: NOT pumpkin pie filling. Big difference. One is pure pumpkin, the other is a cheat sheet that ruins everything. Don’t be that person.
- 1 (9-inch) unbaked pie crust: Store-bought is totally fine, no judgment here. Homemade if you’re feeling extra Martha Stewart-y.
- 1 cup heavy cream: Or half-and-half, or even whole milk if you want to dial back the indulgence (but why would you?). This is where the magic custard happens, FYI.
- 1/2 cup granulated sugar: Sweetness level: just right.
- 1/4 cup packed light brown sugar: For that extra molasses-y depth that just screams “autumn.”
- 2 large eggs: The glue that holds our custardy dreams together.
- 1 teaspoon ground cinnamon: Because it’s not pumpkin pie without it, right?
- 1/2 teaspoon ground ginger: For a little zing!
- 1/4 teaspoon ground cloves: Just a whisper, but it makes a huge difference.
- 1/4 teaspoon ground nutmeg: Freshly grated if you’re feeling fancy, but the pre-ground stuff works too.
- 1/2 teaspoon salt: Don’t skip this! It balances all the sweet and spice.
- Optional: A pinch of black pepper or cardamom: For a subtle, sophisticated kick if you’re feeling adventurous. Live a little!
Step-by-Step Instructions
Alright, let’s do this! This is where you channel your inner kitchen wizard. No wands required, just a whisk and some enthusiasm.
- Preheat and Prep: First things first, **preheat your oven to 425°F (220°C)**. While it’s heating, grab your unbaked pie crust. If you’re using a store-bought one, just unroll it into your pie plate. If you’re a baking hero and made your own, get it into the dish.
- Blind Bake the Crust (Don’t Skip This!): This is a crucial step for a non-soggy bottom. Prick the bottom of the crust all over with a fork. Line it with parchment paper and fill with pie weights or dried beans. Bake for about 10-15 minutes, until the edges are lightly golden. Remove the weights and parchment, then bake for another 5 minutes to dry out the bottom. **This step is key!**
- Lower the Heat, Get Ready for Filling: Once the crust is partially baked, **reduce the oven temperature to 350°F (175°C)**. Leave the crust in the oven while you make the filling, or take it out if you need the space.
- Whip Up the Custard Base: In a large mixing bowl, whisk together the heavy cream, both sugars, eggs, pumpkin puree, cinnamon, ginger, cloves, nutmeg, and salt. Whisk until everything is beautifully combined and smooth. You don’t want any lumpy bits here, unless “lumpy custard” is your vibe (it shouldn’t be).
- Pour and Bake: Carefully pour your glorious pumpkin custard mixture into the pre-baked pie crust. Pop it back into the oven.
- Bake Until Set: Bake for 50-60 minutes, or until the center is just barely set. **A good trick: give the pie a gentle nudge; if the center quivers slightly like Jell-O but doesn’t slosh, it’s done.** The edges should be firm.
- Cool Down, Buttercup: Let your masterpiece cool completely on a wire rack for at least 2-3 hours before slicing. Yes, this is the hardest part, I know. But it’s essential for the custard to fully set. Seriously, patience is a virtue here.
Common Mistakes to Avoid
Nobody’s perfect, but we can try to avoid these rookie errors, right?
- Not Blind Baking the Crust: You want a firm, flaky crust, not a soggy, sad one. Blind baking is your secret weapon against the dreaded “soggy bottom.” Don’t be a hero, just do it.
- Using Pumpkin Pie Filling Instead of Puree: This is a cardinal sin, folks. Pumpkin pie *filling* already has spices and sugar, and it’s formulated differently. You’ll mess up the custard ratio and end up with something… less than spectacular. Always pure pumpkin puree.
- Overbaking: This is the culprit behind cracked pumpkin pies. The pie will look done and likely crack if you overbake it. Remember the “gentle jiggle” test – trust it!
- Slicing Too Soon: I get it, the smell is intoxicating. But slicing a warm pumpkin pie is like trying to cut a cloud – it’ll be a glorious mess. Let it cool completely to allow that beautiful custard to set up properly. **Seriously, walk away for a few hours.**
Alternatives & Substitutions
Feeling creative? Or maybe you’re out of a certain ingredient? Here are some simple swaps:
- Dairy-Free Cream: You can absolutely use full-fat canned coconut milk (the thick cream on top) for a dairy-free version, but be aware it will impart a slight coconut flavor. Not bad, just different!
- Sweeteners: Instead of brown and granulated sugar, you could use maple syrup or agave nectar, but you might need to adjust the liquid content slightly, as they are wetter. Start with a little less cream, then add if needed.
- Spice Blend: Don’t have all the individual spices? No problem! Just use 2 teaspoons of a good quality pre-made pumpkin pie spice blend. Easy peasy.
- Crust: Gluten-free crusts work perfectly well for this recipe. Or, if you’re really feeling adventurous, try a gingerbread cookie crust!
FAQ (Frequently Asked Questions)
- “Can I use margarine instead of butter in the crust? Well, technically yes, but why hurt your soul like that?”
I mean, you *can*, but butter makes everything better, especially pie crust. For a traditional recipe, stick to butter for the best flavor and texture. If your crust uses shortening or margarine, that’s fine, but just know butter is superior IMO.
- “My pie cracked! What went wrong?”
Oh, the dreaded crack! This usually means you overbaked it. Remember the jiggle test? Pull it out when it still has a slight wobble in the center. The residual heat will continue to cook it, and it will set as it cools.
- “Can I make this pie ahead of time?”
Absolutely! Pumpkin pie is a fantastic make-ahead dessert. You can bake it up to 2-3 days in advance. Just cover it loosely with plastic wrap once it’s completely cooled and store it in the refrigerator.
- “How do I know if the crust is blind-baked enough?”
It should look dry and lightly golden. The goal isn’t to fully bake it, but to prevent it from getting soggy once the wet filling goes in. If you see some slightly darker spots, you’re on the right track!
- “What’s the best way to serve this pie?”
Chilled is traditional, often with a dollop of whipped cream (real whipped cream, not that canned spray stuff!) or a scoop of vanilla bean ice cream. Some people like it at room temperature too. Your pie, your rules!
Final Thoughts
And there you have it! A traditional pumpkin pie with a divine custard filling that will make you the star of any gathering (or just your own kitchen, no judgment!). It’s comforting, it’s rich, and it’s proof that sometimes, the simple things are truly the best. So go ahead, dust off your apron, whip up this beauty, and prepare for some serious compliments. Now go impress someone—or yourself—with your new culinary skills. You’ve earned it!

