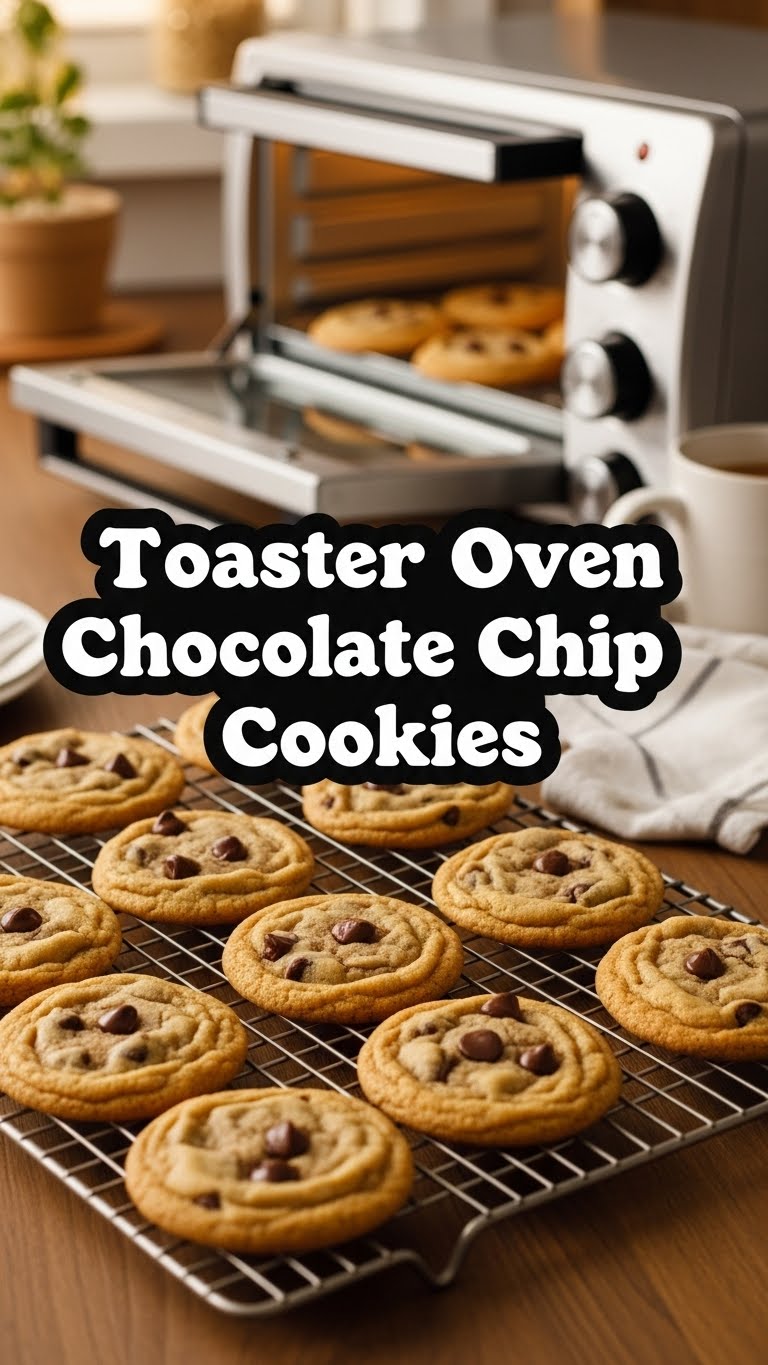
So you’re craving something tasty but too lazy to spend forever in the kitchen, huh? Same. But what if I told you that you could whip up warm, gooey, chocolate chip cookies without even turning on your *real* oven? Yeah, you heard that right. Your trusty toaster oven is about to become your new best friend.
Why This Recipe is Awesome
Look, we all have those days. The ones where even preheating a full-sized oven feels like climbing Mount Everest. This recipe? It’s for those days. It’s fast, it’s small-batch (so you don’t eat 3 dozen in one sitting… unless you want to, no judgment here), and honestly, it’s pretty much idiot-proof. Even I, Queen of ‘accidentally burning water,’ manage to make these perfectly every time. Plus, it fills your kitchen with that amazing ‘freshly baked’ smell without making your whole house an inferno. Win-win!
Ingredients You’ll Need
- Unsalted Butter (2 tablespoons, softened): The good stuff. Don’t even think about cold butter, it’s a rebel.
- Granulated Sugar (2 tablespoons): For that classic sweetness.
- Brown Sugar (2 tablespoons, packed): Adds chewiness and a lovely caramel note. It’s the secret sauce, IMO.
- Egg Yolk (1 large): Just the yolk, folks! Saves you from a whole egg disaster for a small batch.
- Vanilla Extract (1/4 teaspoon): The soul of any good cookie. Don’t skimp!
- All-Purpose Flour (1/4 cup + 2 tablespoons): The structure of our dreams.
- Baking Soda (1/8 teaspoon): Just a pinch to help them rise a tiny bit.
- Salt (Pinch): Balances all that sweetness. Crucial!
- Chocolate Chips (1/4 cup, semi-sweet or your fave): The star of the show. More is always better, right?
Step-by-Step Instructions
- Preheat Your Toaster Oven: Set it to 350°F (175°C). Line a small baking sheet (the one that came with it, or a quarter sheet pan) with parchment paper. This is key for easy cleanup and preventing stickage.
- Cream the Butters & Sugars: In a small bowl, whisk together the softened butter, granulated sugar, and brown sugar until light and fluffy. A small whisk or even a fork will do the job.
- Add Wet Ingredients: Stir in the egg yolk and vanilla extract until fully combined. Make sure there are no streaks of yolk left.
- Combine Dry Ingredients: In a separate, even smaller bowl, whisk together the flour, baking soda, and salt.
- Mix Wet & Dry: Gradually add the dry ingredients to the wet ingredients, mixing until just combined. Don’t overmix! Overmixing leads to tough cookies, and nobody wants that.
- Fold in Chocolate Chips: Gently fold in your chocolate chips. Get them evenly distributed for maximum chocolatey goodness in every bite.
- Form & Bake: Drop 2-3 spoonfuls of dough onto your prepared baking sheet, leaving some space between them. Flatten them slightly if you want flatter cookies, or leave them mounded for thicker ones. Bake for 8-12 minutes, or until the edges are golden brown and the centers look slightly underbaked (they’ll firm up as they cool).
- Cool Down: Let them cool on the baking sheet for a few minutes before transferring them to a wire rack to cool completely. Or, you know, eat them warm and gooey. You’ve earned it!
Common Mistakes to Avoid
- Forgetting to Preheat: Rookie mistake! Your toaster oven needs to be at temperature for even baking. Don’t rush it.
- Using Cold Butter: Softened butter is a non-negotiable for a smooth, well-incorporated dough. Cold butter makes for lumpy misery.
- Overmixing the Dough: Seriously, stop mixing once the flour disappears. Overworked gluten means chewy, not delightfully soft, cookies.
- Not Lining Your Pan: Unless you enjoy chiseling cookies off a hot pan, use parchment paper! It’s a lifesaver.
- Baking Too Many at Once: Toaster ovens are small, and overcrowding the pan leads to uneven baking. Stick to 2-3 at a time. Quality over quantity, folks!
Alternatives & Substitutions
- Chocolate Chip Varieties: Not feeling semi-sweet? Go for milk chocolate, dark chocolate, white chocolate, or even a mix! Peanut butter chips? Caramel bits? Get wild, my friend.
- Flour Power: While all-purpose is standard, you could try a 1:1 gluten-free flour blend if you’re GF. Just note that the texture might be slightly different.
- No Brown Sugar? You can technically use all granulated sugar, but your cookies might be less chewy and more crisp. Totally worth investing in some brown sugar for that perfect texture, though!
- Egg Yolk Alternative: If you really, really don’t want to deal with separating eggs, you can use 1/2 tablespoon of unsweetened applesauce or mashed banana. It’ll change the flavor slightly but still works in a pinch.
FAQ (Frequently Asked Questions)
- Can I use margarine instead of butter? Well, technically yes, but why hurt your soul like that? Butter just tastes better, TBH. If you must, use a stick margarine for best results.
- My cookies spread too much! What happened? Could be a few things: your butter was too soft/melted, your oven temperature is off (toaster ovens can be finicky!), or your dough was too warm. Try chilling the dough for 15-20 minutes before baking next time.
- Can I make a bigger batch? Absolutely! Just scale up the ingredients proportionally. Remember, though, you’ll still need to bake them in small batches in your toaster oven.
- How do I store leftover cookies? Hah! “Leftover cookies” is a funny joke. But seriously, store them in an airtight container at room temperature for up to 3 days. They never last that long though, FYI.
- Can I freeze the dough? Yes! Roll the dough into balls and freeze them on a baking sheet. Once solid, transfer to a freezer-safe bag. When you’re ready to bake, just place them on the baking sheet and add a minute or two to the baking time. Fresh cookies anytime!
- My toaster oven only has a “toast” setting. Help! Uh oh. This recipe needs a specific temperature setting (like 350°F). If your toaster oven is just for toast, it might not be suitable for baking. Time for an upgrade, perhaps?
Final Thoughts
See? That wasn’t so hard, was it? You just conquered the world of small-batch, toaster oven chocolate chip cookies like a pro. Now you’ve got a secret weapon for those sudden cravings or for when you just need a little sweet pick-me-up without the whole production. Go ahead, bask in the glory of your warm, melty creations. You’ve earned it! Now go impress someone—or yourself—with your new culinary skills. You’re basically a gourmet chef now, FYI.


