So you’re craving something tasty but too lazy to spend forever in the kitchen, huh? Same. High five! If your toaster oven mainly sees action reheating pizza or toasting bagels, prepare to have your tiny mind blown. We’re about to turn that countertop marvel into a chicken-cooking superstar. No fuss, no muss, just deliciousness coming your way. Ready to ditch the delivery app? Let’s get cluckin’!
Why This Recipe is Awesome
Okay, so why should you even bother with this recipe? Because it’s literally foolproof. Like, even I, someone who once tried to microwave metal, can pull this off without setting off the smoke detector. It’s quick, ridiculously flavorful, and delivers perfectly cooked chicken with minimal effort. Plus, cleanup is a breeze if you use a little parchment paper – and who doesn’t love less scrubbing? This isn’t just a recipe; it’s a lifestyle choice for the busy, the hungry, and the slightly lazy.
Think juicy chicken with a crispy skin (if you’re into that – and you should be!) that tastes like you actually tried. Your taste buds (and your roommates/significant other) will thank you. Maybe even give you a medal. Probably not, but a chef can dream, right?
Ingredients You’ll Need
Get ready for a super short shopping list. We’re keeping it simple and delicious:
- 2-4 Boneless, Skin-On Chicken Thighs: Skin-on is key for that glorious crisp, but boneless cooks faster. You’re welcome.
- 1 Tablespoon Olive Oil: The good stuff, or whatever you have lurking in your pantry.
- 1 Lemon: Half for juice, half for slicing and roasting alongside. Adds that essential zesty vibe.
- 1 Teaspoon Dried Italian Seasoning (or a mix of dried rosemary/thyme): Your go-to herb blend. Don’t have it? Salt, pepper, garlic powder works too. We’re not picky!
- 2 Cloves Garlic: Minced, because garlic makes everything better. If you only have garlic powder, about half a teaspoon is fine.
- Salt and Freshly Ground Black Pepper: To taste, obviously. Don’t be shy!
- Optional: A sprinkle of red pepper flakes if you like a little kick, or some fresh parsley for garnish at the end (for ✨fancy✨ points).
Step-by-Step Instructions
- Prep Your Chicken: First things first, pat those chicken thighs super dry with a paper towel. This is crucial for crispy skin, folks! No soggy chicken allowed.
- Get Your Seasoning On: In a small bowl, whisk together the olive oil, lemon juice (from half the lemon), minced garlic, Italian seasoning, salt, and pepper.
- Massage That Chicken: Place the chicken thighs in a medium bowl or on a plate. Pour the seasoning mix over them and rub it all in, making sure every nook and cranny is coated. Let it sit for at least 15 minutes at room temp, or up to an hour in the fridge if you’re feeling ambitious.
- Preheat Time: While your chicken is chilling, preheat your toaster oven to 400°F (200°C). Line your toaster oven tray with foil or parchment paper for easy cleanup. Arrange the lemon slices (from the other half of the lemon) on the tray.
- Roast Away: Place the seasoned chicken thighs, skin-side up, on top of or next to the lemon slices on your prepared tray. Make sure they’re not overcrowding each other; give them some space to breathe and crisp up.
- Cook ‘Til Golden: Roast for about 20-25 minutes, or until the chicken is cooked through (internal temp of 165°F / 74°C) and the skin is beautifully golden and crispy. Cooking times can vary, so keep an eye on it!
- Rest and Devour: Once done, remove the chicken from the toaster oven and let it rest for 5 minutes. This locks in those juices. Serve it up with your favorite side, or just eat it straight off the tray like a barbarian (no judgment here!).
Common Mistakes to Avoid
We’ve all been there, trust me. Learn from my errors so you don’t have to!
- Forgetting to Preheat: Rookie mistake! A cold oven means uneven cooking and rubbery chicken. Always preheat your toaster oven. It’s small, so it heats up fast anyway.
- Not Patting Dry: If your chicken skin is moist, it’ll steam, not crisp. Say hello to sad, flabby skin. Give those thighs a good paper towel pat-down!
- Overcrowding the Tray: This is a biggie. If you cram too many chicken pieces onto the tray, they’ll steam each other instead of roasting. Cook in batches if you need to, trust me, it’s worth it.
- Eyeballing Doneness: While tempting, guessing if chicken is done can lead to either dry, overcooked chicken or, worse, undercooked poultry. A meat thermometer is your best friend here. 165°F (74°C) is the magic number.
- Skipping the Rest: Don’t be impatient! Letting the chicken rest for a few minutes after cooking allows the juices to redistribute, resulting in a much more tender and flavorful piece of meat.
Alternatives & Substitutions
Feeling adventurous? Or just out of something? No worries, we can totally customize this!
- Different Seasonings: Swap Italian seasoning for smoked paprika and cumin for a more Southwestern vibe, or a dash of chili powder for a little heat. Or go full-on garlic-parm! The world is your oyster… or, well, your chicken.
- Chicken Breasts: Yes, you can totally use boneless, skinless chicken breasts. Just be mindful they cook faster and can dry out more easily. I’d suggest slicing them horizontally into thinner cutlets (or pounding them) for quicker, more even cooking, or keeping them whole and reducing the cook time to about 15-20 minutes.
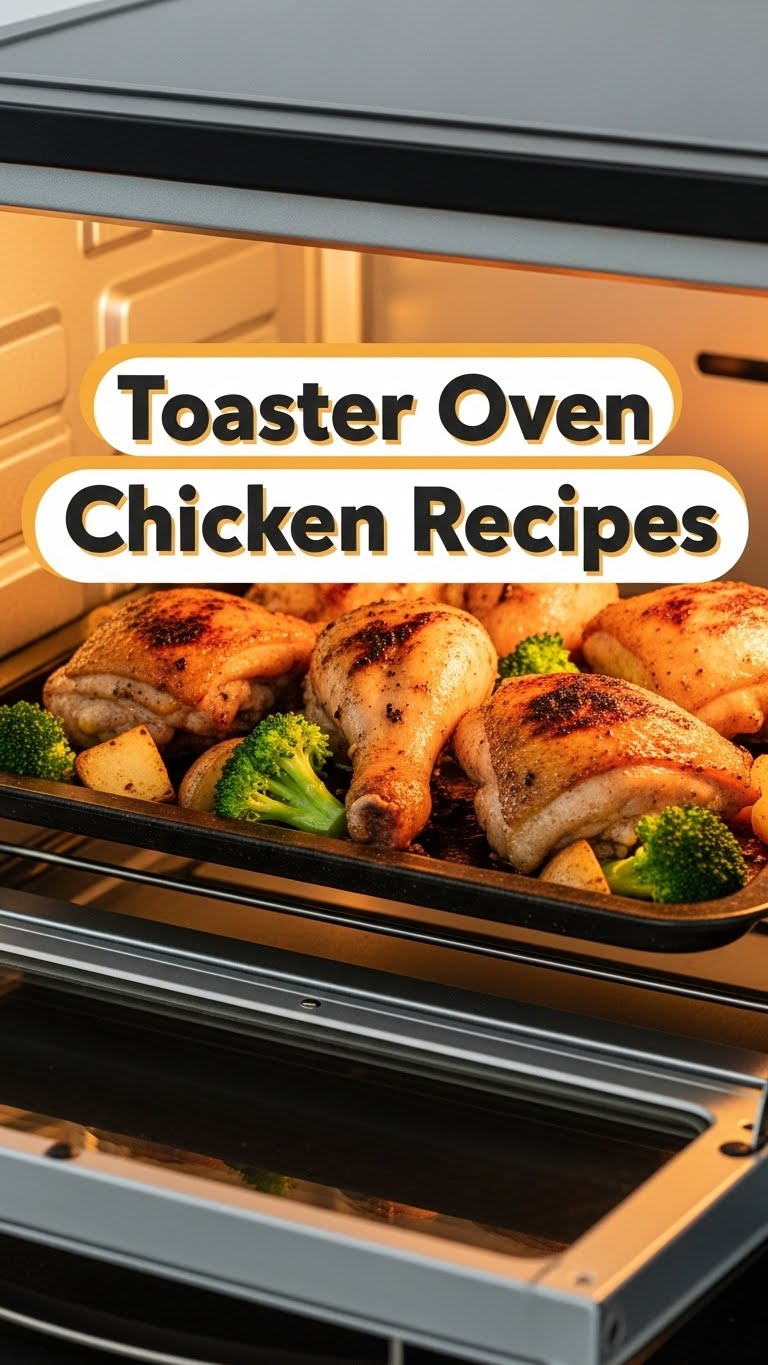
- Add Veggies: Want a one-tray meal? Toss some quick-cooking veggies like broccoli florets, asparagus, or bell pepper strips with a little olive oil, salt, and pepper, and roast them alongside the chicken. Just add them halfway through the chicken’s cooking time, or roast them on a separate, second tray if your toaster oven has multiple rack positions.
- Spicy Kick: A pinch of cayenne pepper or a good hot sauce drizzle after cooking can really amp up the flavor if you like it spicy.
FAQ (Frequently Asked Questions)
Got questions? I’ve got (casual, maybe slightly sarcastic) answers!
- “Can I use frozen chicken?” Well, technically yes, but why make life harder? You’ll need to thaw it completely first, otherwise, you’ll end up with unevenly cooked, potentially rubbery chicken. So, plan ahead, my friend!
- “Do I have to use skin-on chicken?” Nah, you don’t *have* to, but that crispy skin is seriously the best part! If you go skinless, the chicken will still be tasty, but you’ll miss out on that texture. It’s your call, but IMO, #SkinOnForLife.
- “What if my toaster oven doesn’t have a 400°F setting?” Most do, but if yours is super old school, aim for the highest setting it has that’s close, typically around 375-425°F. Just keep a closer eye on the chicken to prevent burning or undercooking.
- “Can I use this recipe for a whole chicken?” Uh, no. Unless your “whole chicken” is a tiny Cornish game hen that somehow fits in your toaster oven. This recipe is for individual pieces, like thighs or breasts. Let’s not get carried away, this is a toaster oven, not a full-size range!
- “How long does the cooked chicken last in the fridge?” About 3-4 days in an airtight container. It reheats pretty well in the toaster oven, BTW, giving you a slightly crispy texture again!
- “Is it okay to use dried herbs instead of fresh?” Absolutely! Dried herbs are often more potent, so use a little less if substituting. This recipe is built for convenience, so dried is perfectly fine and often preferred for everyday cooking.
Final Thoughts
So there you have it! Your ticket to delicious, stress-free chicken, all thanks to that trusty little toaster oven. Who knew such a small appliance held such culinary power? Now you’re officially a toaster oven chicken wizard. Go forth and conquer your hunger, impress your friends (or just yourself, because self-love is important), and enjoy the sweet taste of success without spending hours slaving away. You’ve earned it!


