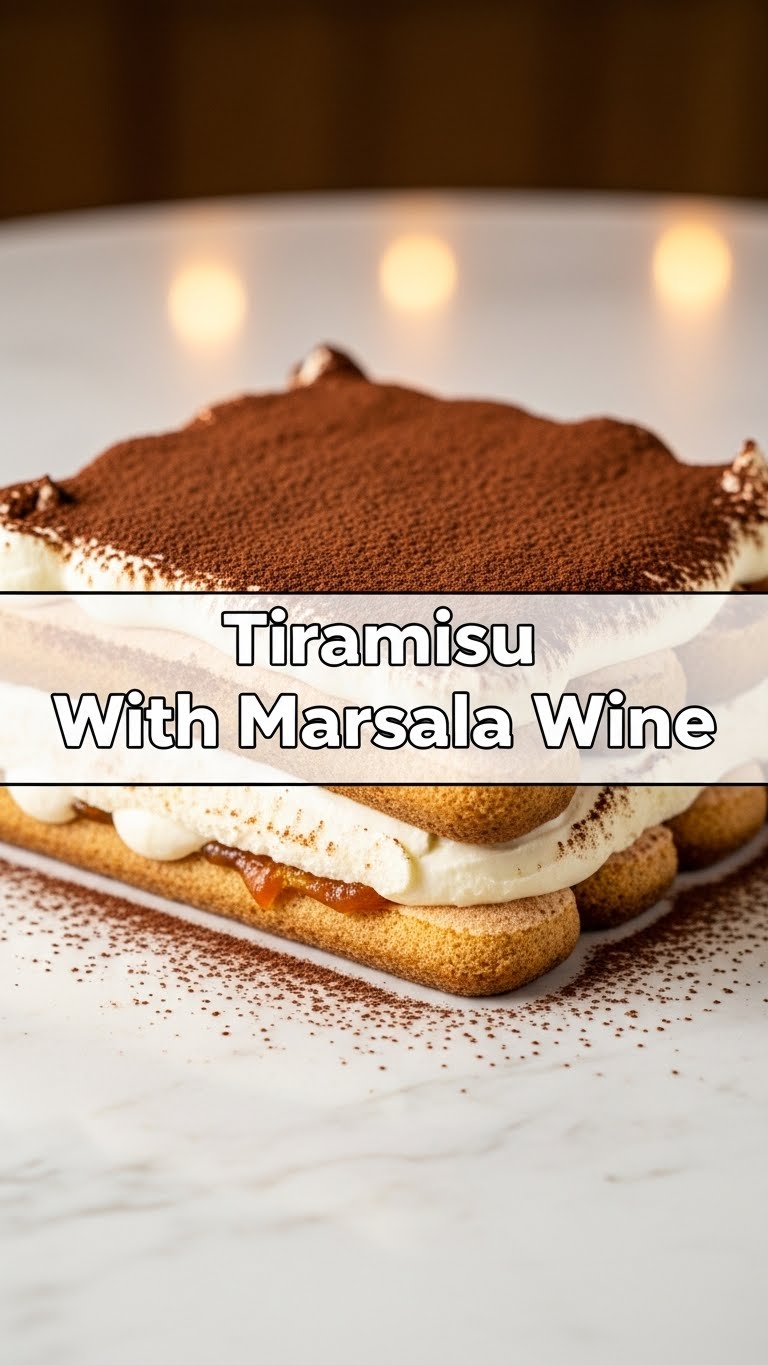
So, you’re craving something that screams “sophistication” but also whispers “I didn’t spend all day making this,” huh? And maybe, just maybe, you’re a fan of a little boozy kick? My friend, you’ve come to the right place. We’re diving headfirst into Tiramisu territory, but not just any Tiramisu. We’re talking Tiramisu with **Marsala wine**, because why be basic when you can be beautifully boozy?
Why This Recipe is Awesome
Okay, let’s be real: baking can be a commitment. But Tiramisu? It’s basically the no-bake hero of desserts. This particular version is awesome because:
- It looks fancy AF, but it’s deceptively simple. Seriously, if I can do it without setting off the smoke alarm, so can you.
- **No oven required!** Yep, you heard that right. Less cleanup, less sweating in the kitchen. Win-win.
- The Marsala wine adds this incredible depth of flavor that’s just… *chef’s kiss*. It elevates the classic Tiramisu from “delicious” to “OMG, I need another slice RIGHT NOW.”
- It’s a perfect make-ahead dessert. Whip it up the day before, let those flavors get to know each other, and boom! Instant dessert wizardry.
Ingredients You’ll Need
Gather your troops, because we’re about to make magic. No obscure ingredients here, just good stuff!
- 6 large egg yolks: The creamy foundation of our dreams. Don’t worry, we’re cooking ’em, so no raw egg jitters!
- ¾ cup granulated sugar: Sweetness balance.
- 1 cup Marsala wine: The star of the show! Go for a dry Marsala for a less sweet, more complex flavor, or a sweet Marsala if you like things on the sweeter side.
- 2 cups mascarpone cheese (two 8-ounce containers): This isn’t cream cheese, people. It’s mascarpone. It’s richer. It’s better. Trust me.
- 1 ½ cups strong brewed espresso (cooled): Or very, very strong coffee. Don’t cheap out on the instant stuff, unless you want your Tiramisu to taste like regret.
- 1 teaspoon vanilla extract: A little extra warmth.
- A pinch of salt: Balances everything out. It’s science!
- Around 24-30 ladyfingers (savoiardi): The crispy, dippable heroes. You’ll know how many exactly once you start layering.
- Unsweetened cocoa powder: For dusting. Because aesthetics matter.
Step-by-Step Instructions
- Brew and Chill the Coffee: First things first, get that espresso or strong coffee brewed. You want it cool, almost cold, before you start dipping. Don’t skip this; warm coffee turns ladyfingers into mush.
- Whisk the Yolks & Sugar: Grab a heatproof bowl (stainless steel works great) and combine the egg yolks and sugar. Whisk ’em good until they’re pale yellow and slightly fluffy.
- Cook Your Custard Base: Set your bowl over a pot of simmering water (a double boiler, fancy pants!). Make sure the bottom of the bowl doesn’t touch the water. Keep whisking constantly for about 8-10 minutes. The mixture should thicken up, become glossy, and lighten in color. This step is crucial for safe consumption and that velvety texture!
- Add the Marsala: Remove the bowl from the heat. Slowly pour in the Marsala wine and the vanilla extract, whisking continuously until fully incorporated. Let this mixture cool completely. You can stick it in the fridge for a bit to speed things up.
- Introduce the Mascarpone: Once the Marsala-egg mixture is cool, gently fold in the mascarpone cheese until it’s smooth and lump-free. Be gentle, you don’t want to overmix and make it too thin.
- Prep Your Dish: Grab your favorite serving dish (a 9×13 inch baking dish or an 8×8 inch square dish works well, depending on how many layers you want).
- Dip & Layer: Time to get dipping! Quickly dunk each ladyfinger into the cooled espresso (we’re talking 1-2 seconds per side, tops!). Arrange a single layer of dipped ladyfingers at the bottom of your dish.
- Creamy Layers: Spoon half of your luscious mascarpone mixture over the ladyfingers, spreading it evenly.
- Repeat the Magic: Add another layer of quickly-dipped ladyfingers, then top with the remaining mascarpone mixture. Spread it out nice and smooth.
- Chill Out: Cover the dish with plastic wrap and **refrigerate for at least 4-6 hours, but ideally overnight.** This resting period is critical for the flavors to meld and the Tiramisu to set. Patience, young padawan!
- The Grand Finale: Just before serving, dust generously with unsweetened cocoa powder. Use a small sieve for an even, elegant finish.
Common Mistakes to Avoid
We’ve all been there, staring at our culinary creation wondering “what went wrong?” Let’s minimize that, shall we?
- Over-Dipping Ladyfingers: Seriously, don’t drown them. They’re not sponges you’re trying to clean a mess with. A quick dip is all you need, or you’ll end up with a soggy mess. Nobody wants Tiramisu soup.
- Not Chilling Enough: Impatience is the enemy of good Tiramisu. It *needs* that chill time to firm up and for the flavors to get cozy. Don’t serve it early, or it’ll be a runny disaster.
- Scrambling the Yolks: When cooking the egg yolks over heat, keep whisking! If you stop, you’ll end up with sweet scrambled eggs, and that’s not the vibe we’re going for.
- Using Weak Coffee: If your coffee is thin and watery, your Tiramisu will be too. Go strong or go home.
- Skipping the Marsala: I mean, why are you even here? This is a Marsala Tiramisu recipe! But if you *must*, see the alternatives below.
Alternatives & Substitutions
Life happens, sometimes you don’t have exactly what the recipe calls for. Here are some pivots:
- No Marsala? No problem (kinda): You can substitute with dark rum, brandy, coffee liqueur (like Kahlua), or even Amaretto for an almond kick. If you’re going alcohol-free, just use more espresso or a mix of espresso and a tiny bit of almond or vanilla extract. It won’t be *this* recipe, but it’ll still be tasty!
- Ladyfinger Swap: Can’t find ladyfingers? Some folks use slices of sponge cake or even graham crackers for a different texture. It won’t be traditional, but hey, you do you.
- Egg-Free Option: If the idea of raw-ish eggs gives you the heebie-jeebies (even though we cooked them!), you can find recipes that use whipped cream instead of egg yolks for the base. Or, look for **pasteurized eggs**!
FAQ (Frequently Asked Questions)
Got questions? I’ve got (casual) answers!
Do I *really* need to cook the egg yolks?
Well, technically, no, many traditional recipes don’t. BUT, for food safety reasons, especially if you’re serving to pregnant women, children, or anyone with a compromised immune system, it’s a **smart move**. It also gives the custard a richer, more stable texture. So yeah, IMO, do it.
My Tiramisu is runny, what went wrong?
Usually, it’s one of two things: either you over-dipped your ladyfingers (too much liquid) or you didn’t chill it long enough. Make sure your mascarpone mixture isn’t too thin either!
How long does Tiramisu last in the fridge?
Covered tightly, it’s usually good for 3-4 days. But let’s be honest, will it even last that long?
Can I make it ahead for a party?
Absolutely! This dessert actually benefits from chilling overnight. The flavors deepen, and it sets beautifully. It’s the ultimate make-ahead party hero.
What if I don’t like coffee?
Gasp! Okay, fine. You can substitute the coffee with strong hot chocolate, a mixture of milk and a bit of rum or your chosen liqueur, or even fruit juice (like cherry or raspberry) if you want to go completely rogue with a fruit Tiramisu. But then it’s not really Tiramisu, is it?
Can I freeze Tiramisu?
You can, but the texture might change a little upon thawing. The mascarpone can get a bit grainy. If you do, wrap it super well and thaw it slowly in the fridge. Best eaten fresh or well-chilled, though!
Final Thoughts
There you have it! A Tiramisu recipe that’s packed with flavor, a touch of boozy sophistication, and totally doable for even the most “casual” of chefs. This isn’t just a dessert; it’s an experience. So go forth, wield your whisk, and create something truly delicious. Now go impress someone—or yourself—with your new culinary skills. You’ve earned it!


