Ever have those days where you just *need* a chocolate chip cookie, like, right now, but you also want them to be *perfect* without becoming a pastry chef? Yeah, me too. This isn’t just a recipe; it’s a cheat sheet to making *any* chocolate chip cookie recipe phenomenal. Let’s make some magic happen, shall we?
Why This Recipe Article is Awesome
Okay, so this isn’t a *recipe* per se, but more like a collection of insider tips and tricks that’ll elevate your chocolate chip cookie game from “meh” to “OMG, send me the recipe!” We’re talking golden edges, chewy centers, and chocolatey goodness that’ll make your taste buds do a happy dance. Plus, it’s pretty much **fail-proof**, unless you accidentally use salt instead of sugar (don’t ask how I know).
It’s designed for real humans who appreciate good food but also know that life’s too short to follow ridiculously complicated instructions. Consider this your friendly nudge towards cookie nirvana, no fancy chef hat required.
Ingredients You’ll Need (The Essentials)
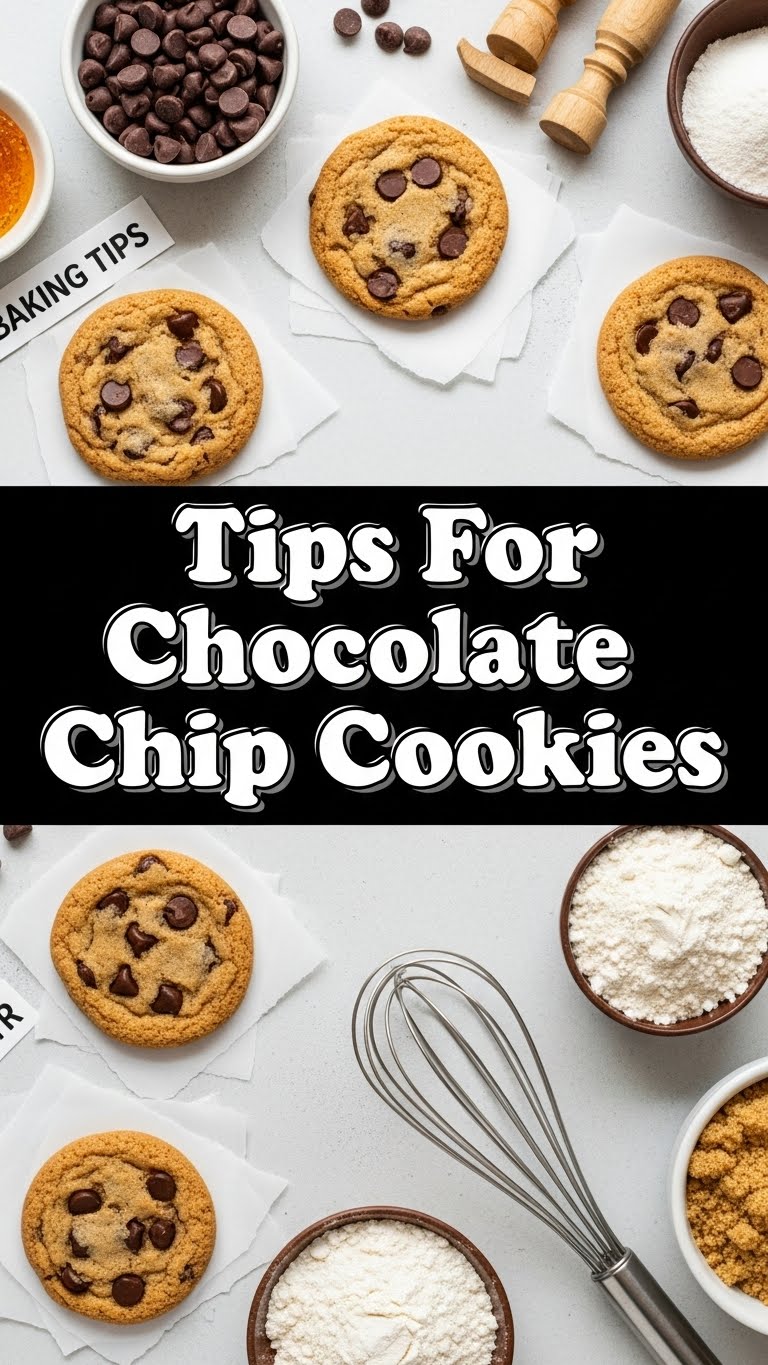
While we’re not listing exact measurements here (because you’ll use your favorite recipe for that!), these are the non-negotiables. Think of them as your cookie dream team:
- Unsalted Butter: Yes, *unsalted*. It gives you control over the salt content, duh. Make sure it’s at room temperature – this is a biggie!
- Granulated Sugar & Brown Sugar: The dynamic duo. Granulated gives you spread and crispness; brown sugar brings the chewiness and moisture. Don’t skimp on either.
- Eggs: Again, room temperature is your friend here. They bind everything together and add richness.
- All-Purpose Flour: No need for anything fancy. Just good old AP flour will do the trick.
- Baking Soda: Your leavening hero. This is what helps those cookies rise and gives them that perfect texture.
- Salt: Seriously, don’t skip it. It balances the sweetness and really makes the chocolate sing.
- Vanilla Extract: Go for the good stuff, pure vanilla. It makes a surprising difference. Your cookies deserve better than imitation, trust me.
- Chocolate Chips (or Chunks!): The star of the show! Whatever kind makes your heart sing. Mix milk, dark, semi-sweet – live a little!
Step-by-Step Instructions (A Masterclass in Awesomeness)
- Embrace Room Temperature: This is probably the most important tip. Make sure your butter is soft (but not melted!) and your eggs aren’t fridge-cold. This ensures a smooth, emulsified dough.
- Cream It Like You Mean It: Beat your butter and both sugars together until they’re light, fluffy, and pale in color. This takes longer than you think, usually 2-3 minutes. **Don’t rush this step; it’s crucial for texture!**
- Add Eggs & Vanilla with Finesse: Crack in your eggs one at a time, mixing well after each addition until just combined. Then stir in that glorious vanilla extract.
- Dry Ingredients Get Their Own Party: In a separate bowl, whisk together your flour, baking soda, and salt. This ensures even distribution and prevents clumps.
- Marry the Mixtures (Gently!): Gradually add your dry ingredients to the wet mixture, mixing on low speed *just until combined*. **Seriously, do NOT overmix!** Overmixing develops gluten, leading to tough, cake-like cookies.
- Chocolate Time! Fold in your chocolate chips (or chunks, or whatever chocolatey goodness you’ve chosen). Be generous; no one ever complained about too much chocolate.
- The Magical Chill: This is a game-changer, folks. Cover your dough and **chill it in the fridge for at least 30 minutes, or even a few hours.** This allows the flavors to meld, the butter to firm up, and prevents your cookies from spreading into flat puddles.
- Scoop & Space: Scoop dough balls onto a parchment-lined baking sheet, leaving plenty of space between them. Parchment paper is your best friend for easy cleanup and even baking.
- Bake to Perfection: Bake according to your recipe’s temperature and time. Look for golden edges and centers that still look *slightly* underdone. They’ll continue to cook a bit on the hot pan.
- Cool Down (Patience, Grasshopper): Let the cookies cool on the baking sheet for 5-10 minutes before transferring them to a wire rack. This helps them set up and prevents them from falling apart.
Common Mistakes to Avoid (Trust Me on These)
We’ve all been there. Here’s how to sidestep those common cookie calamities:
- Cold Ingredients: Trying to cream cold butter is a recipe for chunky misery. **Always, always use room temperature butter and eggs.**
- Overmixing the Dough: I know it’s tempting to keep mixing, but stop as soon as the flour streaks disappear. Overmixing equals tough, not chewy.
- Skipping the Chill: “I’m too impatient!” you say. And your flat, greasy cookies will be proof of your impetuousness. **Chill that dough.** It makes a world of difference in flavor and texture.
- Not Using Parchment Paper: Unless you *love* scrubbing burnt cookie bits off your baking sheet, invest in parchment paper. It’s cheap and a total lifesaver.
- Baking Too Long: A slightly underbaked cookie is usually better than an overbaked one. They firm up as they cool, so pull them out when the edges are golden and the center is still a bit soft.
- Ignoring the Salt: Salt isn’t just for savory dishes. It cuts through the sweetness and enhances all those lovely chocolate flavors. Don’t be shy with it!
Alternatives & Substitutions (Get Creative!)
Don’t be afraid to experiment, my friend! Cookies are all about having fun.
- Butter Swaps: Can you use shortening? *Technically* yes, for a super chewy cookie, but you’ll sacrifice some of that rich buttery flavor. **IMO, stick with butter for the best taste.**
- Chocolate Varieties: Mix and match! Milk, dark, semi-sweet, white chocolate chips, chocolate chunks, or even chopped-up chocolate bars. Embrace the chaos!
- Sugar Ratio: Want them chewier? Increase the brown sugar. Crispier? A bit more granulated. Experiment with your preferred balance!
- Flour Power: Want to try part whole wheat for a nuttier flavor? Go for it! Just know that 100% all-purpose is classic for a reason.
- Exciting Add-ins: Nuts (pecans, walnuts), toffee bits, shredded coconut, pretzels for a salty crunch, or even a dash of cinnamon or espresso powder. The world is your cookie dough playground.
FAQ (Frequently Asked & Funnily Answered Questions)
Got questions? I’ve got answers (mostly).
- Why are my cookies flat as a pancake?
Ah, the dreaded pancake cookie! Usually, this means your butter was too warm (or melted!), you didn’t chill your dough, or you over-creamed your butter and sugar, incorporating too much air. **Chill your dough, friends!**
- Can I use margarine instead of butter?
Well, technically yes, but why hurt your soul like that? Butter provides a richer flavor and better texture. Margarine can work in a pinch, but the result won’t be quite the same. **FYI, butter is king.**
- How long can I store the cookie dough?
In the fridge, covered tightly, for 3-5 days. You can also scoop balls onto a baking sheet, freeze until solid, then transfer to a freezer bag for up to 3 months. Bake from frozen, adding a few extra minutes to the baking time.
- What if I don’t have baking soda? Can I use baking powder?
No, not really as a direct substitute. Baking soda needs an acid (like brown sugar or buttermilk) to activate, while baking powder has the acid already mixed in. They react differently and affect the cookie’s spread and chewiness. You *need* baking soda for that classic chocolate chip cookie texture.
- Why do you recommend unsalted butter? Does it really matter?
It absolutely matters! Unsalted butter lets you control the exact amount of salt in your recipe. Different brands of salted butter have varying salt levels, which can lead to unpredictable (and sometimes too salty) results. Be the boss of your salt!
- My cookies are too cakey! What went wrong?
Cakey cookies usually mean you’ve overmixed your dough, developing too much gluten, or you’ve used too much flour. Also, not chilling your dough can sometimes lead to a less dense, more cake-like texture.
Final Thoughts
Alright, my friend, you’re now armed with the wisdom to conquer the humble chocolate chip cookie. Go forth and bake gloriously! Remember, even a “failed” cookie is still, well, a cookie (mostly). The key is to have fun, trust your instincts, and maybe sneak a little dough. You’ve totally got this. Now, go impress someone—or yourself—with your new culinary superpowers. You’ve earned it (and probably a cookie or five).


