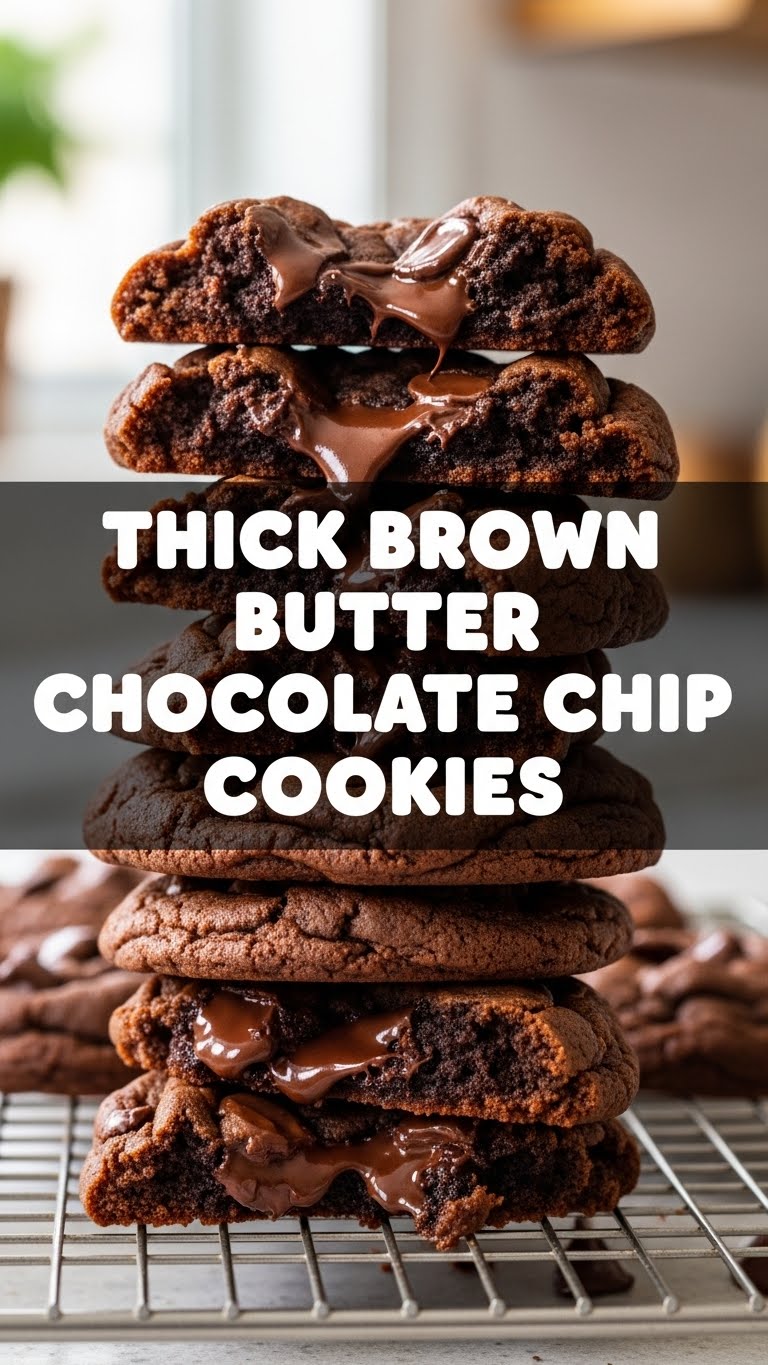
Ever had one of those days where the universe just *screams* for a warm, gooey, chocolate chip cookie? Yeah, me too. But not just any cookie. We’re talking about a cookie so thick, so chewy, and so packed with flavor that it practically high-fives your tastebuds. And guess what? It involves the magical elixir that is **brown butter**. Prepare yourselves, because your cookie game is about to hit legendary status, and honestly, it’s not even that much work. Pinky swear.
Why This Recipe is Awesome
Okay, let’s be real. There are a gazillion chocolate chip cookie recipes out there. But *this one*? This is the one you’ll keep coming back to. Why? First, it uses brown butter, which basically adds a nutty, caramelly, “what is that amazing flavor?!” depth that regular butter just can’t touch. It’s like butter went to a fancy culinary school and came back with a degree in Delicious. Second, these bad boys are **thick**. No flat, crispy frisbees here. We’re talking substantial, satisfying cookies. Third, it’s pretty much idiot-proof. Seriously, if I can do it without setting off the smoke alarm (mostly), you definitely can. Plus, the dough requires chilling, which is the perfect excuse to “accidentally” eat a spoonful or two. Don’t worry, your secret’s safe with me.
Ingredients You’ll Need
- 1 cup (2 sticks) unsalted butter: Our golden ticket to flavor town. Unsalted is key here so we can control the saltiness later.
- ¾ cup packed light brown sugar: For that lovely chew and molasses-y goodness.
- ½ cup granulated sugar: Adds a crisp edge and balances the sweetness.
- 2 large eggs: The binders of our cookie universe. Make sure they’re room temperature for better emulsion.
- 2 teaspoons pure vanilla extract: Don’t skimp! It’s the backup singer to our brown butter superstar.
- 2 ¼ cups all-purpose flour: The main structure. Don’t pack it in!
- 1 teaspoon baking soda: Our little lift agent.
- 1 teaspoon sea salt: Crucial for balancing sweetness and enhancing all those lovely flavors. Don’t skip this, even if you think you don’t like salt.
- 1 ½ cups chocolate chips or chunks: Your choice! A mix of milk, semi-sweet, and dark chocolate chips is my personal fave for maximum flavor complexity.
Step-by-Step Instructions
- Brown the Butter: Grab a light-colored saucepan (so you can see the magic happen!). Melt the butter over medium heat. Keep stirring, and it’ll foam, then sizzle. Little brown bits will start to form at the bottom. Once it smells wonderfully nutty and looks like liquid gold with speckled brown bits, immediately pour it into a heat-proof bowl. **Don’t burn it!** Let it cool for about 10-15 minutes, or until it’s just warm.
- Mix the Wet Ingredients: In a large mixing bowl, combine your cooled brown butter with both brown and granulated sugars. Whisk it well until it’s smooth and creamy – about 1-2 minutes.
- Add Eggs & Vanilla: Beat in the eggs, one at a time, making sure each is fully incorporated before adding the next. Stir in the vanilla extract. The mixture should look light and fluffy.
- Combine Dry Ingredients: In a separate bowl, whisk together the flour, baking soda, and sea salt. This ensures everything is evenly distributed.
- Mix Wet & Dry: Gradually add the dry ingredients to the wet ingredients, mixing on low speed (or by hand) **just until combined**. Overmixing is the enemy of tender cookies!
- Stir in Chocolate: Fold in your glorious chocolate chips or chunks until they’re evenly distributed throughout the dough.
- Chill Out: Cover the dough and refrigerate for at least 2 hours. **Seriously, do not skip this step!** Overnight is even better. Chilling allows the flavors to meld and prevents your cookies from spreading too much.
- Preheat & Scoop: When you’re ready to bake, preheat your oven to 375°F (190°C). Line baking sheets with parchment paper. Scoop out generous balls of dough (about 2-3 tablespoons each) and place them about 2 inches apart on the prepared sheets.
- Bake ‘Em Up: Bake for 10-12 minutes, or until the edges are golden brown and the centers are still slightly soft. They’ll firm up as they cool.
- Cool & Devour: Let the cookies cool on the baking sheet for 5 minutes before transferring them to a wire rack to cool completely. Or, you know, eat one hot off the sheet. **IMO, that’s the best part.**
Common Mistakes to Avoid
- Burning the Brown Butter: This is a delicate dance! Keep an eye on it. Once those nutty brown bits appear and it smells caramelly, take it off the heat immediately. Burnt butter tastes awful, and no one wants that.
- Not Chilling the Dough: I know, impatience is a virtue sometimes, but not with these cookies. Chilling is **essential** for flavor development and to prevent flat, greasy cookies. Don’t be a rookie!
- Overmixing the Dough: Once the flour goes in, mix only until it’s just combined. Overmixing develops the gluten too much, leading to tough, chewy cookies (and not the good chewy!).
- Overbaking: Brown butter cookies are best when they’re still slightly soft in the middle. If they look perfectly done in the oven, they’re probably already overbaked. Pull them out when the edges are set and the centers look just a tiny bit undone.
- Using Cold Eggs: Room temperature eggs incorporate better into the butter-sugar mixture, creating a smoother dough. It’s a small detail that makes a difference, **FYI**.
Alternatives & Substitutions
Feeling adventurous? Here are a few ways to switch things up:
- Chocolate Varieties: Instead of just one type, try a mix of dark chocolate chunks, milk chocolate chips, and even some white chocolate. Or go fancy with chopped high-quality chocolate bars!
- Nutty Additions: Toast some chopped pecans or walnuts and fold them into the dough with the chocolate. The nutty flavor complements the brown butter beautifully.
- A Pinch of Spice: A tiny dash of cinnamon or even a whisper of cardamom can add an unexpected warmth.
- Salt Sprinkle: For the ultimate sweet and salty combo, sprinkle a tiny bit of flaky sea salt (like Maldon) on top of the cookies right after they come out of the oven. Trust me on this one.
- No Brown Butter? Okay, look, I’m going to tell you not to skip the brown butter step. It’s truly what makes these cookies sing. But if you *absolutely must* (and I’m giving you side-eye), you can use regular melted butter. Just know you’ll be missing out on a whole dimension of flavor!
FAQ (Frequently Asked Questions)
Got questions? I’ve got answers, mostly:
- Can I skip browning the butter? Well, technically yes, but why would you want to hurt your soul like that? It’s the secret sauce, the *je ne sais quoi*. Please, brown the butter.
- How long does the dough need to chill? Can I shorten it? At least 2 hours, really. It allows the flour to fully hydrate and the flavors to deepen. If you absolutely can’t wait, 30 minutes is better than nothing, but your cookies might spread a bit more. Patience, grasshopper!
- My cookies are spreading too much, what gives? Probably one of a few things: your butter was too warm when you mixed the dough, your oven isn’t hot enough, or you didn’t chill the dough long enough (or at all!). Also, make sure your baking soda isn’t expired!
- Can I freeze the dough? OMG, yes! Scoop the dough into balls, place them on a baking sheet, and freeze until solid. Then transfer to a freezer-safe bag. Bake from frozen, adding a couple of extra minutes to the baking time. Fresh cookies anytime!
- What if I only have salted butter? You can use it, but reduce the added sea salt to about ½ teaspoon. Taste the dough (before the eggs, obvs!) and adjust if needed.
- How do I know when the brown butter is ready? Look for a nutty aroma and small, toasted brown bits at the bottom of the pan. It’ll stop crackling and change from yellow to a beautiful amber color. Once it hits that point, OFF THE HEAT!
Final Thoughts
So there you have it, folks! Your new favorite thick brown butter chocolate chip cookie recipe. It’s gooey, it’s chewy, it’s ridiculously flavorful, and it’s brought to you by the magic of brown butter. Now go forth, bake some happiness, and maybe share one or two (but no judgment if you don’t). You’ve earned it!


