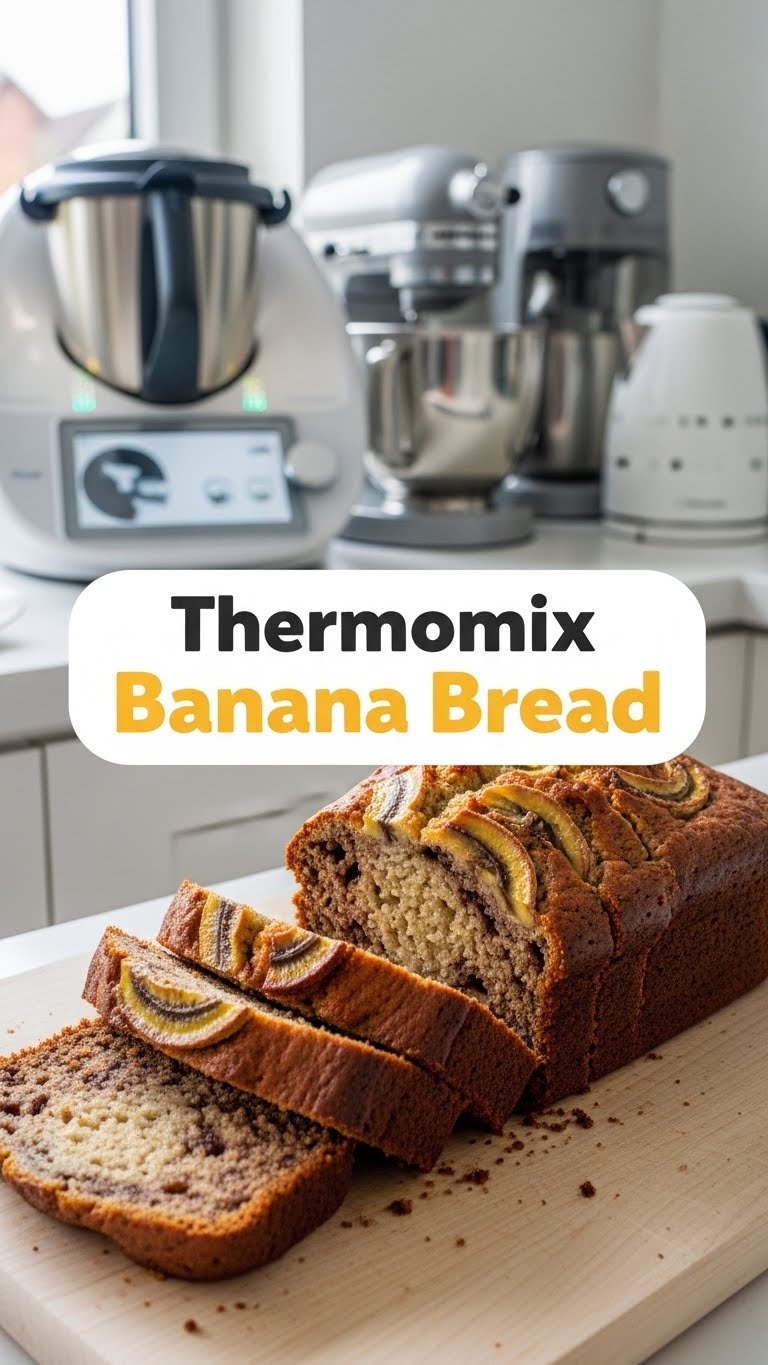
So you’re craving something tasty but too lazy to spend forever in the kitchen, huh? Same. And honestly, who has the energy for a gazillion bowls and a sink full of dishes just for a simple treat? Not me, and probably not you either, my friend. That’s where our kitchen wizard, the Thermomix, swoops in to save the day (and your sanity). Get ready to whip up the most ridiculously easy and unbelievably delicious banana bread you’ve ever tasted, with minimal fuss and maximum yum factor. Let’s do this!
Why This Recipe is Awesome
Okay, let’s be real. There are a million banana bread recipes out there. But *this* one? This is the one you tell your grandkids about. Why? Because it’s practically idiot-proof. Seriously, I’m pretty sure I could make this after three hours of sleep and still not mess it up. Your Thermomix does all the heavy lifting – mashing, mixing, blending – leaving you free to, I don’t know, contemplate the mysteries of the universe or scroll through TikTok. Plus, the cleanup is laughably minimal. We’re talking one bowl, one lid, and a spatula. Your future self will thank you, **IMO**.
Ingredients You’ll Need
Gather ’round, fellow snack enthusiasts! Here’s what you’ll need for this masterpiece. Nothing too fancy, just the usual suspects:
- **120g unsalted butter**, melted (because who has time for “softened at room temperature”?)
- **150g caster sugar** (for that sweet, sweet goodness – feel free to adjust if your bananas are basically candy already)
- **2 large eggs**, because they’re the binding agents of destiny.
- **1 tsp vanilla extract** (a dash of fancy never hurt anyone).
- **3-4 very ripe bananas** (we’re talking super spotty, almost-black, sad-looking bananas. They’re the real heroes here, trust me).
- **250g plain flour** (the backbone of our bread).
- **1 tsp bicarbonate of soda** (the magic lifter! Don’t skip this, unless you want a very dense, sad banana brick).
- **½ tsp salt** (just a pinch, don’t go crazy).
Step-by-Step Instructions
Alright, apron on (or not, we’re casual here), Thermomix at the ready. Let’s bake some magic!
- First things first: Preheat your oven to **170°C (fan-forced)** or 190°C (conventional). Grab a standard loaf tin (about 20x10cm) and grease it, then line it with baking paper. Don’t skip the lining, unless you enjoy wrestling your banana bread out of the tin.
- Pop your very ripe bananas into the Thermomix bowl. Secure the lid. **Mash them for 5 seconds on Speed 4.** Scrape down the sides if needed. You want it lumpy, not pureed, for that authentic texture.
- Add the melted butter, caster sugar, eggs, and vanilla extract to the bowl with the mashed bananas.
- Secure the lid and **mix for 10 seconds on Speed 4.** We’re just combining things here, not overworking them.
- Now, add the plain flour, bicarbonate of soda, and salt to the wet mixture in the bowl.
- Close that lid and **mix for 10-15 seconds on Speed 3-4, or until just combined.** **The key here is *just combined*.** A few streaks of flour are totally fine. Overmixing develops the gluten, making your bread tough – and nobody wants a tough banana bread, right?
- Pour the glorious batter into your prepared loaf tin. Give it a gentle tap on the counter to settle.
- Bake for **50-60 minutes**, or until a skewer inserted into the centre comes out clean. If it starts getting too brown on top, you can loosely tent it with some foil.
- Once baked, let it cool in the tin for about 10 minutes before turning it out onto a wire rack to cool completely. **Patience is a virtue, my friend!**
Common Mistakes to Avoid
We’ve all been there. Rookie mistakes happen. But with me as your guide, you’ll dodge these culinary bullets:
- **Not preheating the oven:** Seriously, just do it. It ensures an even bake from the start. “Cold start” baking is just asking for a sad, unevenly cooked bread.
- **Using under-ripe bananas:** Green bananas have less sugar and flavour, and they’re a pain to mash. Embrace the brown spots! The spottier, the better.
- **Overmixing the batter:** This is a biggie. Once you add the flour, mix *just until combined*. A few lumps are good! Overmixing leads to a dense, chewy banana bread that’s less “fluffy delight” and more “rubber brick.”
- **Opening the oven door constantly:** Resist the urge! Every time you open that door, the temperature drops, messing with your bake. Peek only if absolutely necessary, and only after about 40 minutes.
- **Not lining the tin:** Trust me, you’ll regret it. Unless you enjoy scraping baked-on banana bread bits from every crevice, line that tin.
Alternatives & Substitutions
Feeling adventurous? Or just missing an ingredient? No stress, we can totally improvise:
- **Chocolate Chips:** This is a no-brainer, and **FYI**, highly recommended. Stir in about 100g of chocolate chips (milk, dark, white – your call!) at the end of the mixing process.
- **Nuts:** Walnuts or pecans are classic additions. Roughly chop about 50-70g and fold them in with the chocolate chips. Adds a lovely crunch!
- **Spices:** A pinch of cinnamon or nutmeg (½ tsp each) can add a lovely warm depth. Add it with the flour.
- **Dairy-Free:** Swap the butter for a plant-based butter alternative and you’re good to go.
- **Gluten-Free:** You can definitely use a 1:1 gluten-free flour blend. Just make sure it’s a good quality one.
- **Less Sugar:** If your bananas are super, *super* sweet, you can reduce the sugar by 20-30g. Taste the banana mixture before adding the flour if you’re brave!
FAQ (Frequently Asked Questions)
Got questions? I’ve got answers. Probably humorous ones.
- **How ripe do the bananas *really* need to be?**
Like, seriously ripe. Think more brown spots than yellow. They should be soft to the touch. The riper they are, the sweeter and more flavourful your bread will be. Don’t be shy with those bruised beauties!
- **Can I freeze banana bread?**
Oh heck yes! Once it’s completely cooled (this is important!), wrap it tightly in cling film, then foil, and pop it in the freezer for up to 3 months. Thaw on the counter or give it a quick zap in the microwave for a warm treat. Future you will thank present you.
- **Can I use margarine instead of butter?**
Well, technically yes, but why hurt your soul like that? Butter just tastes better. It provides a richness and flavour that margarine often lacks. But hey, if that’s all you’ve got, it’ll work. Just don’t tell me I didn’t warn you!
- **My banana bread is dense/dry. What went wrong?**
Two main culprits here: overmixing the batter (developing too much gluten) or overbaking. Keep an eye on the cooking time and that skewer test!
- **How long does this glorious banana bread last?**
On the counter, well-wrapped, probably 3-4 days. In my house? About 3-4 hours, if I’m lucky. It disappears faster than my motivation on a Monday morning.
- **Can I add other fruits like berries or apples?**
You can, but be mindful of the moisture content. Berries can make it a bit wetter, and apple chunks might need to be pre-cooked slightly. Stick to about half a cup of extra additions so you don’t throw off the wet-to-dry ratio too much.
Final Thoughts
There you have it, folks! Your new go-to, ridiculously easy, and utterly delicious Thermomix Banana Bread recipe. It’s perfect for breakfast, a snack, or even a sneaky midnight treat. So, go forth and conquer that kitchen (with minimal effort, thanks to your trusty Thermomix). Now go impress someone—or yourself—with your new culinary skills. You’ve earned it!

