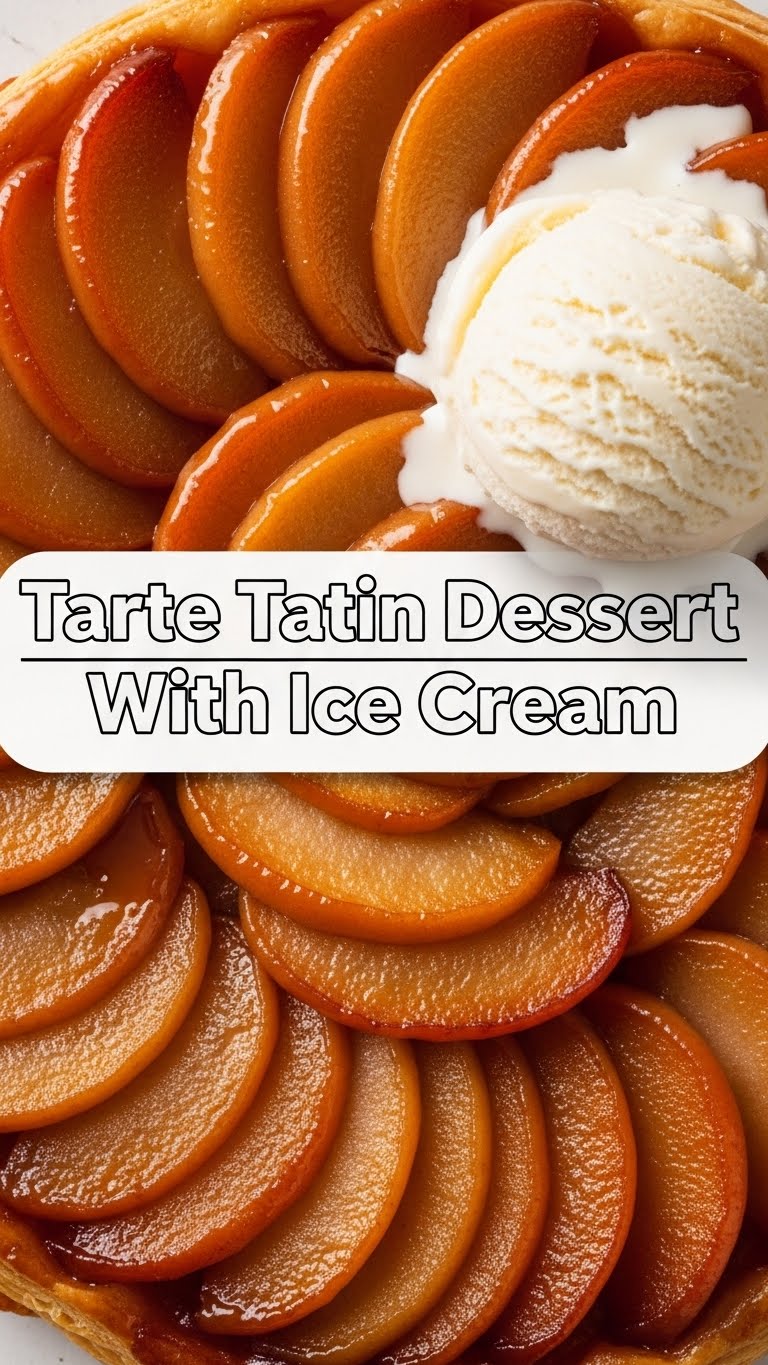
So you’re craving something utterly fabulous, impressively fancy, but secretly so easy even your pet goldfish could *almost* make it (with opposable thumbs, of course)? And you want it NOW? My friend, you’ve landed in the right spot. We’re about to whip up a Tarte Tatin, a glorious upside-down apple tart, that’s so good it should be illegal, especially when paired with a scoop (or three) of vanilla ice cream. No stress, just deliciousness. Ready to get sticky?
Why This Recipe is Awesome
Okay, let’s be real. Tarte Tatin sounds super sophisticated, right? Like something you’d order in a quaint Parisian bistro while contemplating the meaning of life (or just what wine to pair with your next course). But here’s the kicker: it’s shockingly simple. We’re talking minimal fuss for maximum “oohs” and “aahs.” It’s basically an apple pie that decided to be a rebel and flip itself over, creating this magical, buttery, caramelized apple layer that is just… *chef’s kiss*. Plus, it’s pretty much **idiot-proof**. If I can do it without setting off the smoke alarm, you can too. And, IMO, any dessert that involves hot fruit and cold ice cream is a winner in my book. It’s a guaranteed crowd-pleaser or, even better, a glorious self-indulgence.
Ingredients You’ll Need
Gather ’round, fellow culinary adventurers! Here’s your shopping list. Keep it simple, keep it real.
- Apples (4-6 medium-sized): The stars of our show! Firm, slightly tart ones work best – think Honeycrisp, Gala, Granny Smith. They hold their shape and give that lovely tang. Don’t use mushy ones unless you want apple sauce masquerading as a tart.
- Unsalted Butter (1/2 cup / 113g): Go for the good stuff. It makes all the difference in that dreamy caramel. This is not the time to skimp, people.
- Granulated Sugar (1 cup / 200g): For that glorious, golden caramel. Yes, it’s a cup. We’re making dessert, not health food.
- Puff Pastry (1 sheet, store-bought is totally fine!): Your secret weapon for looking like a baking genius without actually being one. Frozen, pre-rolled, glorious puff pastry is your best friend. Thaw it in the fridge as per package instructions.
- Vanilla Extract (1 teaspoon, optional but recommended): A little hug for your caramel.
- Vanilla Ice Cream: Non-negotiable. Seriously. Don’t even think about skipping it. It’s the Bonnie to our Clyde, the peanut butter to our jelly.
Step-by-Step Instructions
Alright, apron on, “pump-up” playlist ready? Let’s do this!
- Prep Your Apples: Peel, core, and quarter your apples. If they’re super big, cut them into sixths. We want nice, chunky pieces that will look impressive when flipped. Set them aside.
- Caramel Time (The Fun Part!): Grab an oven-safe, **heavy-bottomed skillet** (cast iron is perfect, about 9-10 inches/23-25 cm). Melt the butter over medium heat. Once it’s fully melted, sprinkle in the sugar evenly.
- Don’t Stir! (Seriously): Let the sugar and butter bubble away without stirring. It will start to turn amber around the edges. Once it’s mostly liquid and a gorgeous golden-brown (think old penny, not burnt toast!), give the pan a gentle swirl to mix. If using, stir in the vanilla extract. **Keep an eye on it – caramel can go from perfect to burnt in a blink!**
- Arrange the Apples: Carefully, using tongs or your (heat-resistant!) fingers, arrange the apple quarters in a single layer over the caramel. Pack them in tightly, standing them on their sides if you can. This is where the art happens!
- Soft-Cook the Apples: Reduce the heat to low, cover the skillet, and let the apples cook gently for about 10-15 minutes. They should soften slightly but still hold their shape. This helps them absorb that amazing caramel flavor. Preheat your oven to **400°F (200°C)** during this time.
- Top with Pastry: Take your thawed puff pastry sheet and, if needed, gently roll it out a bit to be slightly larger than your skillet. Carefully lay the pastry over the apples, tucking the edges down around the sides of the apples and into the pan. You’re basically creating a cozy blanket for your apples.
- Bake It Up: Pop the skillet into your preheated oven. Bake for 25-30 minutes, or until the pastry is puffed up, golden brown, and looks utterly delicious.
- The Grand Flip (The Most Exciting Part!): This is the moment of truth! Remove the skillet from the oven. Let it cool for just **5-10 minutes**. No longer, or the caramel will set too much! Place a large serving plate (bigger than your skillet) upside-down over the skillet. With oven mitts, firmly grasp both the skillet and the plate, and in one swift, confident motion, **FLIP IT!** Give it a moment, then carefully lift the skillet. Voila! A masterpiece!
- Serve & Devour: Let it cool slightly (or not, if you’re impatient like me) and serve warm with generous scoops of vanilla ice cream. Enjoy the ooey-gooey, sweet, and slightly tart perfection!
Common Mistakes to Avoid
We’ve all been there, staring at a culinary disaster, wondering “what happened?” Learn from my (many) past mistakes!
- Stirring the Caramel Too Soon: Patience, young padawan! Let the sugar melt and color on its own. Stirring too early can make it crystallize into a gritty mess. You’re aiming for smooth, liquid gold.
- Overcooking the Caramel: It goes from perfect to bitter in a nanosecond. Keep a hawk’s eye on it. As soon as it’s golden amber, get those apples in!
- Not Using an Oven-Safe Skillet: I mean, this one’s a no-brainer, but some folks try to transfer the caramel. Don’t. Just use the right pan from the start. A heavy cast iron or stainless steel skillet is your friend.
- Forgetting to Preheat the Oven: Rookie mistake! A cold oven means uneven baking and sad, pale pastry. Give your oven time to get to temp.
- Flipping It Too Soon OR Too Late: This is a delicate balance. Too soon, and the caramel is lava-hot and runny, making a mess. Too late, and the caramel hardens, sticking your glorious tart to the pan forever. **5-10 minutes is the sweet spot.** Trust me on this.
Alternatives & Substitutions
Feeling adventurous or missing an ingredient? No stress, we can totally improvise! This recipe is forgiving.
- Fruit Swap: Apples are classic, but pears (firm Bosc or Anjou), peaches (peeled, firm ones), or even firm plums can be amazing. Just adjust cooking times slightly. BTW, a mix of apples and pears? Divine.
- Pastry Power-Up: While puff pastry is king for ease, you *could* use a shortcrust pastry if you’re feeling fancy and want a more biscuit-like base. Store-bought pie crust works in a pinch too, but puff pastry gets that gorgeous rise.
- Spice It Up: A pinch of cinnamon, nutmeg, or even a tiny whisper of star anise could be added to the caramel or sprinkled over the apples for an extra layer of warmth. Don’t go overboard, we want the apple-caramel magic to shine.
- Ice Cream Extravaganza: Vanilla is traditional, but salted caramel ice cream, cinnamon, or even a good quality pecan ice cream would be mind-blowing with this. Or a dollop of crème fraîche if you’re feeling extra French!
FAQ (Frequently Asked Questions)
- Can I use margarine instead of butter? Well, technically yes, but why hurt your soul like that? Butter adds incredible flavor and richness that margarine just can’t replicate. Treat yourself!
- My caramel seized up! What do I do? Don’t panic! Sometimes this happens if there are sugar crystals on the side of the pan. Try adding a tablespoon or two of hot water, stirring carefully (it will bubble!), and melting it again over low heat. If it’s still gritty, start over. Sorry!
- What if I don’t have an oven-safe skillet? You’re in a bit of a pickle, my friend. You could try making the caramel in a saucepan, pouring it into a baking dish with the apples, and then topping with pastry. But the flipping will be *much* harder, and you might lose some of that awesome caramel. Invest in a good cast-iron pan; you won’t regret it!
- Can I make this ahead of time? You can make it a few hours ahead and reheat it gently in a warm oven (covered with foil) or microwave, but it’s truly best served warm, fresh from the oven, with ice cream. The pastry is at its crispiest then!
- My pastry isn’t golden brown. Help! Your oven might run a little cool, or maybe you need to bake it a few minutes longer. If the apples are cooked but the pastry is pale, you can try giving it a few more minutes, or even a quick flash under the broiler (watch it like a hawk, seriously!).
- My apples got mushy! What went wrong? You likely cooked them too long in the caramel or used a softer apple variety. Stick to firm apples and only cook them until *slightly* softened before topping with pastry.
Final Thoughts
See? That wasn’t so scary, was it? You just made a Tarte Tatin! You, my friend, are now a certified dessert wizard. This isn’t just a dessert; it’s an experience. The rich, sticky caramel, the tender apples, the flaky pastry, and that glorious melting ice cream… it’s pure bliss. Now go impress someone—or yourself—with your new culinary skills. You’ve earned it! Seriously, go eat your masterpiece. You deserve every single delicious bite. And maybe save me a slice? Just kidding… mostly. 😉


