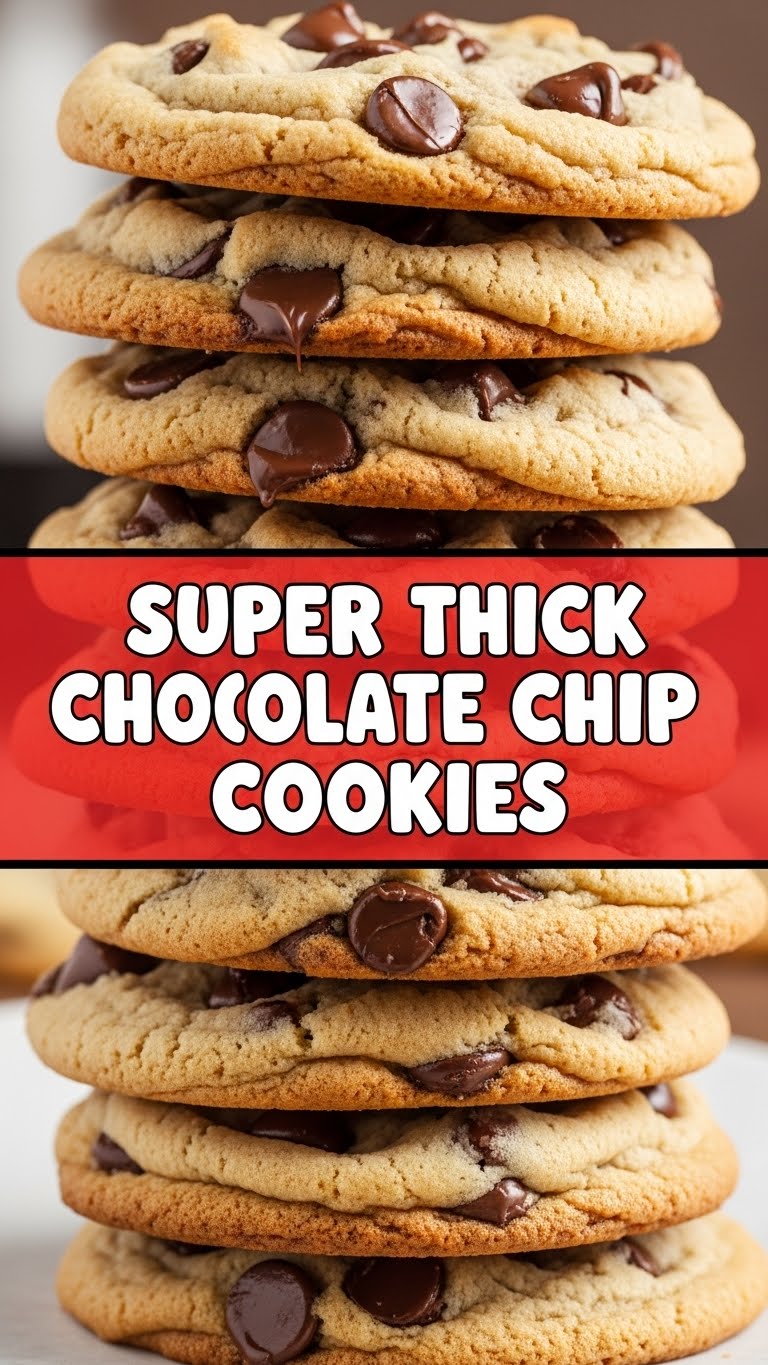
Ever just stare blankly into the fridge, then the pantry, and think “Ugh, I need something ridiculously good, but also, like, *now*?” Yeah, that’s me most Tuesdays. And today, “ridiculously good” means only one thing: **Super Thick Chocolate Chip Cookies**. You want that monster cookie, the kind that looks like it’s been working out and refuses to flatten? You’ve come to the right place, my friend. We’re about to make some seriously thicc (yes, with two ‘c’s, because why not?) chocolate chip goodness without breaking a sweat. Unless it’s from oven heat, which is fair.
Why This Recipe is Awesome
Let’s be real, you’re not here for a history lesson on flour. You’re here for cookies that make you question every life choice you’ve made until this delicious moment. This recipe is awesome because it’s practically **idiot-proof**. Seriously, I tried to mess it up just for fun, and even I failed. It produces cookies that are soft, chewy, and gloriously tall, not those sad, flat discs that look like they lost a fight with a steamroller. Plus, the ingredient list is short and sweet, meaning less time grocery shopping and more time debating which Netflix show to binge. **You get maximum cookie satisfaction for minimal effort.** What’s not to love?
Ingredients You’ll Need
Gather your troops! Here’s what you’ll need to make these chonky wonders. Don’t worry, it’s nothing too exotic – probably stuff you already have lurking in your pantry.
- **1/2 cup (113g) unsalted butter**, melted and slightly cooled. *Don’t use cold butter here; we want that glorious melty goodness.*
- **1/2 cup (100g) granulated sugar.** *The usual suspect.*
- **3/4 cup (150g) packed light brown sugar.** *This is key for chewiness and depth. Don’t skimp!*
- **1 large egg + 1 large egg yolk.** *One whole egg for structure, an extra yolk for richness and chew. Trust me on this.*
- **2 teaspoons vanilla extract.** *Use the good stuff, or at least one that doesn’t taste like chemicals.*
- **1 3/4 cups (210g) all-purpose flour.** *The backbone of our operation.*
- **1/2 teaspoon baking soda.** *For a bit of lift and that classic cookie spread (but not too much).*
- **1/2 teaspoon salt.** *To balance the sweetness and make everything pop. Don’t skip it!*
- **1 1/2 cups (270g) chocolate chips.** *Semi-sweet is classic, but hey, you do you. Go for chunks, discs, whatever makes your heart sing.*
Step-by-Step Instructions
Alright, apron on (or not, I’m not your boss), let’s get baking!
- **Melt the Butter & Mix Sugars:** In a large bowl, melt your butter. Let it cool for a few minutes so it’s warm, not scorching hot. Then, add both the granulated and brown sugars. Whisk them together until combined and glossy – about 1 minute. This creates a beautifully smooth base.
- **Add Wet Ingredients:** Whisk in the whole egg, extra egg yolk, and vanilla extract. Keep whisking until the mixture is lightened in color and looks smooth and creamy. This could take another 1-2 minutes of vigorous whisking. **Don’t be shy with the whisking here; it adds air!**
- **Combine Dry Ingredients:** In a separate medium bowl, whisk together the flour, baking soda, and salt. Make sure everything is well combined. You don’t want a salty patch and a bland patch in your cookie.
- **Combine Wet and Dry:** Gradually add the dry ingredients to the wet ingredients, mixing with a wooden spoon or spatula until *just* combined. **Stop mixing as soon as you see no more streaks of flour.** Overmixing develops gluten, leading to tough cookies. No one wants tough cookies.
- **Fold in Chocolate Chips:** Gently fold in your chosen chocolate chips. Make sure they’re evenly distributed throughout the dough.
- **Chill (Don’t Skip This!):** Cover the dough and refrigerate for **at least 30 minutes**. Even better, an hour. This step is CRUCIAL for thick cookies, allowing the flour to fully hydrate and preventing them from spreading too much. Trust the process, even if it tests your patience.
- **Preheat Oven & Prep Tray:** While the dough chills, preheat your oven to **375°F (190°C)**. Line a baking sheet with parchment paper or a silicone baking mat.
- **Scoop ‘Em Out:** Use a large cookie scoop (about 3 tablespoons) to scoop dough balls onto the prepared baking sheet. Leave about 2 inches between each dough ball, as they will spread a *little*. For extra pretty cookies, press a few extra chocolate chips on top of each dough ball.
- **Bake ‘Em Up:** Bake for **9-12 minutes**, or until the edges are golden brown and the centers are still slightly soft and puffy. If you want them extra chewy, err on the side of underbaking.
- **Cool Down (If You Can Wait):** Let the cookies cool on the baking sheet for 5-10 minutes before transferring them to a wire rack to cool completely. **This helps them set up and prevents them from falling apart.**
Common Mistakes to Avoid
Even the most seasoned home bakers have slipped up. Here are some pitfalls to dodge on your quest for cookie supremacy:
- **Not chilling the dough:** This is probably the number one reason for flat cookies. **Seriously, chill that dough!** It’s not just for looks; it improves flavor, too.
- **Overmixing the dough:** Remember what I said about tough cookies? That’s what happens when you go HAM on the mixer after adding flour. Gentle is the name of the game.
- **Using cold butter for the initial mix:** Our recipe calls for melted butter. Using cold butter changes the fat distribution and texture entirely. Rookie mistake!
- **Baking on an unlined sheet:** Parchment paper or silicone mats prevent sticking and promote even baking. No one likes scraping half a cookie off a pan.
- **Not preheating the oven fully:** Pop those cookies into a hot oven right away. It helps them set quickly and stops them from spreading too much. Patience, grasshopper.
Alternatives & Substitutions
Feeling adventurous? Or just missing an ingredient? Here are a few tweaks:
- **Chocolate type:** Not a semi-sweet fan? Use milk chocolate, dark chocolate, white chocolate, or even a mix! Peanut butter chips or butterscotch chips could also join the party. IMO, a mix of milk and dark chips is divine.
- **Brown sugar only:** If you’re out of granulated sugar, you can use all brown sugar for an even chewier, richer cookie. Just know they might spread a *tiny* bit more.
- **Add-ins:** Feeling extra? Stir in some chopped nuts (pecans, walnuts), a sprinkle of sea salt flakes on top before baking, or even a tablespoon of instant espresso powder for a mocha kick. Don’t be afraid to experiment!
- **Gluten-Free Flour:** You *can* substitute with a 1:1 gluten-free baking blend, but results may vary slightly in texture.
FAQ (Frequently Asked Questions)
**Q: Can I use margarine instead of butter?**
A: Well, technically yes, but why hurt your soul like that? Butter provides a flavor and richness that margarine just can’t replicate. If you *must*, expect a different texture and taste profile. You’ve been warned.
**Q: My cookies are still flat! What gives?**
A: Did you chill the dough? Was your butter too warm when you started? Did you overmix? Did your baking soda expire in the Mesozoic era? Revisit those common mistakes! Also, make sure your oven is actually at the temperature it claims to be (an oven thermometer can be a lifesaver!).
**Q: Can I freeze the cookie dough?**
A: Absolutely! Scoop the dough into balls, place them on a parchment-lined baking sheet, and freeze until solid. Then transfer to a freezer-safe bag for up to 2-3 months. Bake straight from frozen, adding a few extra minutes to the bake time. Freshly baked cookies on demand? Yes, please!
**Q: What’s the best way to store these cookies?**
A: In an airtight container at room temperature for up to 3-4 days. But let’s be real, they probably won’t last that long.
**Q: Why the extra egg yolk? Is it really that important?**
A: FYI, that extra yolk is a game-changer! It adds fat without extra liquid, leading to a richer flavor and a delightfully chewy, dense texture. It’s one of the secrets to their thickness!
Final Thoughts
Alright, you’ve officially graduated from “craving something tasty” to “culinary wizard.” Go forth and conquer those cookie cravings! These Super Thick Chocolate Chip Cookies aren’t just a treat; they’re a statement. A statement that says, “I know what I want, and I’m not afraid to bake it into a gloriously chunky form.” Now go impress someone—or yourself—with your new culinary skills. You’ve earned it! (And probably deserve another cookie.)


