So, picture this: you’re curled up on the couch, maybe binging your favorite show, and suddenly, a craving hits. Not just any craving, but a specific, sweet, melt-in-your-mouth sugar cookie craving. But wait, the thought of complicated recipes, endless steps, and dirtying every bowl in your kitchen sends shivers down your spine. Ugh, the horror! Fear not, my friend, because I’ve got your back. We’re about to dive into the easiest, most gloriously simple sugar cookie recipe that even *I* can’t mess up. And trust me, that’s saying something. Get ready to bake like a boss without breaking a sweat!
Why This Recipe is Awesome
Let’s be real, life’s too short for baking recipes that require a Ph.D. in pastry arts. This isn’t that. This recipe is your new best friend because it’s **fast, fabulous, and ridiculously forgiving**. Seriously, it’s pretty much idiot-proof. Even if your idea of “baking” is microwaving a frozen burrito, you’re going to nail these. There’s no fancy chilling for hours (unless you want to, you overachiever), no intimidating techniques, just pure, unadulterated cookie joy. You’ll look like a domestic goddess (or god) with minimal effort, and who doesn’t love that? Plus, they taste like a hug in cookie form.
Ingredients You’ll Need
Gather your troops, folks! Most of these are probably already lurking in your pantry, just begging to be transformed into deliciousness.
- 1 cup (2 sticks) unsalted butter, softened: Yes, softened. Not melted, not straight from the fridge. Think “spreadable” consistency. This is key, people!
- 1 ½ cups granulated sugar: Your standard white sugar. It’s here for the sweetness, obviously, and to make your teeth happy.
- 1 large egg: The binder, the glue, the reason your cookies aren’t just a pile of crumbs.
- 1 teaspoon vanilla extract: Don’t skimp! Good vanilla makes *all* the difference. Spend a little extra here, your taste buds will thank you.
- 2 ½ cups all-purpose flour: The main event, the cookie body. No fancy flours needed unless you’re feeling adventurous (but stick to this for easy mode).
- ½ teaspoon baking powder: Gives them a little lift, keeps them soft.
- ¼ teaspoon salt: Balances the sweetness and actually makes everything taste *more* like sugar. Science!
Step-by-Step Instructions
Alright, apron on (or not, I don’t judge). Let’s make some magic happen!
- Preheat and Prep: First things first, get your oven ready. Preheat it to 375°F (190°C). Line a couple of baking sheets with parchment paper or silicone mats. This is your non-stick insurance policy.
- Cream the Dream: In a large mixing bowl (or your stand mixer if you’re feeling fancy), cream together the softened butter and granulated sugar until it’s light and fluffy. This usually takes about 2-3 minutes. Scrape down the sides of the bowl to make sure everything gets acquainted.
- Egg-cellent Addition: Beat in the egg and then the vanilla extract. Mix until just combined. Don’t go crazy here; we’re not making soufflé.
- Dry Goods Unite: In a separate, smaller bowl, whisk together the flour, baking powder, and salt. Whisking ensures everything is evenly distributed, so no salty spots or weird pockets of leavening.
- Combine & Conquer: Gradually add the dry ingredients to the wet ingredients, mixing on low speed until *just* combined. Stop mixing as soon as you don’t see any streaks of dry flour. Overmixing is a common culprit for tough cookies, and nobody wants a jaw workout from a sugar cookie.
- Roll ‘Em Out: Flour a clean surface lightly. Take half of your dough (it’ll be a bit soft, that’s okay!) and gently roll it out to about ¼-inch thickness. Use cookie cutters to cut out your desired shapes. Gather the scraps, re-roll, and cut more!
- Bake Time! Carefully place your cut-out cookies on the prepared baking sheets, leaving about an inch between them. Bake for 7-10 minutes, or until the edges are *very* lightly golden. Don’t overbake unless you prefer crunchy rocks over soft, chewy goodness.
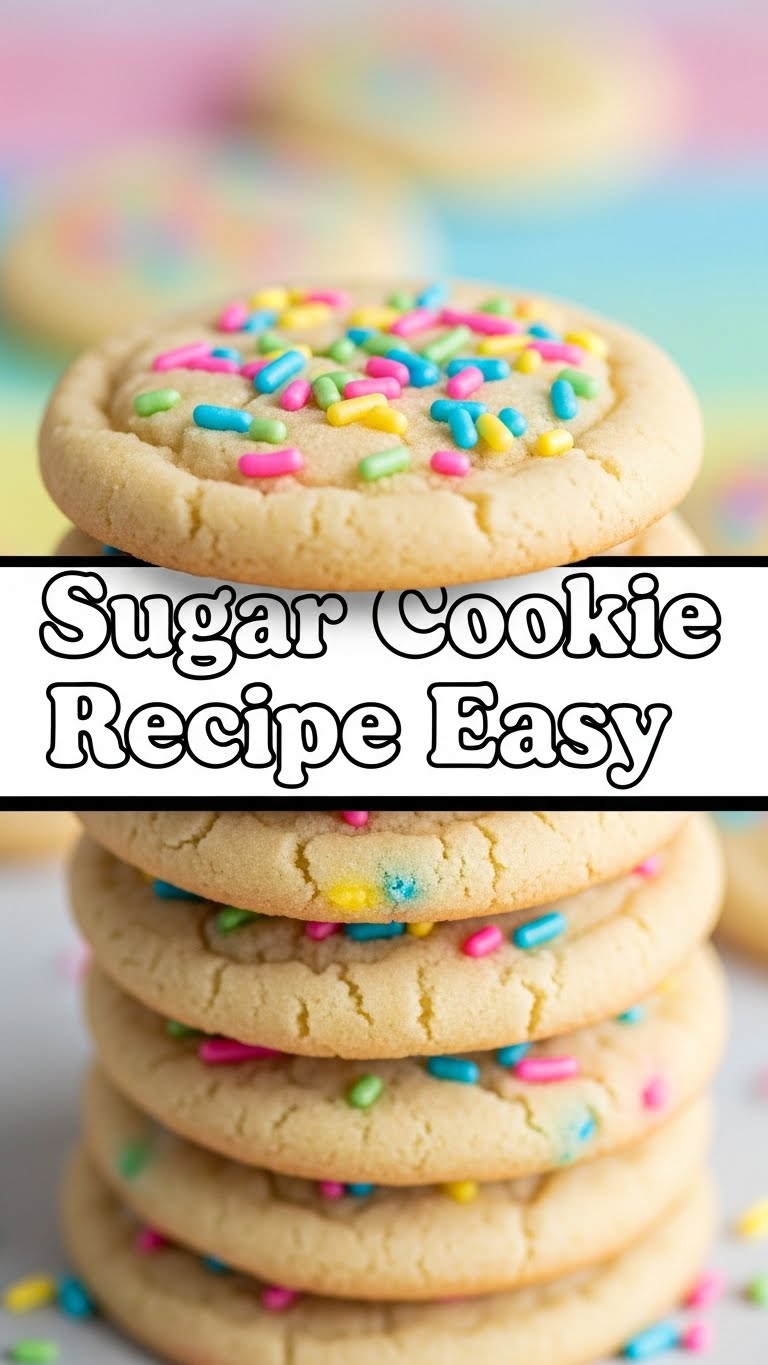
- Cool Down: Let the cookies cool on the baking sheets for 5 minutes before transferring them to a wire rack to cool completely. Patience, young grasshopper! Once cool, unleash your inner artist with frosting and sprinkles, or just eat them plain (my preferred method, FYI).
Common Mistakes to Avoid
We’ve all been there, staring at a baking disaster thinking, “What went wrong?!” Here are a few pitfalls to dodge:
- Cold Butter Calamity: Trying to cream cold butter and sugar is like trying to push a square peg through a round hole. It won’t cream properly, and your cookies will suffer. Softened butter is non-negotiable!
- Overmixing Madness: This is probably the biggest rookie mistake. As soon as that last streak of flour disappears, stop the mixer. Seriously, walk away. Overmixing develops gluten, leading to tough, less tender cookies.
- Eyeballing It: While I appreciate your rebellious spirit, baking is a science, especially for easy recipes like this. Use proper measuring cups and spoons. Don’t just “guess-timate” the flour unless you want weird results.
- Underbaking (or Overbaking) Oversight: Watch those cookies like a hawk! Oven temperatures vary. The second the edges start looking *barely* golden, pull them out. They’ll continue to cook a tiny bit on the hot tray. If they’re underbaked, they’ll fall apart; overbaked, and you’ve got hockey pucks.
Alternatives & Substitutions
Feeling a little wild? Want to tweak things? I got you.
- Extract-ing Fun: Not a vanilla purist? Swap half the vanilla for almond extract for a marzipan-y twist, or lemon extract for a brighter, zippier cookie. I’m personally a huge fan of almond extract in sugar cookies, IMO it just adds that extra *oomph*.
- Flour Power: If you’re out of all-purpose, you *can* use bread flour in a pinch, but your cookies will be a bit chewier. Cake flour would make them more delicate. For a gluten-free version, use a 1:1 gluten-free baking blend, but add an extra tablespoon of butter and perhaps a splash more liquid if the dough seems dry.
- Dairy-Free Drama? Swap the butter for a good quality vegan butter stick (like Miyoko’s Kitchen or Earth Balance sticks). Make sure it’s sticks, not the tub kind!
FAQ (Frequently Asked Questions)
- Do I *really* need to chill the dough? For this recipe, nope! That’s the beauty of it. If your kitchen is super warm and the dough is sticky, a 15-20 minute chill in the fridge can help with rolling, but it’s not strictly necessary for taste or texture here.
- My cookies spread too much! What happened? Usually, this means your butter was too soft (or even slightly melted), or your oven wasn’t at the correct temperature. Make sure your butter is “softened” not “melty” and always use an oven thermometer if you suspect your oven is lying to you.
- Can I use margarine instead of butter? Well, technically yes, but why hurt your soul like that? Butter provides the best flavor and texture. Margarine can make them spread more and often leaves an odd aftertaste. Stick with butter for optimal deliciousness.
- How long do these glorious cookies last? Stored in an airtight container at room temperature, they’re typically good for 3-5 days. If you’ve decorated them with royal icing, they might last a bit longer. If they last more than a day in *my* house, it’s a miracle.
- Can I freeze the dough? Absolutely! Roll it into a log, wrap it tightly in plastic wrap, and then foil. It’ll keep for up to 3 months. Thaw in the fridge overnight before slicing and baking. You can also freeze already baked cookies for up to a month.
Final Thoughts
And there you have it, folks! Your passport to sugar cookie paradise, made super simple. See? I told you it wouldn’t be scary. Now you’ve got a recipe up your sleeve that’s perfect for a quick treat, a last-minute party contribution, or just because it’s Tuesday and you deserve something sweet. Go forth, bake those cookies, and revel in your newfound baking prowess. You’ve totally earned it! Happy baking, friend!


