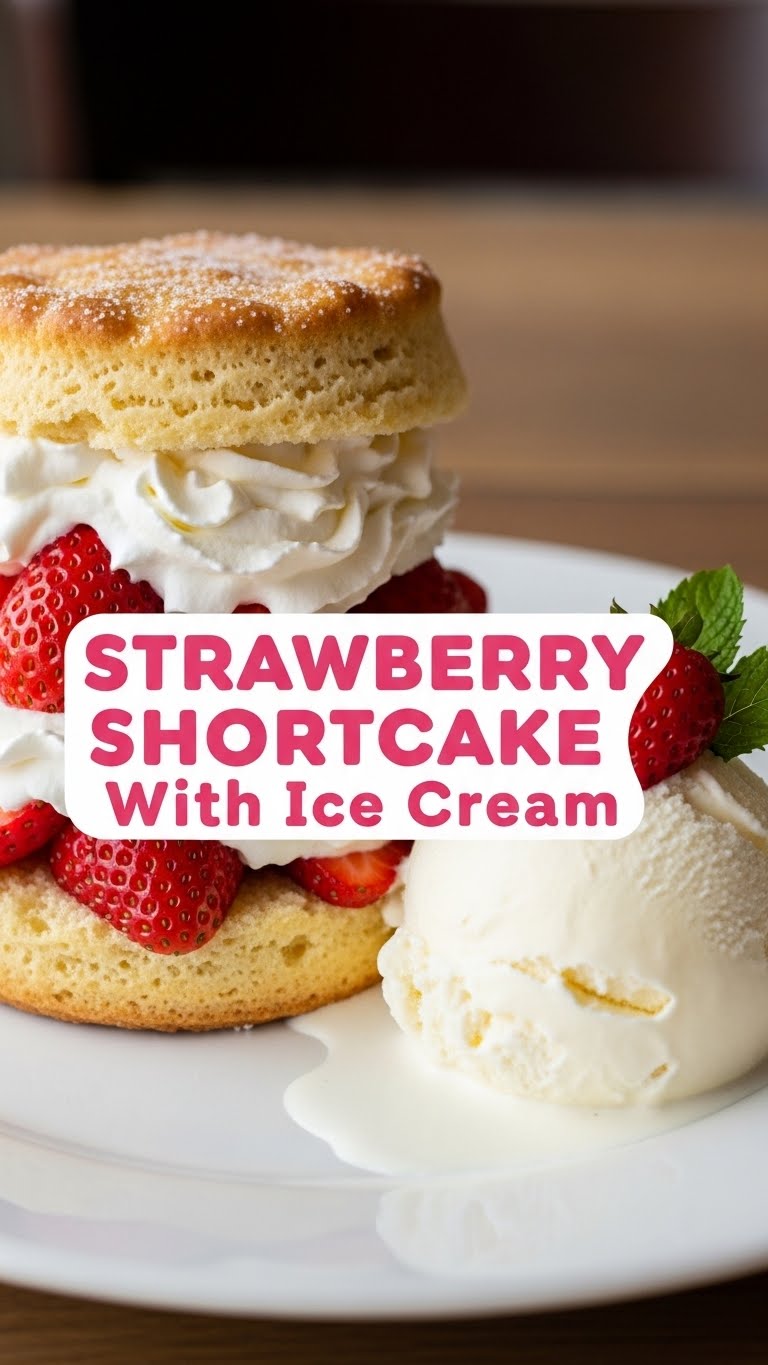
So you’re craving something that screams “fancy dessert” but requires minimal actual “fancy effort” in the kitchen, huh? Same, friend, *same*. We’re talking about that sweet spot where impressiveness meets utter simplicity. Today, we’re diving headfirst into the glorious, utterly divine world of Strawberry Shortcake with Ice Cream. And trust me, if I can make it without setting off the smoke alarm, you totally got this.
Why This Recipe is Awesome
Because it’s basically the culinary equivalent of putting on sweatpants but still looking effortlessly chic. This isn’t your grandma’s hour-long, multi-bowl shortcake saga (unless your grandma was super chill and used shortcuts, then kudos to her!). This recipe is **idiot-proof**, I swear. Even I, a self-proclaimed connoisseur of microwave meals, managed to whip this up without a single culinary catastrophe. It’s quick, it’s ridiculously delicious, and it makes your kitchen smell like a summer dream. Plus, who doesn’t love a warm, buttery biscuit hug paired with cool, sweet berries and melting ice cream? Exactly. No one.
Ingredients You’ll Need
Gather ’round, butter-fingered friends! Here’s what you’ll need to transform into a dessert wizard:
- For the Shortcake Biscuits:
- 1 ¾ cups all-purpose flour (the basic stuff, no need to get fancy)
- 2 tablespoons granulated sugar (just a touch for sweetness)
- 1 tablespoon baking powder (our little leavening hero)
- ½ teaspoon salt (because even sweet things need a pinch of drama)
- ½ cup (1 stick) unsalted butter, **ice cold and cubed** (this is non-negotiable for flakiness, FYI!)
- ¾ cup heavy cream (the secret to tender biscuits, don’t skimp!)
- For the Strawberries:
- 1 lb fresh strawberries (the riper, the better!)
- ¼ cup granulated sugar (or more, if your sweet tooth demands it)
- For Assembling the Dream:
- Vanilla ice cream (good quality, because life’s too short for bad ice cream)
- Optional: A can of whipped cream (for extra decadence, or if you’re feeling extra boujee)
Step-by-Step Instructions
Alright, let’s get messy! (But not *too* messy, we still want to eat this thing.)
- Prep Your Berries: First things first, wash those glorious strawberries. Hull them (that’s fancy talk for removing the green leafy bits) and slice them up. Toss them into a bowl with the ¼ cup of sugar. Give ’em a good stir, then let them sit and “macerate” for at least 15-20 minutes. This magical process coaxes out their juices and creates a divine syrup.
- Oven On!: Preheat your oven to 400°F (200°C). Line a baking sheet with parchment paper. Trust me, it makes cleanup a breeze.
- Dry Mix Magic: In a large bowl, whisk together the flour, sugar, baking powder, and salt. Make sure it’s all nicely combined, no weird lumps allowed!
- Butter Time: Add your **cold, cubed butter** to the dry ingredients. Now, here’s the fun part: using your fingers, a pastry blender, or two knives, cut the butter into the flour until it resembles coarse crumbs with some pea-sized pieces remaining. **Don’t overmix!** This is crucial for flaky shortcakes.
- Cream Dream: Pour in the heavy cream. Stir gently with a fork or your hands until just combined. The dough will be a bit shaggy, but that’s perfectly okay. **Again, no overmixing!**
- Form and Cut: Turn the dough out onto a lightly floured surface. Gently pat it into a rough circle or rectangle, about ¾ to 1 inch thick. Use a biscuit cutter (or a knife if you’re rustic like me) to cut out about 6-8 shortcakes. Don’t twist the cutter! Press straight down for taller biscuits. Gather and re-pat the scraps to get a few more.
- Bake ‘Em Up: Place your shortcakes on the prepared baking sheet. Pop them into the preheated oven and bake for 12-15 minutes, or until they’re golden brown on top and cooked through. They should sound hollow when tapped.
- Cool Down: Let those beauties cool on a wire rack for a few minutes. They’re best served warm, but not piping hot.
- Assemble Your Masterpiece: Once slightly cooled, slice each shortcake horizontally. Spoon a generous amount of those juicy macerated strawberries (and their glorious syrup!) onto the bottom half. Top with a big scoop (or two, we don’t judge) of vanilla ice cream. Place the top half of the shortcake on top, and if you’re feeling wild, add a dollop of whipped cream. Devour immediately!
Common Mistakes to Avoid
Listen up, buttercups, because these are the pitfalls even I almost fell into (but didn’t, because I learned from my past tragic baking failures).
- **Warm Butter Syndrome:** Thinking you can get away with room temperature butter. **NO.** Warm butter melts into the flour too quickly, giving you flat, sad shortcakes instead of tall, flaky dreams. **Always use ice-cold butter.**
- **The Overmix Menace:** Mixing the dough until it’s super smooth. You’re making biscuits, not bread! Overmixing develops gluten, leading to tough, chewy shortcakes. We want tender and crumbly, people!
- **Impatience with the Berries:** Not letting the strawberries macerate. Seriously, that 15-20 minutes makes all the difference in flavor and juiciness. It’s like a tiny spa day for your fruit.
- **Preheating Procrastination:** Not preheating your oven properly. Rookie mistake! A hot oven helps the shortcakes rise quickly and get that beautiful golden crust.
Alternatives & Substitutions
Feeling adventurous or just realized you’re missing an ingredient? No sweat! We can totally improv:
- **Fruit Frenzy:** Not a fan of strawberries (gasp!) or they’re not in season? Try blueberries, raspberries, mixed berries, or even sliced peaches. Just macerate them the same way!
- **Creamy Dreams:** Out of vanilla ice cream? Chocolate, strawberry, or even a nice salted caramel ice cream would be *chef’s kiss*. IMO, vanilla is classic for a reason, but live your best life!
- **Shortcut Savvy:** If you’re really, *really* short on time or just feeling extra lazy (no judgment!), you can totally buy pre-made shortcake cups from the grocery store. Just heat ’em up a bit, and no one needs to know.
- **Dairy-Free Delight:** You can find dairy-free butter alternatives and plant-based heavy cream to make this recipe vegan-friendly. Just make sure your ice cream is also dairy-free!
FAQ (Frequently Asked Questions)
Got questions? I’ve got answers (mostly humorous, of course).
Can I use frozen strawberries? Well, technically yes, but why hurt your soul like that? Fresh berries are always best for texture and flavor. If you *must* use frozen, thaw them completely and drain any excess liquid before macerating.
What if I don’t have a biscuit cutter? Get creative! A drinking glass with a thin rim works wonders. Or just grab a knife and cut them into squares. Rustic chic is totally in!
Can I make the shortcake dough ahead of time? You can definitely mix the dry ingredients and cut in the butter, then store it in the fridge. When you’re ready to bake, add the cream and proceed. The baked shortcakes are best fresh, though!
How long do leftovers last? The baked shortcakes themselves can last a day or two in an airtight container at room temp. But once you assemble them with strawberries and ice cream? Eat ’em right away! They get soggy fast, and nobody wants a soggy shortcake.
My shortcakes didn’t rise much, what gives? Probably one of two things: your baking powder is old (check the expiration date!) or you overmixed the dough. Remember: **cold butter, gentle mixing, fresh baking powder!**
Can I add zest to the shortcakes? Ooh, good idea! A little lemon or orange zest in the dry ingredients would totally elevate the flavor profile. You fancy, huh?
Final Thoughts
See? That wasn’t so scary, was it? You just made something incredibly delicious that looks like it took way more effort than it actually did. You’re basically a kitchen magician. Now go impress someone—or yourself—with your new culinary skills. You’ve earned this sweet, sweet victory. Happy eating!


