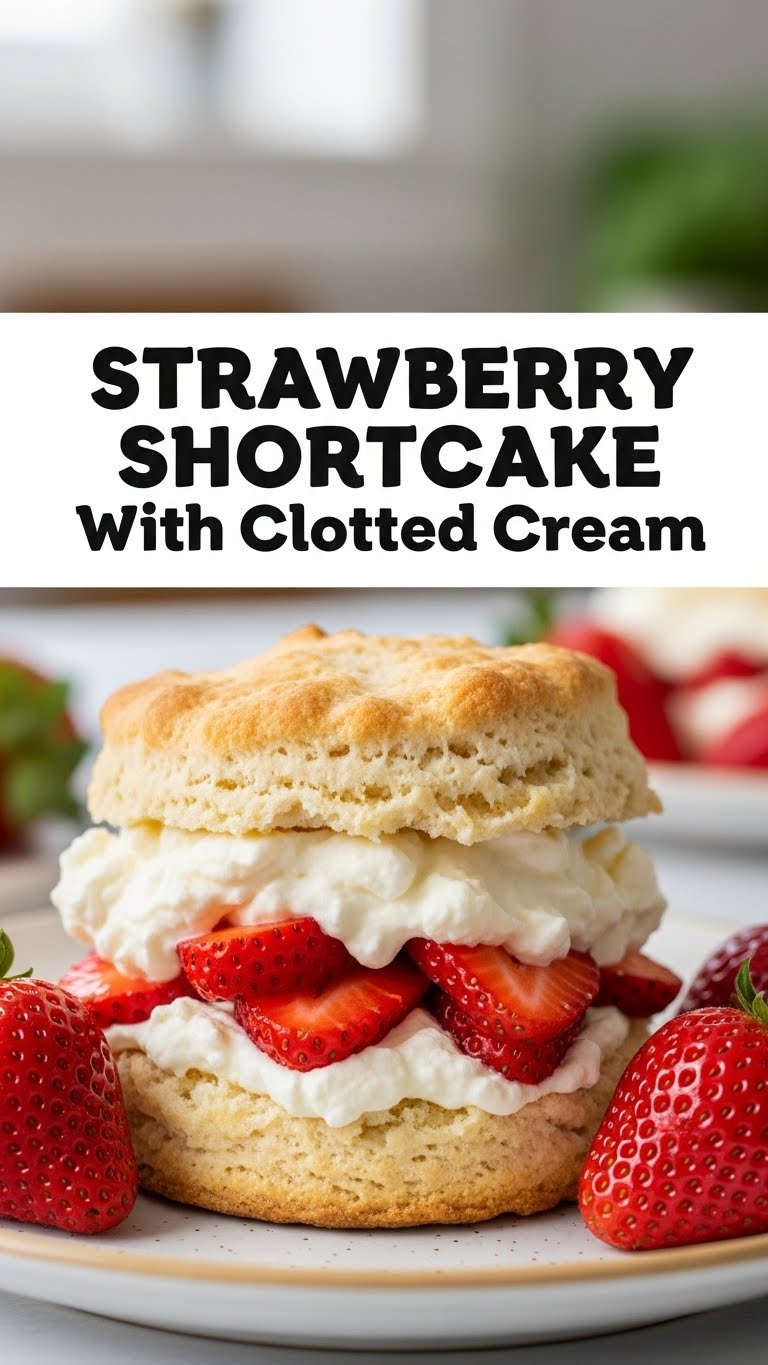
So, you’re craving something ridiculously delicious, looks kinda fancy, but actually requires minimal effort so you can get back to binging that show? My friend, you’ve come to the right place. We’re about to dive into the glorious world of Strawberry Shortcake, but not just any shortcake. Oh no, we’re elevating this classic with the creamy, dreamy, utterly indulgent magic that is **clotted cream**. Prepare for your taste buds to send you thank you notes.
Why This Recipe is Awesome
Listen, if you can measure things and push a button on an oven, you can make this. Seriously. It’s the kind of dessert that screams “I tried hard!” but actually whispers “I whipped this up in about 30 minutes, mostly because the oven was slow.” It’s got fluffy, slightly sweet biscuits, bright, juicy strawberries, and then there’s the clotted cream – the unsung hero that takes this from “yum” to “oh my word, I need more.” It’s basically summer in a bowl, and it’s a total crowd-pleaser. Or, if you’re like me, a “feed myself and no one else” pleaser. No judgment here.
Ingredients You’ll Need
Gather your edible treasures, my friend. Here’s what you’ll need for this masterpiece:
- For the Shortcake Biscuits:
- 2 cups all-purpose flour (the basic stuff, no need to get fancy-pants)
- 1/4 cup granulated sugar (just enough sweetness to play nice)
- 1 tablespoon baking powder (the fluffy-maker)
- 1/2 teaspoon salt (because balance, baby)
- 1/2 cup (1 stick) unsalted butter, **ice cold and cubed** (this is crucial for flaky goodness!)
- 3/4 cup buttermilk (or regular milk + 1 tbsp lemon juice/vinegar, let it sit for 5 mins – DIY buttermilk, FTW!)
- 1 tablespoon milk or cream (for brushing, gives that golden top)
- 1 teaspoon sugar (for sprinkling, makes it sparkly and extra yum)
- For the Strawberries:
- 1 lb fresh strawberries, hulled and sliced (the redder, the better!)
- 1-2 tablespoons granulated sugar (adjust to your berry sweetness preference)
- For the Clotted Cream:
- 1 cup clotted cream (this is the non-negotiable star. Find it, cherish it, enjoy it.)
Step-by-Step Instructions
Alright, apron on (or not, live dangerously), let’s get baking!
Prep the Strawberries: In a medium bowl, gently toss your sliced strawberries with 1-2 tablespoons of sugar. Let them hang out and macerate while you make the shortcakes. This draws out their juices and makes them extra luscious. Give them a little stir every now and then.
Get the Oven Ready: Preheat your oven to a piping hot 425°F (220°C). Line a baking sheet with parchment paper. This makes cleanup a breeze and prevents sticking, because nobody needs that stress.
Mix Dry Ingredients: In a large bowl, whisk together the flour, sugar, baking powder, and salt. Make sure it’s all nicely combined, no lumps allowed.
Cut in the Butter: Add the **ice-cold cubed butter** to the dry ingredients. Using your fingers, a pastry blender, or a fork, cut the butter into the flour mixture until it resembles coarse crumbs with some pea-sized pieces of butter still visible. **Don’t overmix!** Lumpy is good here.
Add Buttermilk: Pour in the buttermilk and stir with a fork just until the dough comes together. Again, resist the urge to overmix; a shaggy dough is a happy dough. Overworking it makes tough biscuits, and nobody wants a biscuit that fights back.
Shape the Biscuits: Turn the dough out onto a lightly floured surface. Gently pat it into a 1-inch thick circle or rectangle. Using a 2-3 inch biscuit cutter (or a knife for squares, if you’re feeling rustic), cut out your biscuits. Try to handle the dough as little as possible. Re-roll scraps once, if you must, but less handling means lighter biscuits.
Bake ’em Up: Place the biscuits about 1 inch apart on your prepared baking sheet. Brush the tops with a little milk or cream and sprinkle with the remaining teaspoon of sugar. Bake for 12-15 minutes, or until golden brown on top and cooked through. They should smell divine!
Cool and Assemble: Let the shortcakes cool on a wire rack for a few minutes. While still warm (but not scorching hot), slice each biscuit in half horizontally. Spoon a generous dollop of macerated strawberries on the bottom half, add a big spoonful of clotted cream, and then crown it with the top biscuit. Repeat with remaining shortcakes.
Common Mistakes to Avoid
Baking is science, but also a bit of an art. Here are a few pitfalls to dodge:
- Warm Butter: Thinking “room temp is fine” for butter. NO! **Ice cold butter** is your best friend for flaky biscuits. Warm butter melts too fast, creating dense, sad shortcakes. Rookie mistake, don’t do it.
- Overmixing the Dough: You’re not making bread, you’re making light, tender biscuits. Mix until just combined. The more you fuss with it, the tougher it gets. Let it be shaggy, embrace the imperfections.
- Skipping the Chill/Preheat: Not preheating your oven means your biscuits won’t rise properly. Also, not keeping your dough cool means the butter will melt too soon. Don’t underestimate the power of temperature!
- Overcrowding the Pan: Give those biscuits some space to breathe and expand. Too close, and they steam instead of baking to a beautiful golden brown.
- Using Too Much Flour: When shaping, go easy on the extra flour. Too much will dry out your dough and make the biscuits tough. A light dusting is all you need.
Alternatives & Substitutions
Life happens, ingredients run out, or maybe you just like to experiment. Here are some ideas:
- No Clotted Cream? While it’s the star, if you absolutely can’t find it, a good quality, **thick whipped cream** (preferably homemade with a touch of sugar and vanilla) is a fantastic substitute. Just be sure to whip it to stiff peaks!
- Other Berries: Strawberries are classic, but this recipe is fantastic with mixed berries, peaches, or even raspberries. A mix of blueberries and raspberries would be divine. Use whatever is seasonal and looks amazing.
- Gluten-Free: Swap the all-purpose flour for a 1:1 gluten-free baking blend. Results may vary slightly, but it generally works like a charm.
- Dairy-Free: Use a plant-based butter alternative and a dairy-free buttermilk (e.g., almond milk + lemon juice). This might slightly change the texture but will still be tasty.
- Herbs for Flair: A little fresh basil or mint finely chopped and mixed with the strawberries can add an unexpected and delightful pop of flavor. Don’t knock it ’til you try it!
FAQ (Frequently Asked Questions)
- Can I make the shortcakes ahead of time? You totally can! Bake them, let them cool completely, then store them in an airtight container at room temperature for up to 2 days. Reheat briefly in a low oven (300°F/150°C) for that fresh-baked feel before assembling.
- What if I can’t find clotted cream anywhere? Ugh, the struggle is real! As mentioned, thick homemade whipped cream is your next best bet. You *can* make clotted cream at home, but FYI, it’s an overnight process in the oven. For this recipe, I’d say just grab some good quality heavy cream and whip it up!
- My shortcakes came out tough. What went wrong? Probably overmixing the dough. Or maybe your butter wasn’t cold enough. Remember, less handling, colder butter, fluffy biscuits. You got this for next time!
- Can I use frozen strawberries? Technically yes, but fresh are always superior for shortcake. If using frozen, let them thaw completely and drain off any excess liquid before macerating. They might be a bit softer, but still delicious.
- How long do leftovers last? Once assembled, shortcake is best enjoyed immediately. The biscuits can get soggy if left with the fruit and cream too long. Store components separately, then assemble right before serving.
- Is there a trick to getting perfectly risen biscuits? Two words: cold butter. And don’t twist the biscuit cutter when cutting; push straight down to maintain those flaky layers. Also, that hot oven temp helps them spring up!
Final Thoughts
There you have it, folks! A dessert that’s effortlessly elegant, outrageously delicious, and just begging to be devoured. Strawberry shortcake with clotted cream isn’t just a recipe; it’s an experience. It’s sunshine, comfort, and pure indulgence all rolled into one. Now go impress someone—or yourself—with your new culinary skills. You’ve earned it!


