So you’re craving something tasty but too lazy to spend forever in the kitchen, huh? Same. We’ve all been there, staring into the abyss of an empty fridge, fantasizing about something glorious but requiring zero actual effort. Well, buckle up, buttercup, because today we’re making something that sounds fancy but is shockingly easy, incredibly versatile, and dangerously delicious: Strawberry Shortcake Crunch Topping. It’s basically magic in crumb form, ready to elevate anything from a sad bowl of yogurt to actual, legit strawberry shortcake.
Why This Recipe is Awesome
Let’s be real, my friend. This isn’t just a recipe; it’s a life hack. Why is it so awesome? Because it’s **idiot-proof**. Seriously, I once tried to make toast and almost set off the fire alarm, but even *I* couldn’t mess this up. It requires minimal ingredients, minimal effort, and delivers maximum flavor. Plus, it makes you look like a culinary genius to anyone you share it with (or, let’s be honest, just to yourself in the mirror). It’s crunchy, it’s sweet, it’s bursting with strawberry goodness, and it takes about 15 minutes of active time. **Hello, instant gratification!**
Ingredients You’ll Need
Gather your troops! Here’s what you’ll need for this glorious crunch:
- 1 cup All-Purpose Flour: The trusty backbone of our crunch.
- 1/2 cup Granulated Sugar: For that essential sweetness.
- 1/2 teaspoon Salt: Just a pinch to make everything else taste better. Don’t skip it, seriously!
- 1/2 cup (1 stick) Unsalted Butter: Must be **cold and cubed**. This is non-negotiable for crumbly perfection.
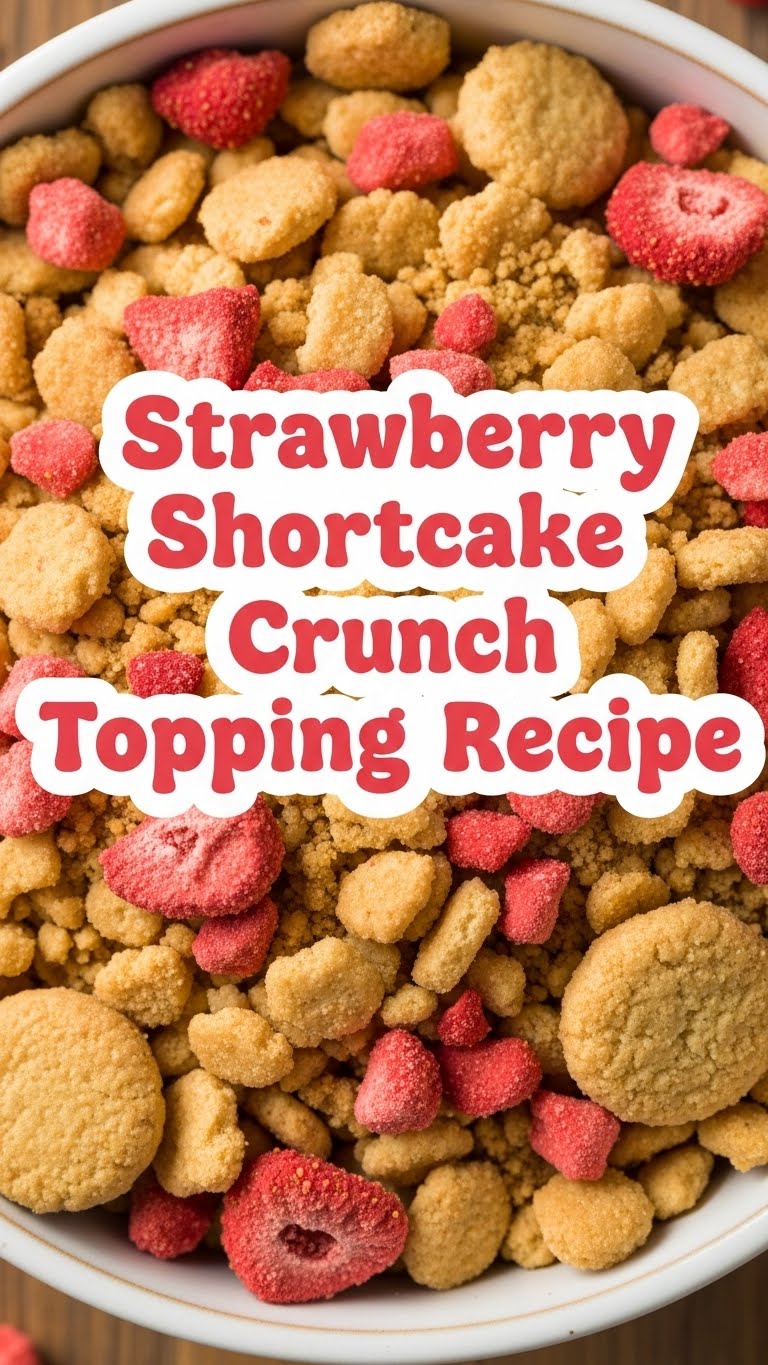
- 1 cup Freeze-Dried Strawberries: The star of the show! These are NOT your regular fresh or frozen strawberries; they’re crunchy little flavor bombs. You’ll find them in the snack aisle.
- 1/4 teaspoon Red Food Coloring (optional): For that extra “pop” of strawberry color. Totally optional, but it makes it look extra fun!
Step-by-Step Instructions
Alright, let’s get crumbly! Follow these super easy steps:
- Preheat & Prep: First things first, get your oven to 325°F (160°C). Line a baking sheet with parchment paper. Trust me, it makes clean-up a breeze.
- Crush Those Berries: Take your freeze-dried strawberries and crush them. You can put them in a zip-top bag and smash them with a rolling pin (therapeutic, highly recommend), or pulse them a few times in a food processor until they’re mostly crumbs with a few small pieces. You want texture!
- Mix the Dry Stuff: In a medium bowl, whisk together the flour, granulated sugar, and salt. Add your crushed freeze-dried strawberries and the optional red food coloring. Mix it all up until everything is evenly distributed and looking pretty in pink (or just speckled with red, if you skipped the coloring).
- Cut in the Butter: Now, for the fun part! Add your cold, cubed butter to the dry mixture. Use your fingers (the best tools, IMO!), a pastry blender, or two knives to cut the butter into the flour mixture. Work quickly to prevent the butter from getting too warm. You want a crumbly texture with pea-sized pieces of butter still visible.
- Spread it Out: Dump your glorious crumb mixture onto the prepared baking sheet. Spread it out into an even layer. No need to press it down; we want maximum crunch!
- Bake ‘Til Golden: Pop that baking sheet into your preheated oven. Bake for 12-15 minutes, or until the crumbs are lightly golden and smell absolutely heavenly. Keep an eye on them, as ovens vary.
- Cool & Crunch: Once baked, remove the baking sheet from the oven and let the crunch topping cool completely on the sheet. As it cools, it will crisp up even more. Once cool, break it up into smaller crumbles.
Common Mistakes to Avoid
We all make mistakes, but let’s try to avoid these common ones for perfect crunch:
- Warm Butter Woes: Using soft or melted butter. **This is crucial:** cold butter creates flaky, tender crumbs. Warm butter makes a greasy, doughy mess. Rookie mistake!
- Overmixing Madness: Mixing the dough too much after adding the butter. You want crumbles, not a ball of dough. Keep it light and airy.
- Forgetting to Preheat: Thinking you can just shove it in a cold oven. Nope! A hot oven ensures even baking and that perfect crunch from the start.
- Baking Blind: Not keeping an eye on it. Ovens are like snowflakes—no two are exactly alike. Your 12 minutes might be someone else’s 15, or even 10. Watch for that light golden color!
Alternatives & Substitutions
Feeling adventurous? Here are a few ways to tweak this recipe:
- Different Freeze-Dried Fruits: Swap strawberries for freeze-dried raspberries, blueberries, or even mango for a tropical twist. Each will give a unique flavor.
- Brown Sugar Bliss: Use light brown sugar instead of granulated sugar for a slightly chewier, more caramel-y crunch. Delicious!
- Vegan Vibes: For a dairy-free version, use your favorite brand of cold, solid vegan butter. It works wonderfully!
- Add Some Extracts: A tiny splash of vanilla extract or even almond extract (about 1/4 teaspoon) can add another layer of flavor. Just add it in with the dry ingredients.
- Nutty Crunch: Feel free to add a tablespoon or two of finely chopped nuts (like pecans or almonds) to the dry mixture for extra texture and flavor.
FAQ (Frequently Asked Questions)
- Can I use fresh strawberries? Oh, heavens no! Fresh strawberries contain way too much moisture, which would make your crunch soggy instead of crispy. Stick to the freeze-dried goodness for this recipe!
- How do I store this crunch? Once completely cooled, store it in an airtight container at room temperature.
- How long does it last? It stays wonderfully crunchy for about 1-2 weeks. If it lasts that long, that is!
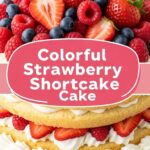
- What can I put this amazing crunch on? The real question is, what CAN’T you put it on? It’s amazing on ice cream, yogurt parfaits, actual shortcake, cupcakes, oatmeal, or even just eaten by the spoonful straight from the jar (don’t worry, your secret’s safe with me).
- Do I really need the red food coloring? Nah, not really. It’s purely for aesthetics. It’ll taste just as fantastic without it.
- Can I make it gluten-free? Absolutely! Just swap the all-purpose flour for your favorite 1:1 gluten-free flour blend.
Final Thoughts
So there you have it, folks! Your new favorite dessert topping that’s so simple, it almost feels like cheating. Go forth and conquer your kitchen (or at least impress your taste buds). Whether you’re making a fancy dessert or just elevating your Tuesday night ice cream, this Strawberry Shortcake Crunch Topping is about to become your secret weapon. Now go impress someone—or yourself—with your new culinary skills. You’ve earned it!

