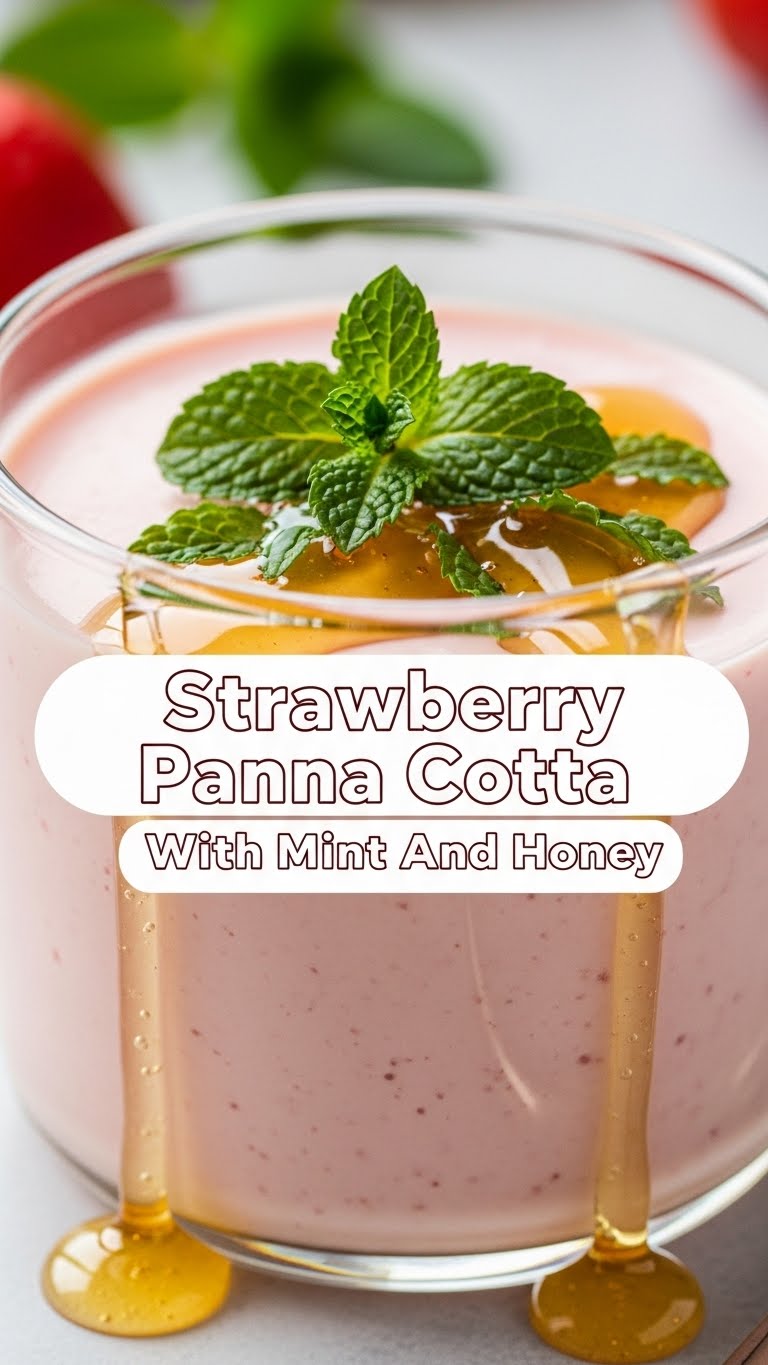
So, you’ve scrolled through TikTok one too many times and now you’re convinced you *need* a fancy-pants dessert, but also… nap time? I totally get it. We’re about to make something that looks like it took hours, but actually, your couch won’t miss you for long. Get ready for Strawberry Panna Cotta with Mint and Honey!
Why This Recipe is Awesome
Seriously, this isn’t just a dessert; it’s a *vibe*. It’s smooth, it’s creamy, it’s got that fresh berry tang, and a little *zing* from the mint. Plus, it’s practically impossible to mess up. I mean, if I can do it without setting off the smoke detector, you’re golden. **No baking involved**, which means more time for… well, whatever you do when you’re not baking. Probably eating more panna cotta, let’s be real.
Ingredients You’ll Need
- Gelatin: 1 packet (about 2.5 teaspoons) unflavored gelatin powder. Don’t accidentally grab the Jell-O box, we’re not making childhood nostalgia here!
- Water: 2 tablespoons cold water. This is for blooming your gelatin.
- Heavy Cream: 2 cups (about 480ml) heavy whipping cream. Go full-fat, baby. This is not the time to be shy.
- Granulated Sugar: 1/4 cup (50g) sugar. Just enough to sweeten, not make your teeth ache.
- Vanilla Extract: 1 teaspoon good quality vanilla extract. Skip the imitation stuff; your taste buds will thank you.
- Strawberries: 1 cup fresh strawberries, hulled and chopped. Pick the reddest, juiciest ones you can find.
- Honey: 1-2 tablespoons. Local honey if you’re feeling extra fancy.
- Fresh Mint: A few sprigs for chopping and garnishing. For that *chef’s kiss* finish.
- Pinch of Salt: Optional, but it really helps balance the sweetness. You’re welcome.
Step-by-Step Instructions
- **Gelatin Bloom**: First up, sprinkle that gelatin evenly over the 2 tablespoons of cold water in a small bowl. Let it sit for 5-10 minutes. It’ll get all jiggly and weird, don’t worry, that’s normal. This is called ‘blooming,’ fancy, right?
- **Heat Cream**: While your gelatin is doing its blooming thing (sounds romantic, no?), gently heat your heavy cream, sugar, and vanilla in a medium saucepan over medium-low heat. Don’t boil it, just get it warm enough for the sugar to completely dissolve. Think “hot tub, not sauna.”
- **Combine & Dissolve**: Take the cream mixture off the heat. Stir in your bloomed gelatin until it completely dissolves. **No lumps allowed!** Give it a good whisk until it’s silky smooth.
- **Pour & Chill**: Pour this creamy magic into your serving glasses, ramekins, or small jars. Fill ’em up, but leave a little room at the top for the strawberry topping. Pop ’em in the fridge for at least 4 hours, or ideally, overnight. Patience, young grasshopper.
- **Strawberry Topping**: When your panna cotta is almost set (or whenever you’re ready to serve), combine your hulled and chopped strawberries with honey and finely chopped fresh mint in a small bowl. Gently mix and let the flavors mingle for a bit.
- **Assemble & Serve**: Once the panna cotta is firm, spoon that vibrant strawberry-mint mixture on top. Garnish with a fresh mint leaf, because we’re fancy like that. Serve immediately and bask in the glory of your effortless deliciousness!
Common Mistakes to Avoid
- **Not blooming gelatin**: Trying to skip blooming the gelatin? That’s like trying to make coffee without water. It won’t work, and you’ll have grainy panna cotta. Ew. **Always bloom your gelatin first!**
- **Boiling the cream**: Boiling the cream can make it split or taste scorched. We want warm, happy cream, not angry, overcooked cream. Keep that heat gentle.
- **Not dissolving gelatin properly**: If you don’t stir that gelatin until it’s *completely* dissolved, you’ll end up with little chewy bits in your panna cotta. Nobody wants that. Whisk, whisk, whisk!
- **Impatience**: Taking it out of the fridge too early. It needs its beauty sleep! **Seriously, give it time to set.** Otherwise, it’s just a milky puddle, and that’s not what we’re aiming for.
Alternatives & Substitutions
Feel like getting creative or working with what you’ve got? No problem!
- **Berries**: No strawberries? No problem! Raspberries, blueberries, or even a mixed berry compote would be divine. Just adjust the honey to your berry’s natural sweetness.
- **Honey**: Agave nectar or maple syrup are great subs for honey if you’re out or prefer something else. Or just regular sugar if you’re keeping it simple.
- **Mint**: Not a mint fan? A tiny bit of lemon zest in the strawberry mix could give a lovely zing, or just omit the herb entirely. Your panna cotta, your rules!
- **Dairy-free**: For a dairy-free version, use full-fat canned coconut milk (the creamy kind, not the carton for coffee!). The flavor will be different (hello, tropical vibes!), but still super delish. IMO, it’s worth a try!
FAQ (Frequently Asked Questions)
- Can I use less sugar? Sure, you do you! Just remember the panna cotta itself isn’t super sweet, so the berries and honey are key to that perfect balance. Taste as you go!
- How long does panna cotta last? Covered in the fridge, it’s usually good for 2-3 days. But honestly, it rarely lasts that long in my house. FYI, the fresh berry topping is best added right before serving.
- Can I make it ahead of time? **Absolutely!** In fact, it’s better. Make it the day before, chill overnight, and then top with the fresh berries just before serving. Easy entertaining!
- Why is my panna cotta rubbery? Oops, sounds like too much gelatin! Or not enough liquid. Stick to the recipe’s measurements, future panna cotta pro.
- What if I don’t have individual serving dishes? A single large mold (like a loaf pan or a small bowl) works too! Just make sure it’s lightly oiled (with a neutral oil) if you plan to unmold it. Otherwise, eat it straight from the dish with a giant spoon. No judgment here.
Final Thoughts
See? Told you it wasn’t rocket science. You just whipped up a dessert that looks like it belongs in a fancy restaurant, but tastes like pure joy (and only you know how easy it was). Now go impress someone—or yourself—with your new culinary skills. You’ve earned it! Maybe make an extra one for me? Just kidding… unless?


