So you’re craving something tasty but too lazy to spend forever in the kitchen, huh? Same, friend, same. We’ve all been there: staring into the fridge, wishing a gourmet dessert would magically appear. Well, today, we’re making that magic happen with something that screams summer, joy, and “I actually made this myself!” – without breaking a sweat or needing a degree in advanced patisserie. Get ready for the easiest, most delicious Strawberry Ice Cream with a fancy-pants Mint Garnish that will make you feel like a culinary rockstar.
Why This Recipe is Awesome
Let’s be real, most ice cream recipes involve complicated churning, special machines, and a patience level I frankly don’t possess. But this one? Oh honey, this is the **no-churn wonder** you’ve been dreaming of. It’s so ridiculously simple, it’s practically idiot-proof. Even I, notorious for burning water, managed to pull this off without a hitch. It requires minimal ingredients, minimal effort, and delivers maximum flavor. We’re talking fresh, creamy, sweet strawberry goodness with a sophisticated little kick from the mint. Plus, it’s homemade, which automatically makes you cooler than everyone else. Just saying.
Ingredients You’ll Need
Gather ’round, buttercups! Here’s what you’ll need for your creamy, dreamy masterpiece:
- 1 lb Fresh Strawberries: Ripe, red, and ready to party. Give ’em a good rinse!
- 2 cups Heavy Cream: This is where the magic happens, people. Don’t skimp, don’t substitute with anything “light.” We’re going for luscious here.
- 1 (14-ounce) can Sweetened Condensed Milk: Your shortcut to sweetness and a creamy texture. It’s basically the MVP of no-churn ice cream.
- 1 teaspoon Vanilla Extract: A classic for a reason. Adds that comforting, familiar warmth.
- A pinch of Salt: Just a tiny whisper to make all those sweet flavors sing. Trust me on this one.
- Fresh Mint Leaves: For that *chef’s kiss* garnish. Adds a pop of color and a refreshing aroma.
Step-by-Step Instructions
- Prep Your Strawberries: First things first, hull those strawberries (cut off the green tops, FYI). Chop them into small pieces. If you like a smoother ice cream, you can mash about half of them with a fork. I like a mix of mashed and small chunks for texture.
- Whip the Cream Dream: In a large, chilled bowl, pour in your heavy cream. Using an electric mixer (or a whisk if you’re feeling ambitious and need an arm workout), beat the cream until it forms **stiff peaks**. This means when you lift the beater, the cream stands up tall without flopping over.
- The Sweet Base: In a separate bowl, whisk together the sweetened condensed milk, vanilla extract, and that tiny pinch of salt. It’s going to smell heavenly already.
- Combine & Conquer: Now for the delicate part. Gently fold the whipped cream into the condensed milk mixture. Do this in two additions, being careful not to deflate all that lovely air you just whipped in. Then, gently fold in your prepared strawberries.
- Into the Freezer, My Friend: Pour the mixture into a freezer-safe container. A 9×5-inch loaf pan works perfectly. Cover it tightly with plastic wrap or a lid. This is crucial for preventing ice crystals.
- Patience, Grasshopper: Freeze for at least 6 hours, or preferably overnight, until firm. Seriously, don’t rush this part. Good things come to those who wait.
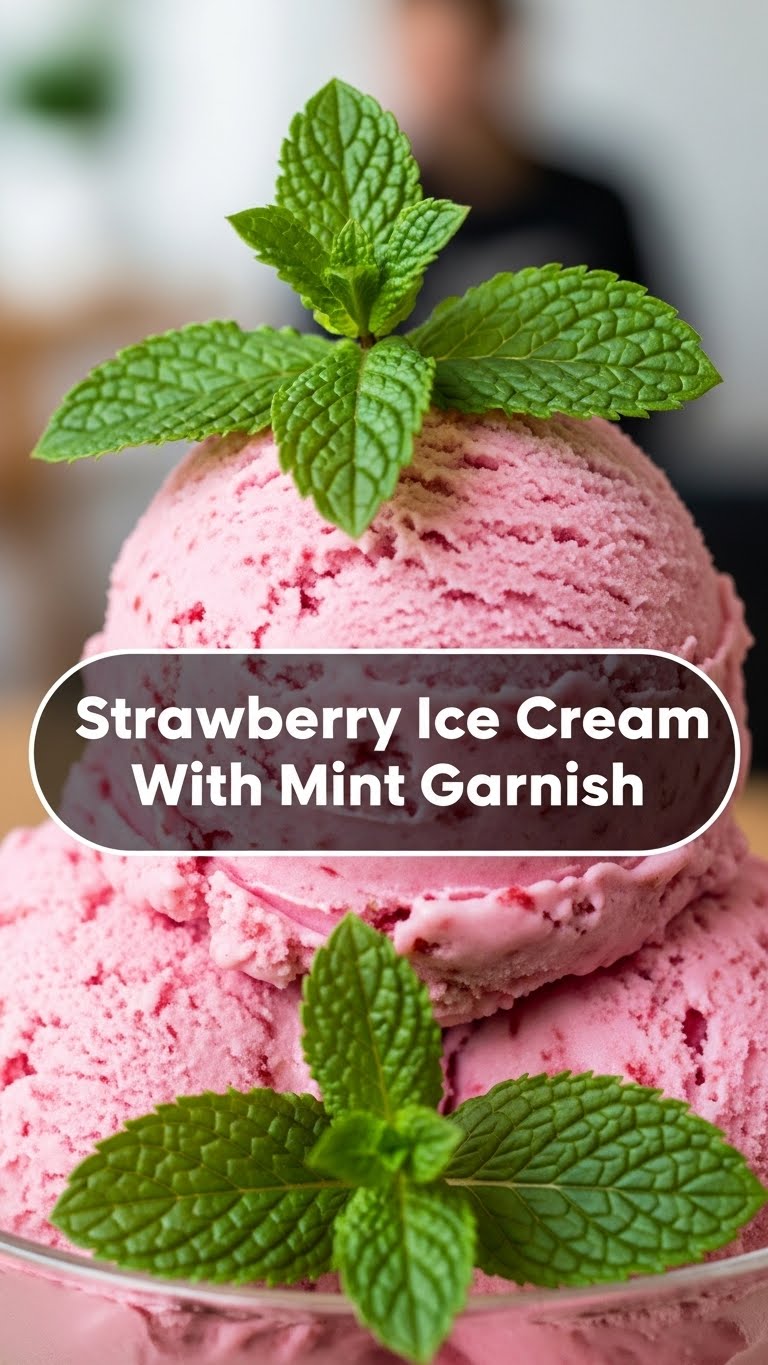
- Serve It Up: When you’re ready to indulge, scoop your glorious homemade ice cream into bowls. Garnish with a few fresh mint leaves for that extra fancy touch and a burst of freshness.
Common Mistakes to Avoid
Nobody’s perfect, but we can avoid some rookie errors, right?
- Using anything but Heavy Cream: Seriously, don’t even think about it. Light cream, half-and-half, skim milk – they just won’t whip up correctly and you’ll end up with an icy, sad mess.
- Not whipping the cream enough: If your cream isn’t forming stiff peaks, your ice cream will be less airy and creamy. Keep whipping!
- Over-mixing after adding whipped cream: Once the whipped cream is in, be gentle. You want to *fold*, not stir vigorously, or you’ll lose that beautiful airiness.
- Forgetting to cover the container: Exposing your ice cream to the harsh freezer air is a recipe for ice crystals. Wrap it up tight!
- Impatience: Pulling it out too early means a soft, unformed ice cream. Let it freeze properly; it’s worth the wait.
Alternatives & Substitutions
Feeling adventurous? Here are a few ways to mix things up:
- Berry Swap: Not feeling strawberries? Try raspberries, blueberries, or a mix of summer berries. Just prep them the same way!
- Flavor Boost: Add a splash of almond extract instead of vanilla for a different aromatic note, or some lemon zest for an extra zing.
- Chocolate Lover’s Dream: Fold in some white or dark chocolate chips with the strawberries. Because why not?
- Mint Overload (the good kind): If you *really* love mint, you could finely chop some mint leaves and gently fold them into the ice cream base along with the strawberries. But be warned, a little goes a long way!
- Dairy-Free Delight: For a dairy-free version, use full-fat coconut cream (chilled overnight, scoop out the thick cream only) instead of heavy cream. The texture will be slightly different but still wonderfully creamy.
FAQ (Frequently Asked Questions)
- Do I need an ice cream maker for this recipe? Nope! That’s the beauty of it! This is a magical no-churn recipe, meaning your freezer does all the heavy lifting.
- How long will this ice cream last in the freezer? If properly covered, it should be good for up to 1-2 weeks. But let’s be honest, it probably won’t last that long.
- Can I use frozen strawberries instead of fresh? You absolutely can! Just make sure to thaw them completely and drain any excess liquid before chopping and adding them to the mix.
- My ice cream is too hard. What did I do wrong? Nothing! Homemade ice cream often freezes firmer than store-bought. Just let it sit out on the counter for 5-10 minutes before scooping to soften slightly.
- Why mint? It sounds a bit weird. Hey, don’t knock it till you try it! Mint adds a surprising burst of freshness that brightens up the sweet strawberry. It’s like a little palate cleanser, making each bite feel new. Trust the process, IMO.
- Can I reduce the sweetness? You can try to slightly reduce the amount of sweetened condensed milk, but be aware that it’s crucial for the texture and prevents ice crystals. Maybe start with a tiny bit less and taste before committing.
Final Thoughts
See? I told you it was easy! You just whipped up a batch of delicious, homemade strawberry ice cream with a fancy mint garnish. That’s a pretty big deal, if you ask me. So go ahead, scoop yourself a generous portion, kick back, and enjoy the fruits (literally!) of your minimal labor. You’ve earned it. Now go impress someone—or yourself—with your new culinary skills. Who knew being lazy could taste so good?


