So you’re craving something frosty, sweet, and ridiculously easy but don’t want to wrestle an ice cream maker, a million ingredients, or, frankly, adult responsibilities? My friend, you’ve come to the right place. Get ready to have your mind (and taste buds) blown by the simplest, creamiest strawberry ice cream that practically makes itself. No churn? No problem! Let’s make some magic.
Why This Recipe is Awesome
Okay, let’s be real. In the world of fancy desserts, this one is the laid-back, chill cousin who still manages to steal the show. Why is it awesome? For starters, **you don’t need an ice cream maker**. Let that sink in. We’re talking maximum deliciousness with minimum effort. It’s also pretty much **idiot-proof** – even I, a seasoned veteran of kitchen mishaps, managed not to mess it up. Plus, it only takes a handful of ingredients, most of which you probably already have lurking in your freezer or pantry. It’s quick to prep, ridiculously refreshing, and tastes like a summer dream. Seriously, your future self will thank you for making this.
Ingredients You’ll Need
Gather your troops! These are the heroes of our no-churn saga:
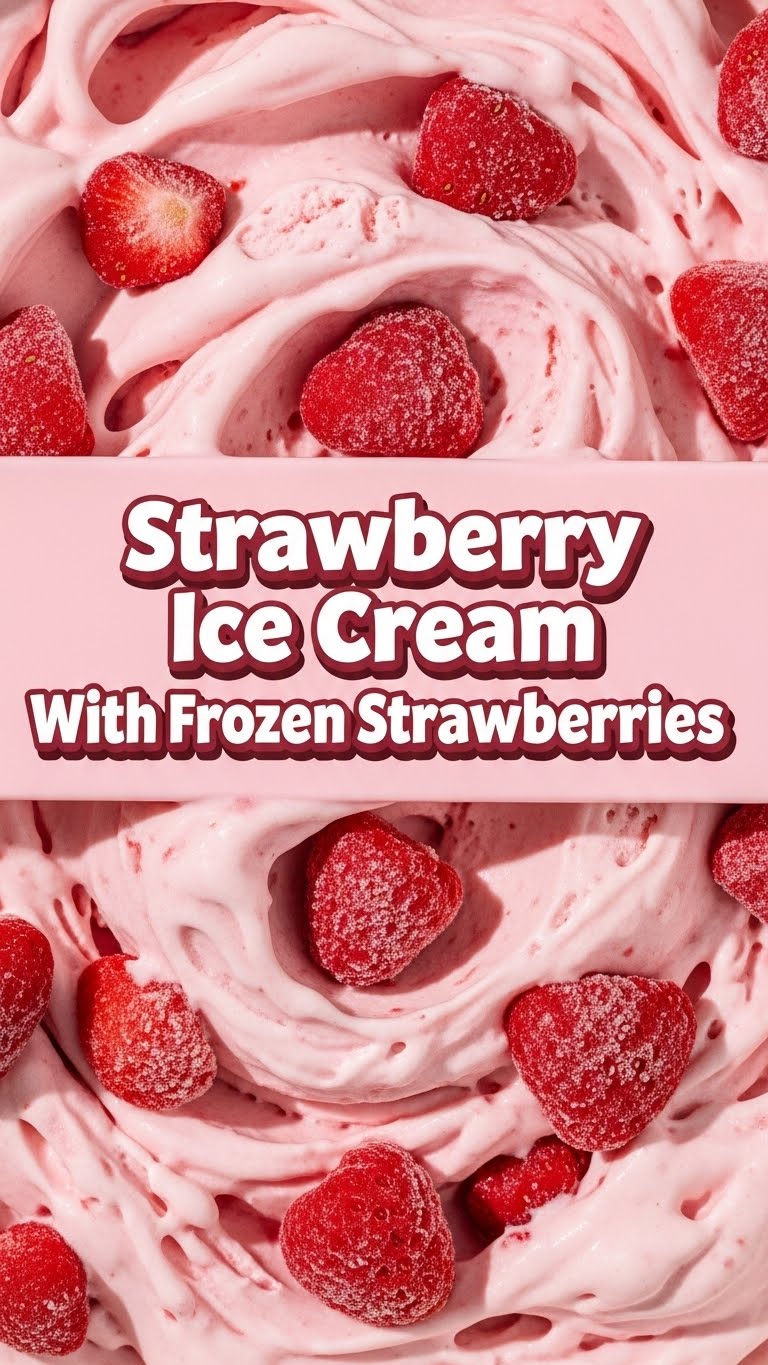
- **Frozen Strawberries (about 16 oz / 450g):** Your main character. And no, fresh ones won’t cut it here; we need that frosty goodness for texture. Don’t be tempted, rookie!
- **Sweetened Condensed Milk (one 14 oz / 397g can):** This is the magic potion that makes everything creamy and sweet without needing a sugar thermometer. It’s basically liquid gold.
- **Heavy Cream (or Whipping Cream, 2 cups / 470ml, chilled):** This is where the “fluffy cloud” texture comes from. Make sure it’s super cold for optimal whipping.
- **Vanilla Extract (1 teaspoon):** Just a tiny splash to deepen those sweet flavors. Think of it as the backup singer who adds that extra oomph.
- **Pinch of Salt (⅛ teaspoon):** Trust me on this one. It balances the sweetness and makes everything pop. Don’t skip it!
Step-by-Step Instructions
Alright, apron on (or not, we’re not fancy!), let’s get this show on the road. Prepare for extreme ease.
- **Strawberry Prep Party:** Grab your frozen strawberries. If they’re rock-hard, let them sit out on the counter for about 10-15 minutes to slightly soften. They shouldn’t be mush, just enough to make your blender happy.
- **Blend Away:** Toss those slightly softened berries into your blender or food processor. Blend until you have a fairly smooth purée. A few small chunks are totally fine – adds character, right?
- **Whip It Good:** In a large, chilled bowl, pour in your heavy cream. Using an electric mixer (or a whisk if you’re feeling ambitious and need a bicep workout), beat the cream on medium-high speed until **stiff peaks form**. This means when you lift the beater, the cream stands up straight like little snowy mountains. Don’t overmix, though, or you’ll get butter!
- **The Grand Fold:** Now, gently pour your strawberry purée, the entire can of sweetened condensed milk, vanilla extract, and that tiny pinch of salt into the whipped cream bowl.
- **Be Gentle, You Animal:** Using a spatula, carefully fold all the ingredients together. **The key here is gentle folding.** You want to combine everything without deflating all that glorious air you just whipped into the cream. Think of it as tucking a baby into bed, not wrestling an alligator.
- **Into the Freezer She Goes:** Pour your beautiful, pink mixture into a freezer-safe container. A loaf pan works great, or any other shallow, lidded container. Cover it up to prevent freezer burn (yuck!).
- **The Waiting Game:** Freeze for at least 6 hours, but **overnight is truly best** for optimal scoopability.
- **Serve and Conquer:** When you can’t wait another second, pull it out, let it sit for a few minutes to soften just slightly, then scoop, serve, and bask in the glory of your homemade deliciousness!
Common Mistakes to Avoid
We’ve all been there, making silly mistakes. Learn from my (and others’) blunders:
- **Using Fresh Strawberries:** I know, I know, they look pretty. But for this recipe, fresh berries will introduce too much water, resulting in an icy rather than creamy ice cream. **Stick to frozen, folks!**
- **Over-Mixing After Folding:** Remember that gentle folding? If you go hog-wild with the spatula, you’ll knock all the air out of your whipped cream, and your ice cream will be dense and sad. Nobody wants sad ice cream.
- **Not Freezing Long Enough:** Patience is a virtue, especially when it comes to ice cream. If you try to scoop too early, you’ll end up with a delicious (but drippy) milkshake consistency. Give it the full chill time.
- **Forgetting the Salt:** It seems counter-intuitive for a sweet treat, but that little pinch of salt makes all the difference in brightening and balancing the flavors. Don’t be a salty no-show!
Alternatives & Substitutions
Feeling adventurous? Or just out of a specific ingredient? Here are some ideas to play around with:
- **Other Frozen Fruits:** This recipe is super adaptable! Try it with frozen raspberries, mango, mixed berries, or even peaches. Just make sure they’re frozen!
- **Sweetness Level:** If you prefer it less sweet, you can try using slightly less condensed milk, but be aware it might affect the texture a bit, as condensed milk is key for creaminess.
- **Dairy-Free Dream:** For a dairy-free version, use full-fat canned coconut cream (chilled overnight so the solid cream separates from the water) instead of heavy cream, and a dairy-free sweetened condensed milk alternative. The flavor will be subtly coconut-y, which is delicious!
- **Add-Ins Galore:** Swirl in some chocolate chips, crushed graham crackers, cookie bits, chopped nuts, or a drizzle of chocolate fudge sauce during the final fold. Get creative!
FAQ (Frequently Asked Questions)
Got questions? I’ve got (casual) answers!
- **”Do I really need heavy cream? Can I use half-and-half or regular milk?”**
Absolutely not, my friend! Heavy cream (or whipping cream) is the secret sauce here. Its high fat content is what allows it to whip up fluffy and gives your ice cream that luxurious, creamy texture. Half-and-half or regular milk will result in an icy, disappointing mess. **Stick to the heavy stuff!** - **”My ice cream is too hard to scoop. What gives?”**
Ah, a common predicament! This usually means it’s super frozen. Just let it sit out on the counter for 5-10 minutes before scooping. A little patience goes a long way. Or, your freezer might just be extra chilly! - **”How long does this no-churn magic last in the freezer?”**
If you can manage not to eat it all in one sitting (impressive willpower!), it should last beautifully in an airtight container for up to 2 weeks. After that, it might start to get a bit icy. - **”Can I make this with sugar-free condensed milk?”**
You can, but the texture might be slightly different. Sweetened condensed milk isn’t just for sweetness; it also contributes to the smooth, soft texture. Experiment, but don’t expect it to be exactly the same. - **”What if I don’t have a blender or food processor?”**
You can actually mash the slightly thawed strawberries with a fork or potato masher! It won’t be as smooth, but it will create a rustic, chunky strawberry ice cream that’s still delicious. A little extra character, IMO! - **”Can I add alcohol to this?”**
A tiny splash (think a tablespoon or two) of something like Grand Marnier or a fruit liqueur could add a nice kick without messing with the texture too much. However, adding too much alcohol can prevent the ice cream from freezing properly, leading to a slushy instead of a scoopable treat. So, **easy does it!**
Final Thoughts
See? Told you it was easy. Now you’re practically a dessert wizard, conjuring up creamy, dreamy strawberry ice cream from thin air (and a few basic ingredients!). You’ve successfully bypassed the ice cream maker hassle and still delivered a truly spectacular treat. Go ahead, pat yourself on the back. You’ve earned it. Now go impress someone—or yourself—with your new culinary skills. Maybe even take a photo, you superstar!


