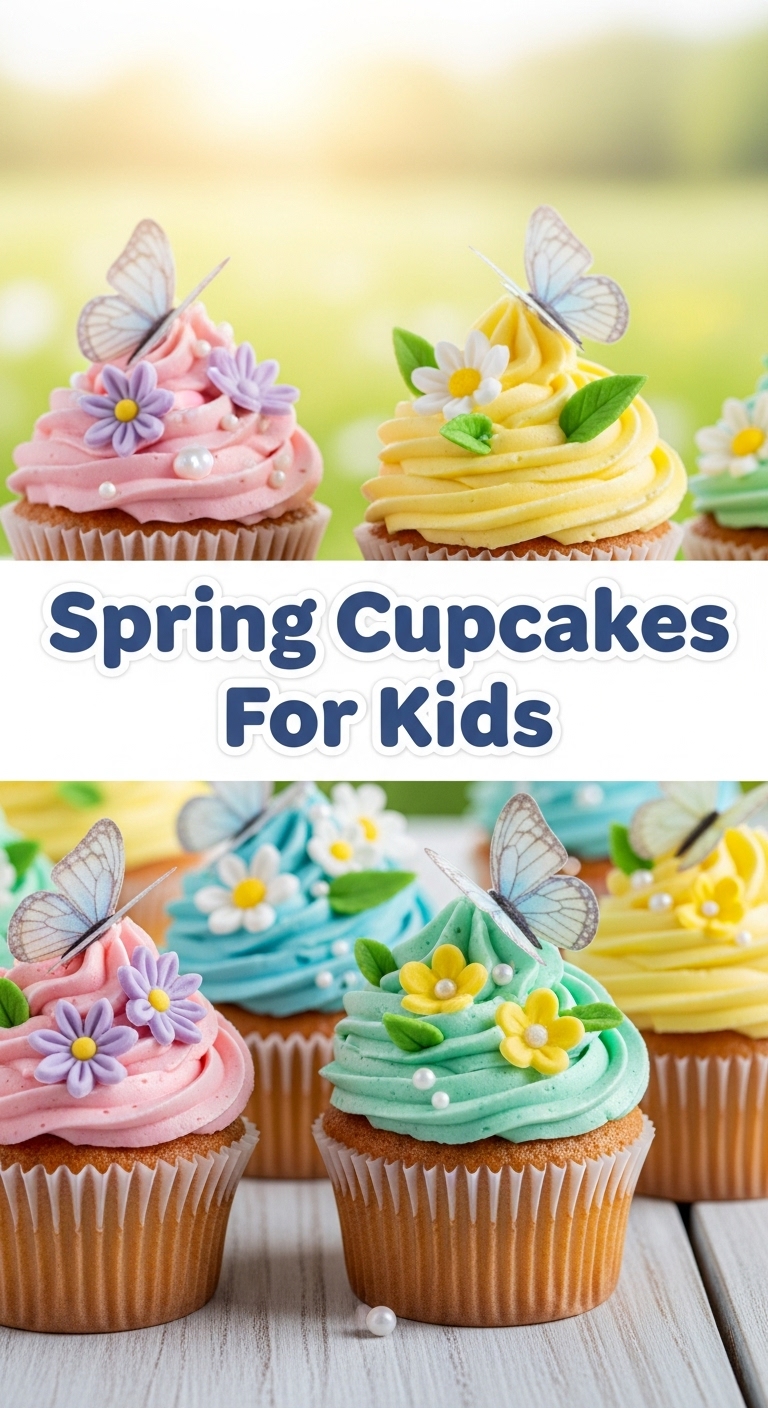
Feeling that spring vibe but still nursing a serious sweet tooth? And you want something fun for the kiddos (or let’s be real, for *you*) to make without turning your kitchen into a disaster zone? My friend, you’ve come to the right place. We’re whipping up some super cute Spring Cupcakes that are so easy, even your dog could probably assist (don’t actually let your dog bake, okay?). Let’s get our bake on!
Why This Recipe is Awesome
Okay, so why bother with *these* cupcakes when the world is full of other sweet treats? Because these little beauties are basically a magic trick: turn basic ingredients into sunshine and sprinkles without breaking a sweat. It’s truly **idiot-proof**, even *I* didn’t mess it up, and that’s saying something. Plus, it’s a fantastic way to get those little hands busy – think of it as edible art class, but without the permanent markers on the walls. 😜 They’re cute, they’re delicious, and they scream “I’m ready for warmer weather!”
Ingredients You’ll Need
Gather your squad of culinary components! Most of these are probably chilling in your pantry already, so no frantic supermarket dashes needed (unless you’re out of sprinkles, then all bets are off).
- For the Cupcakes:
- 1 ½ cups all-purpose flour (the basic kind, no fancy stuff needed)
- 1 ½ teaspoons baking powder (our little lift-off agent)
- ½ teaspoon salt (just a pinch to make everything pop)
- ½ cup unsalted butter, softened (because *we* control the salt here, thank you very much)
- 1 cup granulated sugar (sweet, just like your intentions)
- 2 large eggs (the binders of our delicious destiny)
- 1 teaspoon vanilla extract (liquid gold for flavor)
- ½ cup milk (any kind works, but whole milk gives extra richness)
- For the Spring Buttercream Frosting:
- ½ cup unsalted butter, softened (again, we want control!)
- 3 cups powdered sugar (the secret to smooth, fluffy frosting)
- 1 teaspoon vanilla extract (because more vanilla is always a good idea)
- 2-3 tablespoons milk or heavy cream (for that perfect, spreadable consistency)
- Food coloring: gel colors in pastel spring shades (think pink, yellow, light green, baby blue!)
- For Decorating (the fun part!):
- Assorted spring sprinkles (bunnies, flowers, pastels – go wild!)
- Mini chocolate eggs or candy flowers (because adorable)
Step-by-Step Instructions
- **Preheat Power:** First things first, get that oven ready. Preheat it to 350°F (175°C). Line a 12-cup muffin tin with cute paper liners. You don’t want your cupcakes sticking, trust me.
- **Dry Mix Magic:** In a medium bowl, whisk together the flour, baking powder, and salt. Give it a good whisk to get rid of any lumps. This is your dry team.
- **Wet Mix Wonders (Part 1):** In a separate, larger bowl, cream together the softened butter and granulated sugar until it’s light and fluffy. Use an electric mixer if you have one – your arm will thank you. This usually takes about 2-3 minutes.
- **Wet Mix Wonders (Part 2):** Beat in the eggs, one at a time, making sure each is fully incorporated before adding the next. Then, stir in the vanilla extract. Scrape down the sides of the bowl to ensure everything gets mixed in.
- **Combine & Conquer:** Now for the grand merger! Gradually add the dry ingredients to the wet ingredients, alternating with the milk. Start and end with the dry ingredients. Mix just until combined; do not overmix! Overmixing makes tough cupcakes, and we want tender, fluffy ones.
- **Fill ‘Em Up:** Divide the batter evenly among your prepared cupcake liners. Fill each liner about two-thirds full. This prevents them from overflowing and making a mess.
- **Bake Away:** Pop that muffin tin into your preheated oven and bake for 18-22 minutes, or until a toothpick inserted into the center of a cupcake comes out clean.
- **Cool Down:** Let the cupcakes cool in the muffin tin for about 5 minutes before transferring them to a wire rack to cool completely. This part is crucial! Don’t even *think* about frosting warm cupcakes. It will be a melty disaster.
- **Frosting Frenzy:** While the cupcakes chill out, make your buttercream! In a large bowl, beat the softened butter until creamy. Gradually add the powdered sugar, a cup at a time, mixing well after each addition. Beat in the vanilla extract. Then, add milk or cream, 1 tablespoon at a time, until the frosting reaches your desired consistency. It should be light, fluffy, and spreadable.
- **Color Me Happy:** Divide your frosting into separate bowls and add a few drops of different gel food colorings to each. Mix well until you get those lovely spring pastel shades.
- **Decorate & Devour:** Once the cupcakes are completely cool, frost them using a knife, spatula, or a piping bag (if you’re feeling fancy). Let the kids go wild with sprinkles, mini eggs, and candy flowers!
Common Mistakes to Avoid
Listen, we’ve all been there. Baking can be tricky, but knowing the pitfalls helps! Avoid these rookie errors:
- **Thinking you don’t need to preheat the oven:** Rookie mistake! Your oven needs to be at the correct temperature from the start for even baking.
- **Overmixing the batter:** This is a big one. As soon as those dry ingredients are *just* incorporated, stop mixing! Overmixing develops gluten too much, leading to dense, tough cupcakes. We want fluffy!
- **Overfilling the cupcake liners:** Remember, two-thirds full! Any more and you’ll have mushroom-top cupcakes that spill over, making a baked-on mess and lopsided treats.
- **Not letting cupcakes cool completely before frosting:** I know, I know, the wait is excruciating. But if you frost warm cupcakes, your beautiful buttercream will melt into a sad, sugary puddle. Patience is a virtue, especially when frosting!
- **Eyeballing ingredients:** Baking is a science, my friend. Unlike cooking, where a “dash of this” and a “pinch of that” works, baking requires precision. Use proper measuring cups and spoons.
Alternatives & Substitutions
Feeling a little rebellious, or just working with what you’ve got? No stress, here are some ideas:
- Gluten-Free: Swap out the all-purpose flour for your favorite 1:1 gluten-free baking flour blend. Easy peasy!
- Dairy-Free: Use a plant-based milk (almond, oat, soy) and a good quality dairy-free butter alternative for both the cupcakes and the frosting.
- Flavor Fun: Want a different vibe? Try lemon extract instead of vanilla in the cupcakes for a zesty spring kick. Or add a little almond extract to the frosting for a delicate, nutty flavor. Your taste buds will thank you, IMO.
- Cream Cheese Frosting: If buttercream isn’t your jam, whip up a cream cheese frosting (8 oz cream cheese, 1/2 cup butter, 3 cups powdered sugar, 1 tsp vanilla). It’s tangy, sweet, and oh-so-good.
- Decoration Swaps: No sprinkles? Crushed up pastel M&Ms work beautifully. Use edible glitter, mini marshmallows, or even thin fruit leathers cut into shapes for decoration. Get creative!
FAQ (Frequently Asked Questions)
Got questions? I’ve got answers (and maybe some sass).
- **Can I make these cupcakes ahead of time?** Absolutely! You can bake the cupcakes a day in advance and store them in an airtight container at room temperature. Frost them just before serving for the freshest look.
- **What if I don’t have cupcake liners?** Well, you *could* grease and flour your muffin tin, but honestly, liners make life SO much easier. Do yourself a favor and grab some for next time, okay?
- **Can the kids really help with this recipe?** YES! This recipe is practically designed for little helpers. Measuring ingredients, stirring (carefully!), and especially the decorating part are perfect tasks for them. Just supervise the oven bits.
- **My frosting is too runny/too stiff. How do I fix it?** Ah, the age-old frosting dilemma! If it’s too runny, add more powdered sugar, a tablespoon at a time. Too stiff? Add milk or cream, a teaspoon at a time, until it’s just right.
- **Can I use margarine instead of butter?** Well, technically yes, but why hurt your soul like that? Butter just tastes better and gives a superior texture. For the best results, stick with real butter.
- **How do I store leftover cupcakes?** If they’re frosted, pop them into an airtight container and store them at room temperature for up to 2-3 days, or in the fridge if your kitchen is super warm.
Final Thoughts
See? You totally crushed it! Making these Spring Cupcakes for Kids (or for your inner child, no judgment here) is not just about baking; it’s about creating a little bit of joy and deliciousness. Now go forth and spread that spring cheer, one adorable, delicious cupcake at a time. And maybe save one for yourself before the kids (or *you*) devour them all. You’ve earned it! 😉


