So, your little champ’s birthday is barreling toward you faster than a runaway football, and suddenly you’re expected to be Martha Stewart *and* a professional cake decorator? Deep breaths, friend. We’re about to make you look like a total legend without breaking a sweat (or, let’s be real, without making anything from scratch if you don’t wanna). Get ready to bake a sports cake that’ll have the kids screaming “GOAL!” (or “TOUCHDOWN!” or “HOME RUN!”) and you high-fiving yourself.
Why This Recipe is Awesome
This recipe? It’s like finding a twenty in your old jeans. Unexpectedly awesome. Seriously, it’s **idiot-proof** – even *I* managed not to burn down the kitchen, which is saying something. You’ll whip up a cake that looks like you hired a pro, but all you really did was follow some super chill steps. It’s quick, it’s easy, and it guarantees maximum kid-excitement with minimum adult-stress. Plus, the kids will go WILD. Think fewer tantrums, more happy cake-face smears. Win-win, right?
Ingredients You’ll Need
Okay, gather your gear. We’re going for maximum impact with minimum effort here, so don’t judge the shortcuts!
- 1 box of your favorite cake mix (chocolate or vanilla – this is your secret weapon for sanity. Don’t fight it.)
- Ingredients listed on the cake mix box (usually eggs, oil, water – follow their lead, they know best).
- 2 containers of pre-made frosting (vanilla or white is great for coloring, or chocolate if you’re feeling a bit rebellious). Because, honestly, who has time to whisk butter for an hour?
- Green food coloring (gel is best for vibrant grass, trust me).
- Crushed chocolate cookies or brown sprinkles (for dirt or a gravel track vibe).
- Small candy melts or M&Ms in various colors (for field lines, small balls, or team colors).
- Small plastic sports figures (football players, soccer goalies, baseball batters – instant “wow” factor, and reusable for playtime!).
- Optional: Pretzel sticks or Pirouette cookies (for goalposts, baseball bats, or even a tiny hockey stick).
- Optional: Sporty sprinkles (like little footballs or stars, if you can find ’em).
Step-by-Step Instructions
- Bake Those Cakes: Follow the directions on your cake mix box. You’ll likely need two 8-inch or 9-inch round pans. **Do NOT overbake!** Seriously, dry cake is a sad cake. Once baked, let them cool in the pans for about 10-15 minutes, then flip ’em out onto a wire rack to cool completely. This is crucial – don’t skip it unless you want a frosting avalanche.
- Level Up (Optional, but recommended): If your cakes have a domed top, use a serrated knife to carefully level them. This makes stacking way easier and your cake looks pro.
- The Crumb Coat Saga: Take a small amount of your white or vanilla frosting (about 1/4 of one container). Spread a super thin layer over the entire cake. This traps any loose crumbs. Pop it in the fridge for 15-20 minutes to chill and set. This step is your **secret weapon for a clean finish**.
- Get Your Green On: Now, for the fun part! Take most of your remaining frosting (like 1.5 containers) and add several drops of green food coloring. Mix well until you get that vibrant grass green you’re dreaming of.
- The Main Frosting Event: Once your crumb-coated cake is chilled, slather on a generous layer of the green frosting. Don’t worry about perfection; it’s a sports field, a little ruggedness adds character! Use an offset spatula or butter knife to spread it evenly over the top and sides.
- Decorate Your Field of Dreams: This is where the magic happens!
- Field Lines: Melt a few white candy melts or use white frosting to pipe lines for a football field, soccer pitch, or baseball diamond. A small zip-top bag with the corner snipped off works perfectly for this.
- Dirt/Infield: Sprinkle crushed chocolate cookies or brown sprinkles in designated areas (e.g., a baseball infield or running track).
- Add the Players: Carefully arrange your plastic sports figures on the “field.”
- Goalposts/Bats: Stick pretzel sticks or Pirouette cookies into the cake to create goalposts or a tiny home run bat.
- Finishing Touches: Scatter a few sporty sprinkles or M&Ms around. Voila! You’re basically a cake architect.
Common Mistakes to Avoid
Listen up, buttercup, we’ve all been there. Learn from my errors:
- Not letting cakes cool completely: This is like trying to paint a melting ice cream cone. Disaster awaits. **Patience is a virtue here!**
- Overmixing the batter: Seriously, mix just until combined. Overdoing it leads to a tough, dry cake. Nobody wants that.
- Thinking you don’t need to preheat the oven: Rookie mistake. Your oven needs to be at the correct temperature from the start for even baking.
- Trying to achieve perfectly smooth frosting: It’s a kids’ birthday cake! It’s going to get devoured by tiny, sticky hands. “Rustic” is a vibe, embrace it.
- Forgetting to buy candles: You’ve just made this masterpiece, don’t miss the grand finale!
Alternatives & Substitutions
Feeling creative? Or just missing an ingredient? No worries, we can roll with it:
- Homemade Cake/Frosting: If you’re feeling particularly ambitious (and have more time than me, clearly), go for it! Just make sure your recipe yields enough for two layers.
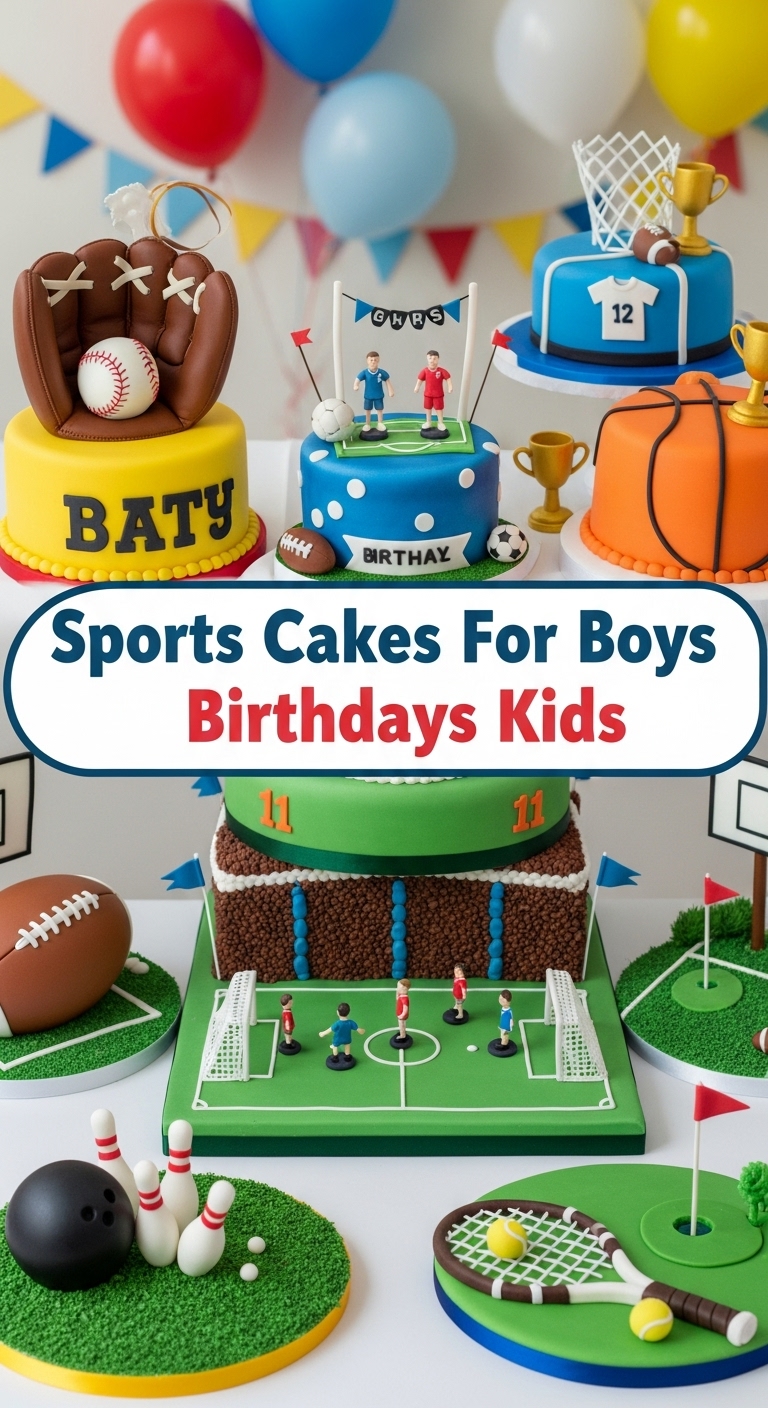
- Different Sports Theme: This design is super adaptable. Want a basketball court? Use orange frosting for the court, chocolate frosting for the lines, and pretzel sticks for hoops. Hockey? White frosting for ice, blue lines, and tiny candy pucks. Let your imagination run wild!
- Gluten-Free/Dairy-Free: Many brands offer gluten-free cake mixes and dairy-free frostings now. Easy swaps!
- No Plastic Figures? Use candy! Gummy bears as spectators, licorice ropes for field lines, or even tiny chocolate balls for baseballs. Get creative, you rebel!
- Crushed cookies for dirt: If you don’t have Oreos, Graham crackers or even Nilla Wafers crushed up work great too.
FAQ (Frequently Asked Questions)
- Can I use any cake mix? Yep, pretty much! Just stick to the standard sizes (like 15.25 oz/432g). Chocolate and vanilla are usually crowd-pleasers, but if your kid’s a red velvet fan, go for it!
- How far in advance can I make this? You can bake the cakes a day ahead and wrap them tightly in plastic wrap once completely cooled. Frosting can be done the day before too, but for optimal freshness, I usually aim to decorate a few hours before the party.
- My frosting is too thin/thick! Help! Oh, the horror! If it’s too thin, pop it in the fridge for 15-20 minutes to firm up a bit. If it’s too thick, add a tiny bit (like 1/2 teaspoon) of milk or water at a time until it’s spreadable. **Less is more** when adding liquid!
- Do I need special tools for decorating? Nah, not really. A regular butter knife, a spoon, and maybe an offset spatula (super handy, but not essential) are all you truly need. For piping lines, a zip-top bag with the corner snipped off is a DIY piping bag!
- What if I mess up the decorations? Dude, it’s for kids. They won’t care! They’ll be too busy thinking about eating it. If it really bugs you, just sprinkle some extra crushed cookies or sprinkles over the “oops” spot. It adds character!
- Is it really that easy? Yes, **trust me**, if I can do it without a major kitchen incident, you absolutely can too. It’s more about assembly than actual baking wizardry.
- Can I make it a two-tiered cake? You absolutely can! Just make sure your bottom cake is sturdy (maybe a slightly denser mix) and use a few wooden dowels or thick straws pushed through the bottom cake to support the top one. Frost before stacking!
Final Thoughts
So there you have it, superstar! You’ve just unlocked the cheat code to birthday cake glory. You’ve navigated the treacherous waters of cake baking (with a little help from a box, shhh!), conquered frosting, and created a sports masterpiece. Go forth, bake a cake, make a kid’s day, and maybe sneak a slice for yourself before anyone notices. You’ve earned it, **champ**!


