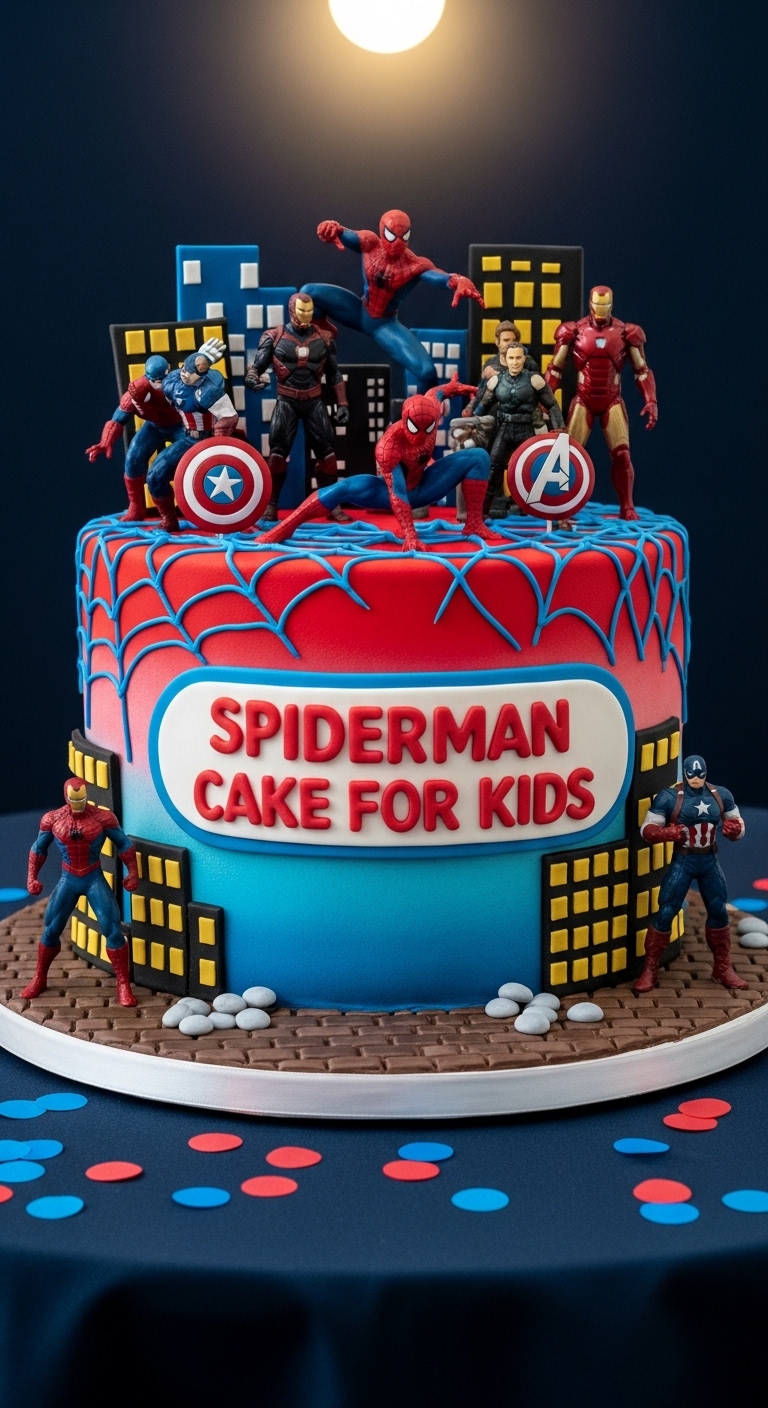
So, your little superhero fan has probably been dropping not-so-subtle hints about a Spiderman-themed birthday, huh? Or maybe you just fancy some web-slinging dessert fun for a regular Tuesday? Whatever the reason, you’re here because you want a Spiderman cake that looks impressive but doesn’t require a culinary degree (or a meltdown in the kitchen). You’re in luck, because that’s exactly what we’re about to create!
Why This Recipe is Awesome
Let’s be real, this isn’t just a cake; it’s a declaration of your inner domestic superhero! This Spiderman cake recipe is awesome because it’s **ridiculously easy** – I’m talking “even I didn’t mess it up” easy. We’re leveraging some clever shortcuts so you get maximum “OMG, you made that?!” reactions with minimal effort. Plus, who doesn’t love a vibrant, comic-book-inspired dessert? It’s a guaranteed crowd-pleaser, even for those adults who pretend they’re too cool for character cakes.
Ingredients You’ll Need
Gather your mighty ingredients, fellow baker! We’re keeping it simple and delicious.
- 1 box (approx. 15.25 oz) cake mix: Red velvet is perfect if you want a head start on color, but vanilla or white works too – we’ll dye it!
- Ingredients per box instructions: Usually eggs, oil, and water. Follow the manual, you rebel.
- 2 containers (16 oz each) white vanilla frosting: Store-bought is zero-shame, 100% convenience.
- Red gel food coloring: Gel is key for intense color without thinning your batter. Don’t cheap out here!
- Black gel icing or black food writing pen: For the iconic webs. This is where the magic happens!
- Round sprinkles (blue/red/white, optional): For an extra pop of superhero flair, if you’re feeling fancy.
Step-by-Step Instructions
Alright, apron on, game face on. Let’s bake some web-slinging deliciousness!
- First things first: **Preheat your oven** to the temperature specified on your cake mix box. While it’s heating up, grease and flour two 8- or 9-inch round cake pans. Don’t skip this, unless you enjoy battling stuck cake later.
- In a large bowl, prepare your cake batter according to the package directions. Once it’s all smooth and lovely, add your red gel food coloring. Mix it in gradually until you achieve a vibrant, undeniable Spidey-red.
- Evenly pour the glorious red batter into your prepared cake pans. Bake for the time recommended on the box, or until a toothpick inserted into the center comes out clean. **Seriously, don’t overbake!** Dry cake is a crime.
- Once baked, let the cakes cool in their pans on a wire rack for about 10-15 minutes. Then, carefully invert them onto the rack to cool completely. This part is crucial: **they MUST be completely cool** before frosting, or you’ll have a frosting meltdown.
- While your cakes are cooling, divide one container of white frosting into two bowls. Leave one bowl white. In the second bowl, add a few drops of red food coloring and mix until you have a nice red. Save the second container of white frosting as-is.
- Once the cakes are cool, use a serrated knife to gently level the tops of your cakes if needed. Place one cake layer on your serving platter. Spread a generous layer of white frosting over the top. Carefully place the second cake layer on top.
- Now, use the remaining white frosting to frost the top and sides of your assembled cake. Get it as smooth as you can, but don’t obsess; the webs will distract from any minor imperfections. If you have any red frosting left, you could pipe a border, or just save it for a sneaky snack.
- Time for the webs! Grab your black gel icing or food writing pen. Start by drawing a small circle in the very center of the cake. From that circle, draw 5-7 lines radiating outwards towards the edge of the cake. These are your main web spokes.
- Next, connect those radiating lines with slightly curved lines to create the web effect. Start closer to the center, then draw larger curves further out. Don’t worry about perfection; Spiderman’s webs are organic, baby! Add a blue sprinkle border around the bottom edge if you want that extra comic book pop.
Common Mistakes to Avoid
Nobody’s perfect, but we can avoid the most common pitfalls with a little friendly advice (and maybe some mild sarcasm!).
- Ignoring the “cool completely” rule: Thinking you can rush the cooling process is a rookie mistake. Frosting a warm cake results in a sliding, soupy mess. Patience, young padawan!
- Not using gel food coloring: Liquid food coloring will give you pink, not red, and can thin out your batter/frosting. **Always go for gel for vibrant colors.** It’s worth the extra dollar.
- Over-baking the cake: A dry cake is a sad cake. Start checking for doneness a few minutes before the recommended time, just in case your oven is a bit enthusiastic.
- Being a perfectionist with the web design: Listen, unless you’re a professional comic artist, your webs won’t be absolutely flawless. And that’s okay! The charm is in the homemade touch.
Alternatives & Substitutions
Feeling a bit adventurous, or missing an ingredient? No stress, we’ve got options!
- Cake Mix Flavors: While red velvet or vanilla is great, feel free to use your favorite flavor! A chocolate cake with red frosting could be a “dark Spidey” vibe, or even lemon for a zesty twist. Whatever makes your taste buds tingle.
- Homemade Frosting: If you’re feeling ambitious and want to make your own buttercream, go for it! Just make sure it’s a nice sturdy recipe that can hold up to some web-slinging action. But honestly, store-bought is life.
- Web-Drawing Tool: No black gel icing? No problem! Melt some dark chocolate chips, put them in a piping bag with a tiny snipped corner, or even a Ziploc bag. Just ensure it’s not too hot or too runny. You could also try black licorice laces for a super easy (but chewy) alternative.
FAQ (Frequently Asked Questions)
Got questions? I’ve got answers! (Mostly.)
- Do I *really* need gel food coloring? Yes, **IMO**, for that vibrant, eye-popping red, gel food coloring is your best friend. Liquid colors just don’t have the same oomph and can mess with your batter consistency.
- Can I make this cake ahead of time? Absolutely! Bake the cake layers up to 2 days in advance, wrap them tightly in plastic wrap, and store at room temperature. Frost closer to the party time for peak freshness and less stress.
- What if my webs look wonky? Who cares?! It’s homemade, therefore it’s automatically awesome. Embrace the quirky charm! No one will notice after the first bite, I promise.
- My frosting is too thin/too thick for the webs. Help! If it’s too thin, pop it in the fridge for 15-20 minutes to firm up. If it’s too thick, add a tiny drop of milk or water (seriously, just a drop at a time!) to thin it out.
- Any tips for perfectly level cakes? If your cakes dome a lot, you can use **cake strips** (wet towels wrapped around the pans) during baking, or simply level them with a long serrated knife once completely cooled. Don’t stress too much, frosting hides a multitude of sins!
Final Thoughts
See? You’ve just created an epic Spiderman cake with minimal fuss and maximum fun! You’re practically a culinary superhero now. This cake isn’t just a dessert; it’s a testament to your awesome, effortless baking skills (and maybe a little help from a box mix, but shhh, that’s our secret). Now go forth and bask in the glory of happy kids, impressed adults, and the sheer joy of knowing you totally nailed it. You’ve earned that extra slice!


