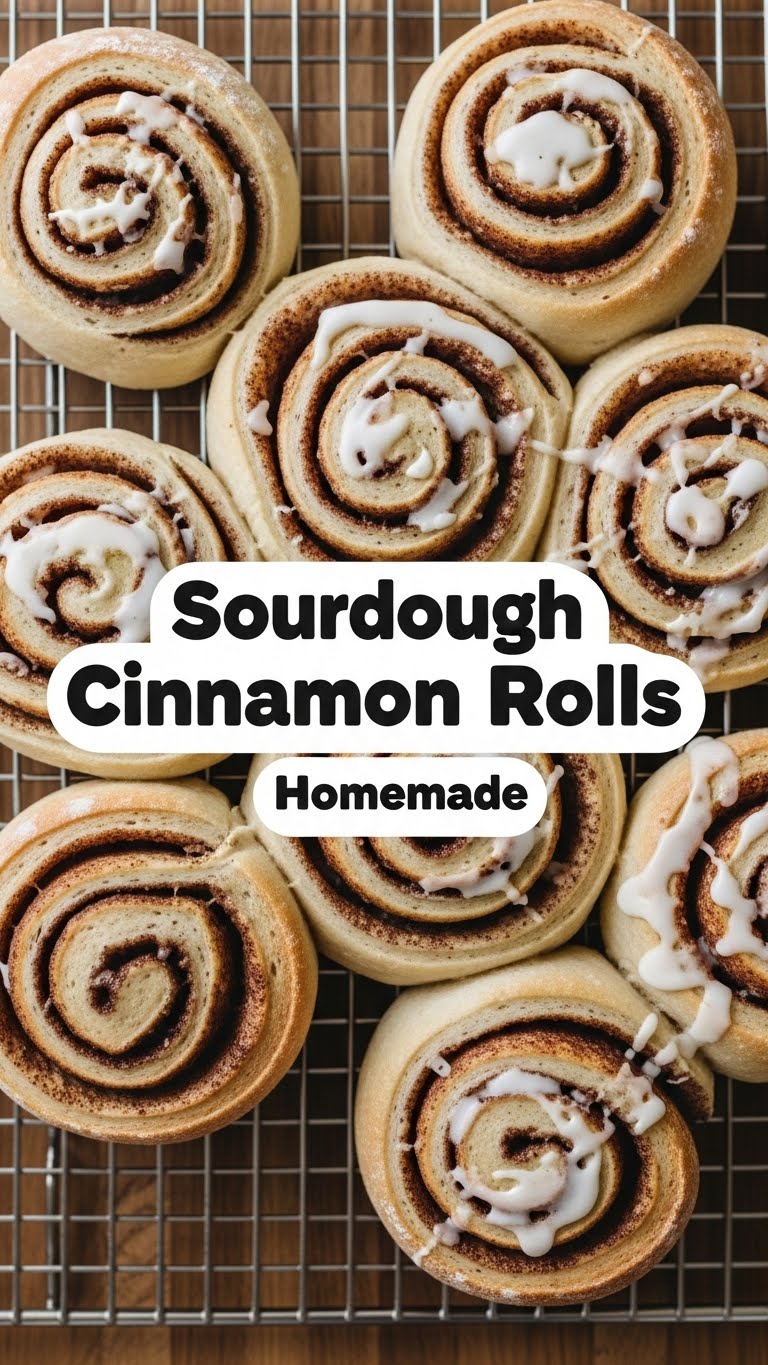
Okay, real talk. Is there anything better than warm, gooey cinnamon rolls? Debatable. Is there anything better than sourdough warm, gooey cinnamon rolls? Nope, I don’t think so. You’ve got that amazing sourdough starter bubbling away, just begging for a purpose beyond bread, right? Well, today, we give it the glorious destiny it deserves: fluffy, tangy, utterly irresistible cinnamon rolls. And don’t sweat it, this isn’t some super-chef-level sorcery. If I can do it without setting off the smoke detectors, so can you. Let’s get sticky!
Why This Recipe is Awesome
Why bother, you ask? Because life’s too short for bland baked goods, that’s why! This recipe is basically a culinary high-five to your taste buds, and here’s why it’s about to become your new favorite:
- Flavor Bomb: The sourdough tang just elevates these rolls to a whole new dimension of deliciousness. It’s like regular cinnamon rolls went to college and got sophisticated.
- Texture Heaven: Seriously, they’re unbelievably soft and fluffy, with just the right amount of chew. It’s practically a pillow party in your mouth.
- Impressive Factor: You tell people these are sourdough cinnamon rolls, and watch their jaws drop. Instant culinary street cred, even if you mostly just followed directions. (Don’t worry, our secret.)
- Therapeutic Baking: There’s something deeply satisfying about working with dough, watching it rise, and then devouring the results. It’s cheaper than therapy, and tastier too, IMO.
Ingredients You’ll Need
Gather ’round, my fellow food adventurer! Here’s what you’ll need to transform into a sourdough cinnamon roll wizard. No obscure ingredients, promise!
For the Dough:
- 100g active sourdough starter: This is the star of the show! Make sure it’s bubbly and happy, not that sleepy one chilling in the back of your fridge.
- 180ml warm whole milk: Whole milk for maximum indulgence, but any milk is cool. Just make sure it’s not scalding hot (think bathwater warm).
- 50g granulated sugar: The sweet stuff.
- 60g unsalted butter, melted: Don’t skimp, this is where the magic happens! Let it cool slightly after melting.
- 1 large egg: One happy egg, binding things together and adding richness.
- 350g all-purpose flour: The backbone of our operation. Might need a tiny bit more or less, depending on humidity.
- 5g fine sea salt: Just a pinch, to balance the sweetness and bring out all the flavors.
For the Filling:
- 60g unsalted butter, softened: Room temp is key for easy spreading.
- 90g brown sugar: For that deep, molasses-y goodness.
- 2 tablespoons ground cinnamon: Duh, it’s in the name! Feel free to be generous if you’re a cinnamon fiend like me.
For the Cream Cheese Frosting:
- 115g cream cheese, softened: Full-fat, because we’re not messing around. Again, room temp for smooth frosting.
- 45g unsalted butter, softened: Yes, more butter! You’re welcome.
- 150g powdered sugar: Also known as confectioners’ sugar. Don’t use granulated unless you like gritty frosting!
- 1 teaspoon vanilla extract: A splash for that warm, cozy feeling.
Step-by-Step Instructions
Alright, apron on, good vibes only! Let’s get baking these beauties. Read through once, then dive in.
Making the Dough (The Night Before or Day Of):
- Combine Wet Ingredients: In a large mixing bowl, whisk together the active sourdough starter, warm milk, granulated sugar, melted butter, and egg until well combined.
- Add Dry Ingredients: Add the flour and salt to the wet mixture. Mix with a sturdy spoon or spatula until a shaggy dough forms.
- Knead It Out: Turn the dough out onto a lightly floured surface. Knead for 8-10 minutes until it’s smooth and elastic. It should be slightly tacky, but not overly sticky. Don’t add too much flour! A little stickiness is good.
- First Rise (Bulk Fermentation): Place the dough in a lightly oiled bowl, turning it once to coat. Cover the bowl with plastic wrap or a damp towel. Let it rise in a warm place for 6-12 hours, or until it has nearly doubled in size. If you’re planning an overnight proof, put it in the fridge for 8-12 hours after a couple of hours at room temp.
Prepare the Filling & Shape the Rolls:
- Roll It Out: Once your dough has risen beautifully, gently punch it down. Turn it out onto a lightly floured surface. Roll the dough into a large rectangle, roughly 12×18 inches (30×45 cm).
- Spread the Love: In a small bowl, combine the softened butter, brown sugar, and cinnamon for the filling. Mix until it forms a paste. Evenly spread this glorious cinnamon-sugar mixture over the entire surface of the dough, leaving about a half-inch border on one of the long edges.
- Roll ‘Em Up: Starting from the long edge opposite the bare border, carefully and tightly roll the dough into a log. You want it snug, but not so tight it tears.
- Slice & Dice: Using a sharp knife or (my favorite trick!) a piece of unflavored dental floss, cut the log into 12 equal rolls, about 1.5 inches (4 cm) thick each.
- Second Rise (Proofing): Lightly grease a 9×13 inch (23×33 cm) baking dish. Arrange the cut rolls evenly in the prepared dish. Cover loosely with plastic wrap or a damp towel. Let them rise again in a warm spot for another 2-4 hours, or until they look puffy and are touching each other. (If you chilled the dough, let them proof at room temp for longer, about 3-5 hours, until noticeably puffy.)
Bake & Frost:
- Preheat Oven: While the rolls are doing their final proof, preheat your oven to 375°F (190°C).
- Bake ‘Em Golden: Uncover the rolls and bake for 20-25 minutes, or until they are golden brown and cooked through. If they start to get too dark on top, you can loosely tent them with foil.
- Whip Up the Frosting: While the rolls are baking or cooling slightly, make the frosting. In a medium bowl, beat the softened cream cheese and softened butter with an electric mixer until smooth and creamy. Gradually add the powdered sugar, beating until fully incorporated. Stir in the vanilla extract.
- Frost & Devour: Once the rolls are out of the oven, let them cool for 5-10 minutes (they’re best warm!). Then, generously spread that luscious cream cheese frosting all over the warm rolls.
Now, go on! Grab one (or two, I’m not judging) and enjoy your magnificent creation!
Common Mistakes to Avoid
Nobody’s perfect, especially when baking! But a little heads-up can save you from rookie woes and sad rolls. Learn from my blunders, please!
- Using a Sleepy Starter: Your starter needs to be active and bubbly, like it just had two cups of coffee. If it’s sluggish, your rolls won’t rise. Period. Feed it and wait!
- Over-flouring the Dough: Resist the urge to keep adding flour just because the dough is a bit sticky. Too much flour means tough, dry rolls. A slightly tacky dough is your friend for maximum fluffiness.
- Under-Kneading: Don’t skip or rush the kneading. That gluten development is crucial for texture. If your dough isn’t smooth and elastic, it won’t be as soft and fluffy.
- Impatient Proofing: Sourdough takes its sweet time. Don’t rush the first or second rise. Small, dense rolls are usually a sign of under-proofing. Let the dough do its thing until it’s visibly puffy.
- Forgetting to Grease the Pan: This one is a classic! Nothing worse than delicious rolls welded to your baking dish. Always grease your pan!
- Overbaking: Keep an eye on the oven! Overbaked rolls get dry and lose their delightful gooeyness. Look for that golden-brown color, and remember they continue to cook slightly once out of the oven.
Alternatives & Substitutions
Baking is an art, not a science (mostly!), so feel free to play around a bit once you’ve nailed the basic recipe. Here are some ideas:
- Milk: While whole milk gives the richest flavor and texture, 2% milk or even a plant-based milk like almond or oat milk will work just fine. You might notice a slight difference in richness, but they’ll still be delish.
- Butter vs. Margarine: For the dough and filling, stick to real butter if you can. The flavor and texture it provides are unmatched. Margarine can be used in a pinch, but why hurt your soul like that? For the frosting, definitely butter and cream cheese!
- Filling Fun: Feeling adventurous? Add some finely chopped pecans or walnuts to your cinnamon sugar filling for a bit of crunch. A dash of cardamom can also give a lovely, warm twist. Some people even add a thin layer of orange zest before the filling for a citrusy zing!
- Flour Power: I recommend all-purpose flour for consistency. Bread flour will give you a chewier roll, and pastry flour will make them softer but potentially harder to handle.
- Frosting Variations: Not a cream cheese fan? (Gasp!) You can make a simple glaze with powdered sugar and a splash of milk or lemon juice. Or, for a truly decadent experience, a brown butter frosting is next level.
FAQ (Frequently Asked Questions)
Got questions? I’ve got answers! (Mostly.)
- “My starter isn’t super active, can I still use it?”
Maybe, but proceed with caution. A sleepy starter means a long, slow rise, or potentially no rise at all. Feed it, wait for the bubbles, then bake! Don’t risk sad, dense rolls. - “How long do these take to make, really?”
Okay, baking involves waiting. The active time (mixing, kneading, shaping) is actually pretty quick, maybe 60-90 minutes total. But the proofing (rising) can take hours (thanks, sourdough!). Plan ahead, maybe start the dough the night before for an overnight fridge proof. - “Can I make these ahead of time?”
Absolutely! You can proof them overnight in the fridge after shaping. Just pull them out in the morning, let them warm up a bit (30-60 mins) on the counter, then bake. Fresh rolls for breakfast without the early wake-up call – winning! - “My rolls aren’t as fluffy as yours, what gives?”
Could be a few things: inactive starter, over-flouring, not enough kneading, or under-proofing. Review those steps! Practice makes perfect, seriously. Dough has a learning curve. - “Can I freeze these?”
Yep! Bake them, let them cool completely, then freeze unfrosted. When you’re ready, thaw, warm gently in the oven, and then slather on that glorious frosting. You can also freeze the unbaked rolls after shaping, then thaw overnight in the fridge, proof, and bake. - “Is it okay if my dough is sticky?”
A little sticky is good! It means you haven’t added too much flour, which makes for softer rolls. Resist the urge to keep adding flour; just use a little oil on your hands and work surface to manage it. - “My frosting is too thin/thick, help!”
No worries! If it’s too thick, add a tiny splash of milk (1/2 tsp at a time) until it’s spreadable. If it’s too thin, sift in a little more powdered sugar until it reaches your desired consistency. Easy fix!
Final Thoughts
See? You just made something amazing, and probably didn’t even break a sweat (or at least, not too much). These sourdough cinnamon rolls are a testament to your patience, your bravery in the kitchen, and your excellent taste. Go on, grab a warm one, maybe a cup of coffee, and pat yourself on the back. You deserve it. Now go impress someone—or yourself—with your new culinary skills. You’ve earned it!


