Ever stare into the abyss (a.k.a. your fridge) craving chocolate, but also, like, *moist* chocolate? Not that dry, dusty stuff your auntie used to make, but something that actually melts in your mouth? Yeah, me too. And honestly, who has the energy for a fussy, 10-step baking marathon after a long day? Nobody. That’s why we’re making friends with this ridiculously easy, supremely decadent, Sour Cream Chocolate Cake. It’s the kind of cake that whispers sweet nothings about its moisture content and delivers on every single promise. You ready?
Why This Recipe is Awesome
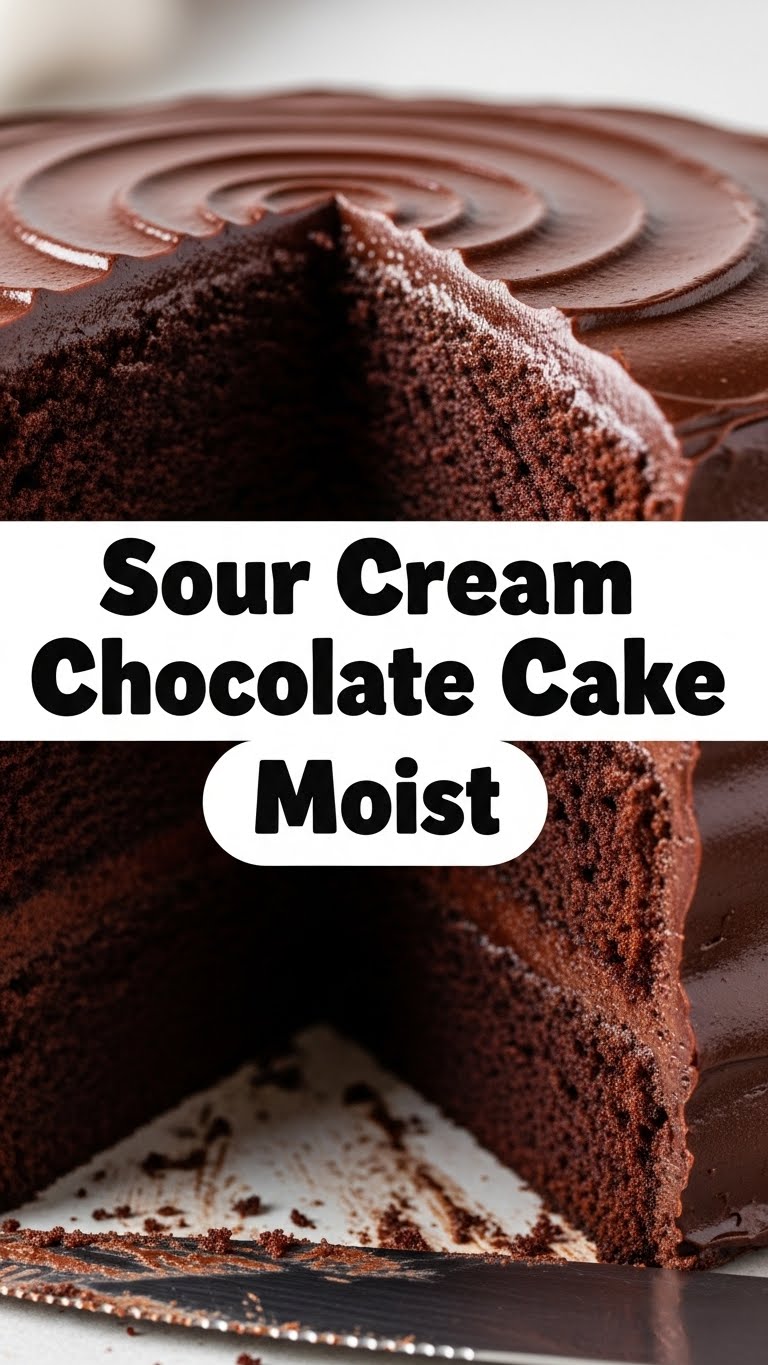
Okay, let’s be real. This isn’t just *a* chocolate cake; it’s *the* chocolate cake you’ll be making for every potluck, birthday, or Tuesday night when you just need a hug in cake form. Why is it so great, you ask? Well, first off, it’s **insanely moist**. Seriously, we’re talking melt-in-your-mouth, no-milk-needed moist. The secret weapon? Sour cream, obviously. It brings a magical tang and tenderness that other cakes only dream of.
Plus, it’s practically **idiot-proof**. No fancy techniques, no separating eggs, no stressing over temperamental ingredients. If I can whip this up without calling the fire department (a common occurrence, FYI), you absolutely can too. It’s quick, it’s simple, and it delivers maximum chocolatey satisfaction with minimal effort. What’s not to love?
Ingredients You’ll Need
Gather your troops, folks! Here’s what you’ll need to create this chocolatey masterpiece:
- 1 ½ cups (190g) All-Purpose Flour: The foundation of our dreams.
- 1 ½ cups (300g) Granulated Sugar: For that sweet, sweet bliss. Don’t skimp!
- ¾ cup (65g) Unsweetened Cocoa Powder: The darker the better, IMO. Get that rich chocolate flavor!
- 1 ½ teaspoons Baking Soda: Our trusty leavening agent.
- ½ teaspoon Baking Powder: Double the lift, double the fun.
- ½ teaspoon Salt: Just a pinch, because balance, darling. It makes the chocolate pop!
- 2 Large Eggs: Room temp is best, but if you forget, don’t sweat it too much.
- 1 cup (240g) Full-Fat Sour Cream: The MVP of moisture! Do NOT go light here unless you want sadness.
- ½ cup (120ml) Whole Milk: For richness. Or whatever milk you have, we’re not super picky.
- 2 teaspoons Vanilla Extract: The secret handshake of deliciousness.
- ½ cup (113g) Unsalted Butter: Melted and slightly cooled. We’re in charge of the salt here!
- ½ cup (120ml) Hot Water or Hot Brewed Coffee: The ultimate secret weapon for deepening chocolate flavor and adding extra moisture. Seriously, don’t skip this!
Step-by-Step Instructions
Ready? Let’s get baking! It’s easier than ordering takeout.
- Prep Your Stage: Preheat your oven to 350°F (175°C). Lightly grease and flour a 9-inch round cake pan (or spray with baking spray). Nobody wants cake stuck to the bottom!
- Dry Mix Power: In a large bowl, whisk together the flour, sugar, cocoa powder, baking soda, baking powder, and salt. Make sure there are no lumpy bits.
- Wet Mix Wonder: In a separate medium bowl, whisk together the eggs, sour cream, milk, and vanilla extract until well combined and smooth.
- Combine & Conquer: Pour the wet ingredients into the dry ingredients. Stir with a spoon or spatula until just combined. Don’t overmix; a few small lumps are totally fine. Overmixing leads to tough cake, and we hate tough cake.
- The Hot Secret: Slowly pour in the melted butter and the hot water (or coffee), stirring until the batter is smooth and luscious. It will be thin, and that’s exactly what we want! This is where the magic happens for extra moisture and flavor depth.
- Bake It Off: Pour the batter into your prepared cake pan. Pop it into the preheated oven and bake for 30-35 minutes, or until a wooden skewer or toothpick inserted into the center comes out with moist crumbs attached (not wet batter, but not bone dry either!).
- Cool Down: Let the cake cool in the pan on a wire rack for about 10-15 minutes. Then, gently invert it onto the rack to cool completely. Patience, my friend, is a virtue, especially when it comes to not having a crumbly cake!
Common Mistakes to Avoid
Even though this recipe is pretty foolproof, there are a few rookie errors you might want to dodge. Don’t worry, we’ve all been there!
- Overmixing the Batter: Your arm might be tired, but a tough, chewy cake is worse. Mix until *just* combined. A few lumps are better than gluten development gone wild!
- Not Preheating Your Oven: Thinking you don’t need to preheat? Rookie mistake! An even bake needs a hot, ready oven. Give it at least 15-20 minutes to get up to temp.
- Opening the Oven Door Constantly: Stop peeking! Every time you open that door, you let out heat, which can make your cake sink in the middle. Resist the urge!
- Overbaking: A dry cake is a sad cake. Start checking at the 30-minute mark with a toothpick. When it comes out with moist crumbs, it’s done. Don’t push it!
- Forgetting the Sour Cream (or using light): Seriously? That’s the star of the show for moisture! And yes, full-fat or nothing. You’re making cake, not dieting.
Alternatives & Substitutions
Life happens, ingredients run out. Here are a few swaps that won’t totally derail your cake ambitions:
- Sour Cream Swap: If you’re out of sour cream, plain full-fat Greek yogurt can step in! It’ll give you a similar tang and moisture. Just make sure it’s full-fat.
- Milk Alternatives: No whole milk? Buttermilk will actually work beautifully, adding even more tenderness. Or, if you’re feeling adventurous, use all coffee (cold brew, anyone?) for a super intense chocolate flavor.
- Butter Substitute: Vegetable oil can be used instead of butter in a pinch. It might slightly change the flavor profile (less buttery, more pure chocolate), but it will still be moist.
- Hot Water/Coffee: If you’re anti-coffee, just use hot water. But seriously, the coffee really amps up the chocolate flavor without making it taste like coffee. Try it!
- Gluten-Free: You can totally make this GF! Swap the all-purpose flour for your favorite 1:1 gluten-free baking blend. Just keep an eye on the baking time as GF flours can sometimes behave differently.
FAQ (Frequently Asked Questions)
Got questions? I’ve got (casual) answers!
- Can I use light sour cream? Well, technically yes, but why hurt your soul (and your cake’s moisture) like that? For real, full-fat is key for the best results.
- My cake sank in the middle, what happened? Oh, the dreaded sinkhole! This usually means it was either underbaked, you opened the oven door too often, or the leavening agents gave up. Make sure your baking soda/powder aren’t expired!
- How long does this cake keep? Covered tightly at room temperature, it’s gloriously moist for 3-4 days. In your tummy? About 3-4 minutes. You decide which is more realistic.
- Do I need to frost it? “Need” is a strong word, but “should you”? Absolutely! A simple chocolate ganache, a fluffy buttercream, or even just a dusting of powdered sugar takes it to eleven.
- Can I make cupcakes with this recipe? You betcha! Fill cupcake liners about two-thirds full and bake for about 18-22 minutes. Test with a toothpick, as always!
- Why the hot water/coffee? Does it really matter? YES, it totally matters! Hot liquid helps to “bloom” the cocoa powder, intensifying the chocolate flavor, and thins the batter perfectly for that super moist, tender crumb without making it dense. It’s a game-changer!
Final Thoughts
So there you have it, folks! Your new go-to chocolate cake recipe. It’s easy, it’s ridiculously moist, and it’s guaranteed to get you compliments (or at least happy sighs of pure chocolate bliss). Now go forth and bake something delicious. You’ve earned those bragging rights – and that first, glorious slice. Don’t forget to send me a virtual slice!


