So, you’ve scrolled through Instagram, seen those impossibly fluffy, cloud-like chiffon cakes, and thought, “Nah, that’s some advanced wizardry only grandmas with secret baking scrolls can achieve.” Right? Well, hold onto your oven mitts, because today we’re demystifying the Soft Moist Chiffon Cake, and guess what? It’s not just for culinary wizards. It’s for *us*—the regular folks who want to impress everyone (including ourselves) with minimal fuss and maximum deliciousness. Think less “stressful baking marathon” and more “chill kitchen vibe with a killer payoff.” Let’s do this!
Why This Recipe is Awesome
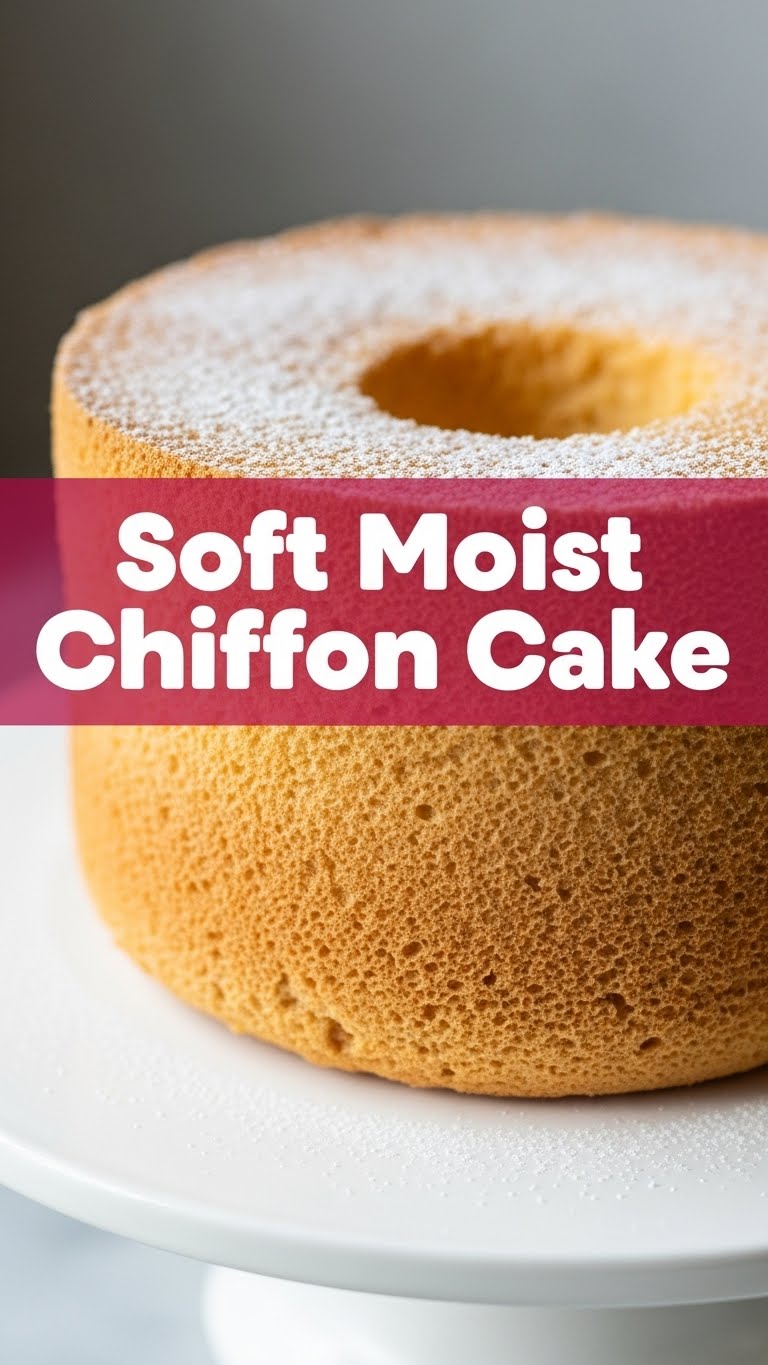
Okay, let’s be real. There are cakes, and then there are *chiffon cakes*. This isn’t just any old sponge; it’s the ethereal, melt-in-your-mouth, ‘did-I-just-eat-a-cloud?’ experience. And the best part? It looks fancy as heck, but it’s surprisingly **idiot-proof**. Seriously, if I can nail this without setting off the smoke alarm (mostly), you can too. This recipe delivers a cake that’s super soft, incredibly moist, and light enough that you can probably justify eating a second slice. Or third. No judgment here!
Ingredients You’ll Need
Gather your troops, folks! Here’s what you’ll need to whip up this magic:
- 1 ½ cups All-Purpose Flour: Our structural hero. Don’t go fancy, AP is perfect.
- 1 ½ cups Granulated Sugar: For that sweet, sweet joy.
- 1 tbsp Baking Powder: Our little lift-off assistant.
- ½ tsp Salt: Balances everything out, like a tiny flavor referee.
- 7 Large Eggs (separated): This is key! Yolk one way, whites another. Teamwork, people!
- ½ cup Vegetable Oil: Or canola, or any neutral oil. This is our moisture MVP.
- ¾ cup Milk: Whole milk works best for richness, but whatever you have will likely be fine.
- 1 ½ tsp Vanilla Extract: Because everything’s better with vanilla.
- ½ tsp Cream of Tartar: This is the secret weapon for super stable meringue. Don’t skip it!
Step-by-Step Instructions
Alright, time to get our bake on! Follow these steps, and you’ll be a chiffon master in no time.
- Preheat & Prep: Set your oven to **325°F (160°C)**. Grab an ungreased 10-inch tube pan (the one with the removable bottom and feet). Seriously, **DO NOT grease it**. This cake needs to climb!
- Dry Mix Marvels: In a large bowl, whisk together your flour, 1 cup of the sugar (save the rest!), baking powder, and salt. Give it a good whisk to get rid of any lumps.
- Wet Wonders: In another bowl, whisk your egg yolks, oil, milk, and vanilla until smooth and well combined.
- Combine Forces: Pour the wet yolk mixture into the dry flour mixture. Stir it gently with a whisk or spatula until it’s just combined and smooth. Don’t overmix; we want a tender cake!
- Meringue Magic: In a super clean, completely dry bowl (this is crucial!), beat your egg whites with an electric mixer on medium speed until foamy. Add the cream of tartar. Gradually add the remaining ½ cup of sugar, increasing the speed to high. Beat until you have **stiff, glossy peaks**. When you pull the beaters out, the peaks should stand firm and proud.
- Fold It In: Gently, oh so gently, fold about a third of your meringue into the yolk batter to lighten it up. Then, add the rest of the meringue, folding carefully until no streaks of white remain. The goal is to keep as much air in there as possible.
- Pan It Up: Pour the batter into your ungreased tube pan. Give it a gentle tap on the counter to release any large air bubbles.
- Bake Away: Bake for **55-65 minutes**, or until the top springs back when lightly touched and a wooden skewer inserted into the center comes out clean.
- The Grand Finale (and the weirdest part): As soon as you pull the cake out of the oven, **invert the pan immediately** onto its “feet” (if it has them) or over the neck of a bottle. Let it cool completely upside down for at least 1.5-2 hours. This prevents it from collapsing and keeps it fluffy.
- Release & Enjoy: Once fully cooled, run a thin knife around the edges and center tube to loosen. Invert it onto a plate, slice, and bask in the glory!
Common Mistakes to Avoid
We’ve all been there, trust me. Learn from my oopsies:
- Greasing the Pan: I’ll say it again: **NEVER grease a chiffon pan.** It needs to stick to the sides to climb high and stay fluffy. Greasing it is like giving it slippery shoes for a mountain climb. Rookie mistake!
- Overmixing the Batter: Once the flour hits, stir just until combined. Overmixing develops gluten, which leads to a tough, dense cake. We want light and airy, not a brick!
- Sad Meringue: If your egg whites don’t reach stiff peaks, your cake will fall flatter than a bad joke. Ensure your bowl and beaters are **spotlessly clean and dry** (even a speck of fat can ruin meringue!), and use room temperature eggs for best results.
- Opening the Oven Door: Resist the urge to peek! Especially in the first 40 minutes, opening the door lets cold air in, which can cause your cake to deflate. It’s not a peek-a-boo game, people!
- Not Cooling Upside Down: This isn’t just for show. Cooling inverted prevents the delicate cake structure from compressing under its own weight. **Seriously, don’t skip this step.**
Alternatives & Substitutions
Feeling adventurous? Or just out of milk? Here are some tweaks:
- Flavor Boosts: Add citrus zest (lemon or orange) to the dry ingredients for a zippy kick. Or swap vanilla extract for almond extract for a different vibe.
- Milk Alternatives: While whole milk gives the best richness, you can use skim milk or even a plant-based milk (like almond or soy) in a pinch. The texture might be slightly different, but it’ll still be delicious.
- Oil Options: Any neutral-flavored oil works: vegetable, canola, grapeseed. I wouldn’t recommend olive oil unless you want a distinctly olive-flavored cake (which, okay, some people might be into, but IMO, not for chiffon).
- Gluten-Free Flour: You *can* try a 1:1 gluten-free baking blend, but chiffon cake is quite delicate, so results may vary. Proceed with caution and a willingness to experiment!
FAQ (Frequently Asked Questions)
- “My cake collapsed, did I anger the baking gods?”
Probably not! More likely, your meringue wasn’t stiff enough, you overmixed the batter, or you didn’t cool it upside down. Go back to basics, friend! - “Why do I have to use a tube pan? Can’t I just use a regular cake pan?”
Technically, yes, but your chiffon cake won’t rise as high or have that classic light texture. The tube pan’s ungreased sides and center tube give the batter something to cling to as it rises, creating that signature airy crumb. Trust the process! - “Can I halve or double the recipe?”
Halving is usually fine, just be precise with your measurements. Doubling can be tricky because of the sheer volume of egg whites needed. If you’re going big, I’d recommend making two separate batches rather than trying to double everything in one go. - “How do I store chiffon cake?”
Cover it tightly with plastic wrap or in an airtight container at room temperature for up to 3 days. Chiffon cake actually keeps its moisture really well! No need to refrigerate unless it’s filled or frosted with something perishable. - “What if my egg whites aren’t whipping up?”
Check your bowl and beaters! Even a tiny trace of grease (from oil, butter, or even egg yolk) will prevent whites from whipping properly. Also, make sure your eggs are at room temperature—they whip up better!
Final Thoughts
So there you have it! Your very own, incredibly soft and moist chiffon cake recipe. It might seem like a lot of steps, but once you get the hang of it, you’ll wonder why you ever bought those store-bought ones. This cake is pure joy, a culinary hug, and a fantastic way to impress your friends, family, or just your hungry self. Now go forth, bake some magic, and enjoy every single cloud-like bite. You’ve earned it!


